
Why I'm writing this and why you probably need it
I've got 400 hours in Across the Obelisk. I've seen the first two zones probably fifty times because I kept dying there like an idiot. I've screamed at my monitor when a random spider crit my healer for 47 damage and wiped my run on turn two of a fight I thought was "easy." I've alt-F4'd more times than I care to admit. This game is brutally hard, doesn't explain itself well, and will absolutely lie to you about what "balanced" means. But once it clicks? It's one of the best co-op deckbuilders ever made, and I'm not being hyperbolic.
If you're here because you just bought the game and you're getting your teeth kicked in, or you're on run number twelve and you still can't get past the second act boss, I'm writing this for you. I'm not going to give you generic garbage like "try different builds." I'm going to tell you exactly what I wish someone had told me in my first ten hours. The stuff that actually matters.
Why Players Struggle (and it's not because you're bad)
Let's be real: this game has a learning curve that feels like a brick wall sprayed with ice. Here's what screws most new players:
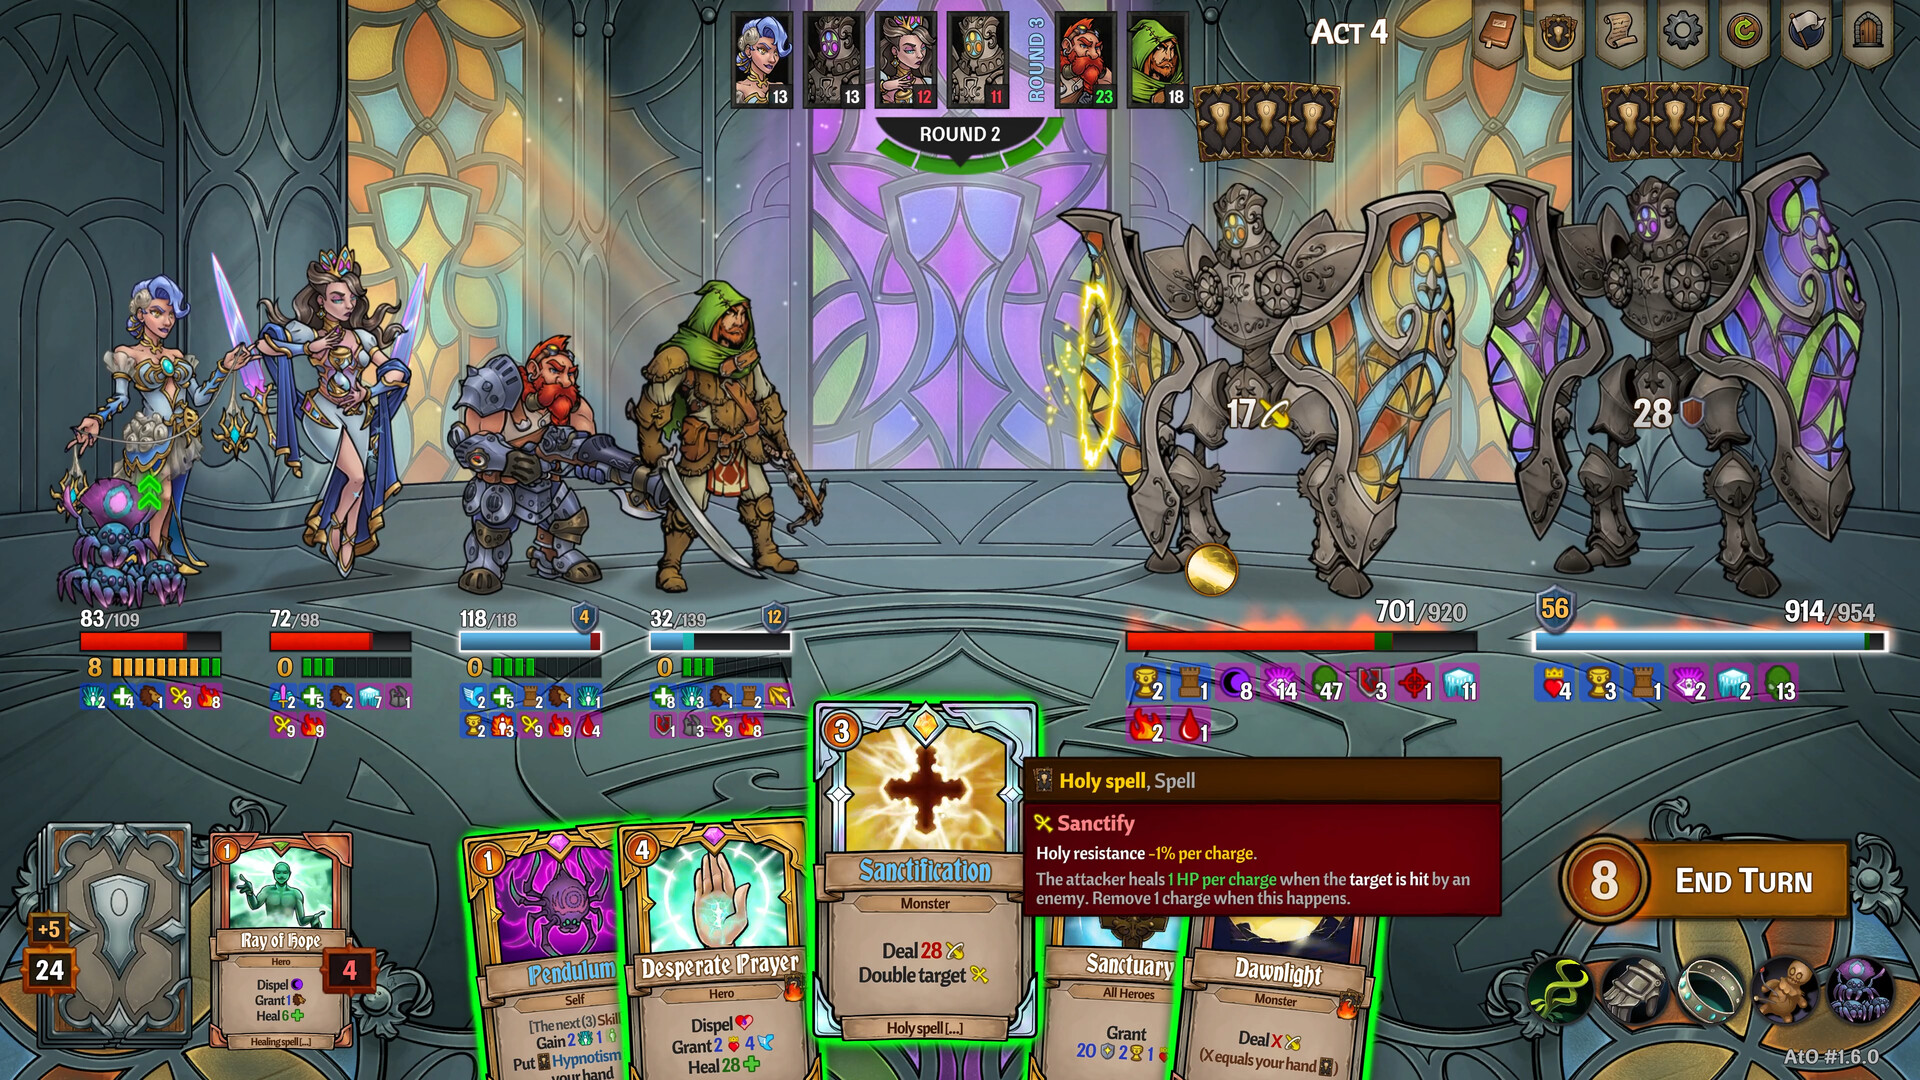
- The card system is deceptively deep. You look at a card, it says "deal 8 damage." You think "cool, simple." Then you realize that damage gets modified by your speed stat, the enemy's resistance, your damage type, the enemy's armor type, your buffs, their debuffs, and whether or not you're standing in a puddle of water. The game never explains any of this clearly. I spent my first three runs trying to stack poison and got destroyed by the second boss EVERY TIME because I didn't understand that poison doesn't scale the way you think it does.
- The difficulty spike between act one and act two is real. Act one lets you get away with garbage decks. Act two will murder you for having one bad card in your hand. This jump kills more runs than anything else.
- The game doesn't tell you that speed is king. Speed determines turn order. If you're slower than the enemy, you're playing catch-up every single fight. New players ignore speed because it doesn't look flashy. They pay for it.
- Building a coherent deck is hard. You're offered random cards every time you level up, and the game doesn't tell you which ones are traps. You end up with a pile of "kind of OK" cards that have no synergy, and then you draw five of them on turn one against a boss and just die.
- The upgrade system is a noob trap if you don't know what you're doing. You can upgrade your characters and their gear, but the upgrades are permanent across runs, and some of them are way more impactful than others. I wasted my first few runs upgrading the wrong stuff.
First Steps: What You Actually Need To Know Day One
Forget the tutorial. You did it, it helped a little, but it didn't prepare you for reality. Here's the real starting advice:
Pick one damage type per character and stick to it. Do not spread your damage types. If you're playing the warrior, you're not putting lightning damage on him. You're building physical damage and maybe bleed. If you're playing a mage, you're picking fire OR cold OR lightning and stacking that one thing as high as you can. The game punishes split damage because enemy armor and resistance values are specific to damage types. You want to break through ONE wall, not chip away at three.
Speed stat is your first priority on every character. I don't care if you're a tank. Put speed gear on your tank. Going first means you can apply buffs, generate block, or debuff the enemy before they touch you. Going second means you're reacting to damage you already took. The difference between having 10 speed and 8 speed on your healer is the difference between your healer going before the boss's big attack or after it. That's a run-ender.
Do not sleep on the starting items. Every character starts with a unique item that you can upgrade in the town between runs. These upgrades are cheap and good. The Miner's Lantern on Reginald gives him +2 speed. That's huge. Upgrade your starter items before you spend gold on anything else.
Your first goal is to beat act one consistently. Don't worry about winning the whole game. Just get to the point where you can clear the first boss without breaking a sweat. That means learning which nodes to skip, which fights to take, and which campfire events to avoid. Act one is your training wheels. Act two is the real game.
Here's a basic team comp that works and is easy to pilot:
- Reginald (healer) - build him for HP and speed. His healing scales with his HP.
- Navalea (tank support) - build her for energy generation and block. She gives your team energy.
- Andrin (ranged DPS) - build him for physical damage and speed. He hits hard and fast.
- Gustav (buffer/debuffer) - build him for speed and support. He makes everyone else better.
This team has sustain, damage, and speed. It's not the best team in the game, but it's the easiest team to learn with because it doesn't require complex setups.
Expert Tips & Tricks (the stuff that wins runs)
Alright, you've got the basics. Now let's get advanced. These are the things I had to learn the hard way.
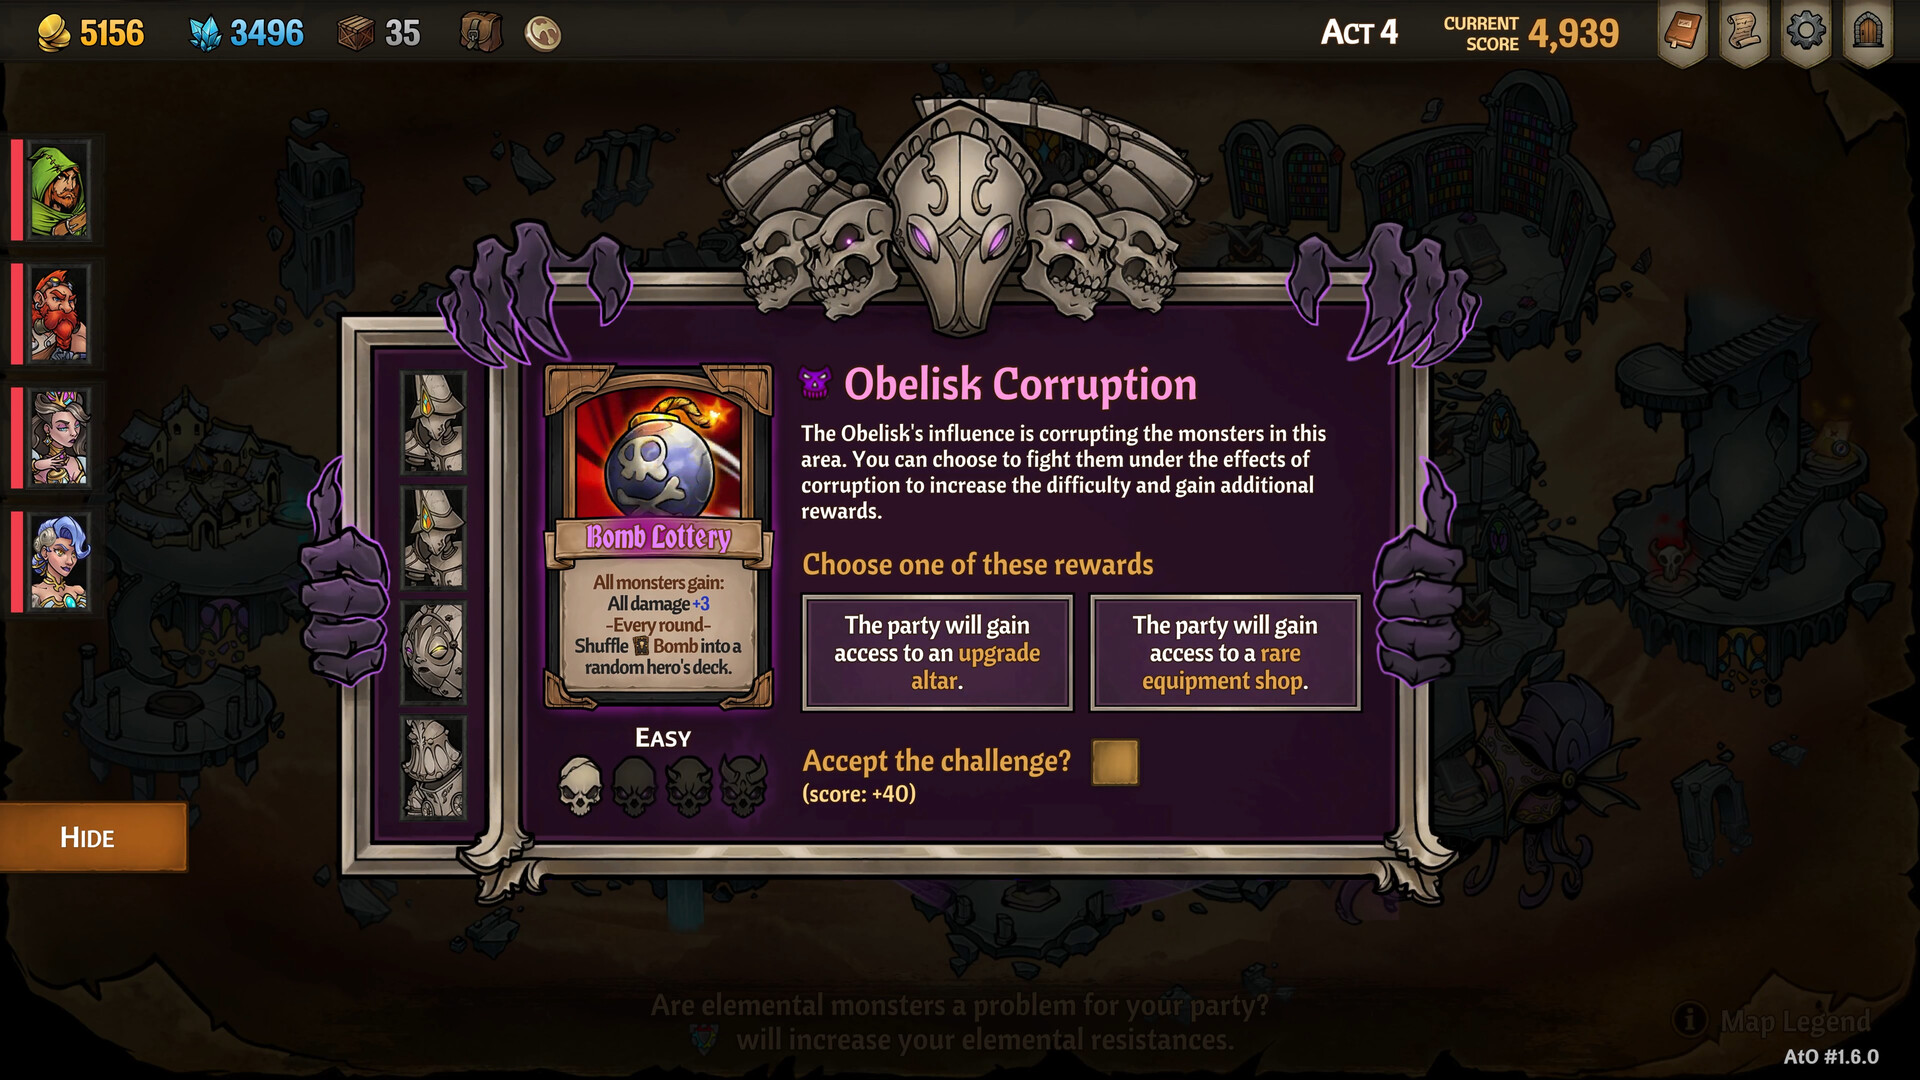
Master the "skip" mechanic. You don't have to take every node. Between each zone, you can choose your path. If the next fight is against enemies that are strong against your damage type, skip it. If the event has a high chance of giving you a curse, skip it. The game gives you limited resources. Don't waste them on bad fights. I spent twenty runs taking every fight I saw because I thought I needed the XP. I was wrong. XP is important, but HP and items are more important.
Energy generation is a win condition. The game gives you 3 energy per turn. Most good cards cost 2-3 energy. That means you can only play one or two cards per turn unless you have energy generation. Look for cards that give you extra energy. Haste cards are the best in the game because they give you speed AND energy. If you see a card that says "Gain 2 Energy" or "Gain 1 Energy and draw 1 card," take it. These cards are the backbone of every winning deck.
Learn what "scaling" means in this game. A scaling card is one that gets better the longer the fight goes on. Examples: any card that applies "bleed" or "burn" because damage over time stacks. Any card that gives you permanent stats. Any card that says "this turn, for each time you've done X this fight." These cards are how you kill bosses. Bosses have lots of HP. You need cards that do more damage on turn 10 than they did on turn 1. Boss-killing cards win runs. Everything else is just for surviving the trash mobs.
Your deck size matters, but not the way you think. You don't want a 50-card deck because you'll never draw your good cards. But you also don't want a 12-card deck because you'll draw your bad cards over and over. The sweet spot is around 25-30 cards. Focus on removing the starter cards (which are usually bad) and adding only cards that support your strategy. The game gives you opportunities to delete cards from your deck. USE THEM.
Resist the urge to take "shiny" cards. The game will offer you rare cards with flashy effects. Many of them are traps. A common card that does 8 damage for 2 energy and has no special effect is often better than a rare card that does 12 damage for 3 energy but has a downside like "exhaust" (you can only use it once per fight) or "lose 1 energy when drawn." Always read the card text. The best cards in the game are often the plain, common ones that just do their job without any bullshit.
This tip saved my entire playthrough: The Madness system in the town lets you make the game harder for bonus rewards. New players should NEVER touch this until they've beaten the game at least once on normal. I turned Madness to 1 on run 5 because I thought I was hot stuff. I got my teeth kicked in so hard I stopped playing for a week. The bonus rewards aren't worth the headache when you're still learning. Just ignore it.
Speed is not just for turn order. It also affects how many cards you draw at the start of combat. Every 5 points of speed gives you an extra card in your opening hand. That's huge. If you have 15 speed on your main DPS, you start with 4 cards instead of 3. That's one more chance to see your best card on turn one.
Use the "plan" function before fights. The game lets you see which fight is coming next and what enemies are in it. Use this to adjust your strategy. If the fight is against enemies with high dodge, you need cards that ignore dodge or apply "mark" to reduce their dodge. If the fight is against enemies that deal damage over time, you need healing and cleanse. The game tells you what's coming. Use that information. I ignored this for 30 hours and I'm still mad about it.
Play with a friend or two. This game is amazing in co-op. The difficulty scales with player count, but the synergy potential is way higher. You can build complementary decks: one player stacks burn, the other player stacks direct damage to finish off enemies. You can share items. You can coordinate turns. Solo is harder because you have to control four characters, which means you have to think about four decks at once. Co-op lets you focus on one character. If you have friends, play with them. If you don't, join the Discord. The community is pretty good about teaching new players.
If you enjoy this kind of tactical deckbuilding, you might also like Slay the Spire—it's got a similar "build a deck, fight a boss, die and restart" loop, though it's single-character focused and a bit tighter. Across the Obelisk is like Slay the Spire if you had a party and everything was slightly more chaotic.
Common Mistakes That Got Me Killed (and probably you too)
I've made every mistake in this game. You don't need to repeat them. Here's what to avoid:
Mistake 1: Not upgrading your gear. Between runs, you can upgrade your characters' gear permanently. This is the most important use of your gold and resources. Upgrading a weapon from +0 to +3 can double its damage output. I spent my first ten runs hoarding gold because I thought I'd need it for something better. I didn't. Spend the gold. Upgrade the gear. Do it before your next run.
Mistake 2: Taking every curse. The game will offer you powerful cards or items at the cost of taking a curse. Curses are bad cards that clog your deck and waste your draws. A curse card does nothing or hurts you. If you take one curse, you'll draw it roughly once every three or four fights at the cost of drawing a good card. Most curses are not worth the reward. Only take a curse if the reward is absolutely game-winning (like an item that gives you +5 speed for the entire run). Otherwise, just say no.
Mistake 3: Ignoring block. Block is your primary defense. It's armor that absorbs incoming damage. Every character can generate block, and you should. A turn spent generating 20 block is often better than a turn spent dealing 15 damage, especially against bosses that hit for 30 damage per turn. Your tank should be generating block every single turn. Your healer should have a block card or two for emergencies. Running low on block is how you lose a character to a sudden crit.
Mistake 4: Not using potions or consumables. The game gives you healing potions, energy potions, and other consumables. Use them. Don't hoard them. "I'll save this for the boss" is a deadly thought because you might die before you reach the boss. If you're at half HP in a hard fight and you have a healing potion, use it. Potions are common enough that you'll find more. A dead character with a full inventory of potions is the saddest thing in this game.
Mistake 5: Building your tank wrong. Your tank's job is not to deal damage. Their job is to survive and keep everyone else alive. Stop putting damage cards on your tank. Give them block cards, taunt cards, and support cards. A tank that does 10 damage per turn is useless if the team is dead. A tank that generates 25 block per turn and draws enemy aggro wins the run. This is the most common mistake I see in new players, and I made it myself for way too long. Darkest Dungeon also teaches this lesson hard—if you've played that, you know what I mean about tanks needing to tank.
Quick Answers to Stuff You're Probably Googling Right Now
Q: Which character is best for a beginner?
A: Reginald (healer) or Navalea (support). They're straightforward and forgiving. Avoid the shapeshifter (Nara) and the necromancer (Fenrik) until you understand the game better. Those characters have complex mechanics that will confuse you.
Q: How do I beat the first boss (The Storm)?
A: Bring cleanse. The Storm applies a debuff called "Static" that deals damage over time. If you don't have a way to remove it, your whole team will die from chip damage. Reginald's "Cleanse" spell is great for this. Also, bring high speed and block. The Storm hits hard on turn one. Survive the first three turns and you'll win.
Q: Should I buy the DLC right away?
A: No. Play the base game first. The DLC adds new characters and zones, but it also adds complexity. Master the base game and its four starting characters before you expand. The DLC is worth buying if you like the game, but it's not required to have fun or to win.
Q: How do I get more energy?
A: Cards that say "Gain [number] Energy." Look for "Power Surge," "Haste," "Energy Flow," and similar cards. Also, some items give you energy each turn. Energy generation is the difference between playing one card per turn and playing three cards per turn. Prioritize it.
Q: The game is too hard. Am I just bad?
A: Probably not. This game has a steep learning curve. Drop the difficulty to "Easy" (it's called "Story Mode"). There's no shame in it. The game doesn't punish you for playing on easy. You still get the same story, the same bosses, and the same achievements. I played my first 20 runs on easy. I'm not embarrassed about it. You shouldn't be either.
Q: What's the best damage type?
A: Fire is the most consistent because it deals damage over time and has good direct damage options. Lightning is great for burst damage but falls off against high-resistance enemies. Cold is control-focused and works well with freeze mechanics. Physical is reliable and pairs well with bleed. There's no "best" damage type, but fire is the most forgiving for new players.
Sign in to post a comment.
Sign in with GitHub to join the discussion.
💬 Comments
What players are saying:
Man, the bit about speed stat being king is exactly what I needed. I was ignoring it completely and getting destroyed by the second zone. Changed my gear to prioritize speed and I won my next run. This guide is legit. Also, the tip about upgrading starter items first saved me a ton of wasted gold.
I disagree about Gustav being good for beginners. I tried your suggested team comp and Gustav felt super weak. Maybe I'm playing him wrong, but I swapped him out for a second damage dealer and had way more success. That said, the energy generation advice is spot on. That alone made my runs way better. Thanks for writing this.
400 hours huh? I'm at 200 and I still learned something from this. I never realized speed affects starting hand size. That's huge. Also, "don't take every curse" is advice I wish I had 150 hours ago. I used to grab curses like candy and then wonder why my deck was full of garbage. Good guide, no fluff.