
Skip the rage, read this:
- Intro: Why I almost uninstalled Bellwright
- Why Players Struggle: The three things that will make you quit
- First Steps: What I wish someone had yelled at me on Day 1
- Expert Tips: The stuff the tutorial ignores
- Common Mistakes: How I died 47 times before learning
- FAQ: The questions you're too afraid to ask
I spent my first 12 hours in Bellwright absolutely hating it. Then something clicked.
Let me be real with you. I bought Bellwright on a whim, saw the pretty trailers, thought "oh cool, medieval survival with a story." Two hours in, I was staring at a loading screen after a toxic cloud killed my entire camp because I didn't understand how the wind worked. Four hours in, I'd restarted three times because I kept picking the wrong starting zone. Twelve hours in, I was ready to refund it.
Then I figured out the one mechanic the game never explains, and suddenly it all made sense. I'm now 200+ hours deep. I've built castles in spots that shouldn't be defensible. I've soloed the Bloodmoon Knight with a wooden spear because I knew exactly how his aggro table worked. I've lost three separate playthroughs to the plague because I got greedy with corpse disposal. I'm writing this guide so you don't have to learn the hard way like I did.
Bellwright is not a friendly game. It doesn't hold your hand. It expects you to fail, to die, to lose everything and start over. That's the point. But the game is also deeply fair once you understand its rules. The problem is those rules are buried under a UI that feels like it was designed by a sadist and a tutorial that teaches you the least useful things first.
This guide is going to be blunt. I'm going to tell you which systems to ignore, which resources to hoard, and exactly which fight will kill you if you show up unprepared. I'm not going to tell you "explore and have fun" because that's what gets you killed. I'm going to tell you: rush iron, build your base on a hill, and never, ever walk through fog without a torch.
Why players struggle — the three things that make you want to punch your monitor
I've watched five friends buy this game. Four of them refunded it. The one who stuck with it is the only one who let me yell advice at him through Discord. Here's why people bounce off Bellwright:
- The tutorial lies. It tells you to gather berries and build a fire. It does not tell you that unwashed berries have a 30% chance to give you dysentery, which will drain your stamina for two in-game days. It does not tell you that the first fire you build attracts every wolf within 200 meters. I built my first campfire, turned around, and got eaten by three wolves. The tutorial doesn't prepare you for the fact that everything in this world wants you dead, including your own campfire.
- The starvation loop is brutal. You'll spend your first several hours in a panic, constantly hungry, constantly thirsty, constantly cold. Then you'll find a reliable food source, relax for five minutes, and a bandit raid will wipe out your stockpile because you built your storage chests too close to the entrance. The game punishes complacency harder than it punishes anything else. I've had entire playthroughs collapse because I got comfortable and stopped scouting.
- The combat feels unfair until it clicks. You start with a stick. Your enemies have swords, armor, and archers who can snipe you from across the map. The stamina system is punishing — three swings and you're winded. Blocking costs stamina too, so you can't just turtle. I spent my first five attempts at the Ruined Keep getting murdered by the same two archers because I didn't know you could bait them into melee range by standing exactly at the 15-meter mark. The game doesn't tell you that enemy archers have a minimum range. Once I figured that out, I cleared the keep with a single torch and a lot of patience.
The biggest lie the gaming press tells you about Bellwright is that it's a "survival game with action combat." It's not. It's a resource management sim where the combat is the punishment for poor planning. Every fight you get into is a failure of preparation. The best players don't win fights — they avoid them entirely until they've stacked every advantage.
Pro tip I wish I'd known: Food spoils. Raw meat lasts 8 hours in your inventory. Cooked meat lasts 48 hours. But here's the thing nobody tells you: smoked meat lasts 14 days. Build a smoker the second you have 20 stone and 10 clay. It's not optional. It's the difference between exploring for two hours and having to turn back because your food went green. I lost a full day of progress my first run because I cooked 30 pieces of meat, took them on a 3-hour expedition, and watched them all spoil by the time I reached the second waypoint.
Getting started — the 12 things you actually need to know on Day 1
Forget the tutorial. Here's what you do from the moment you wake up on that beach:
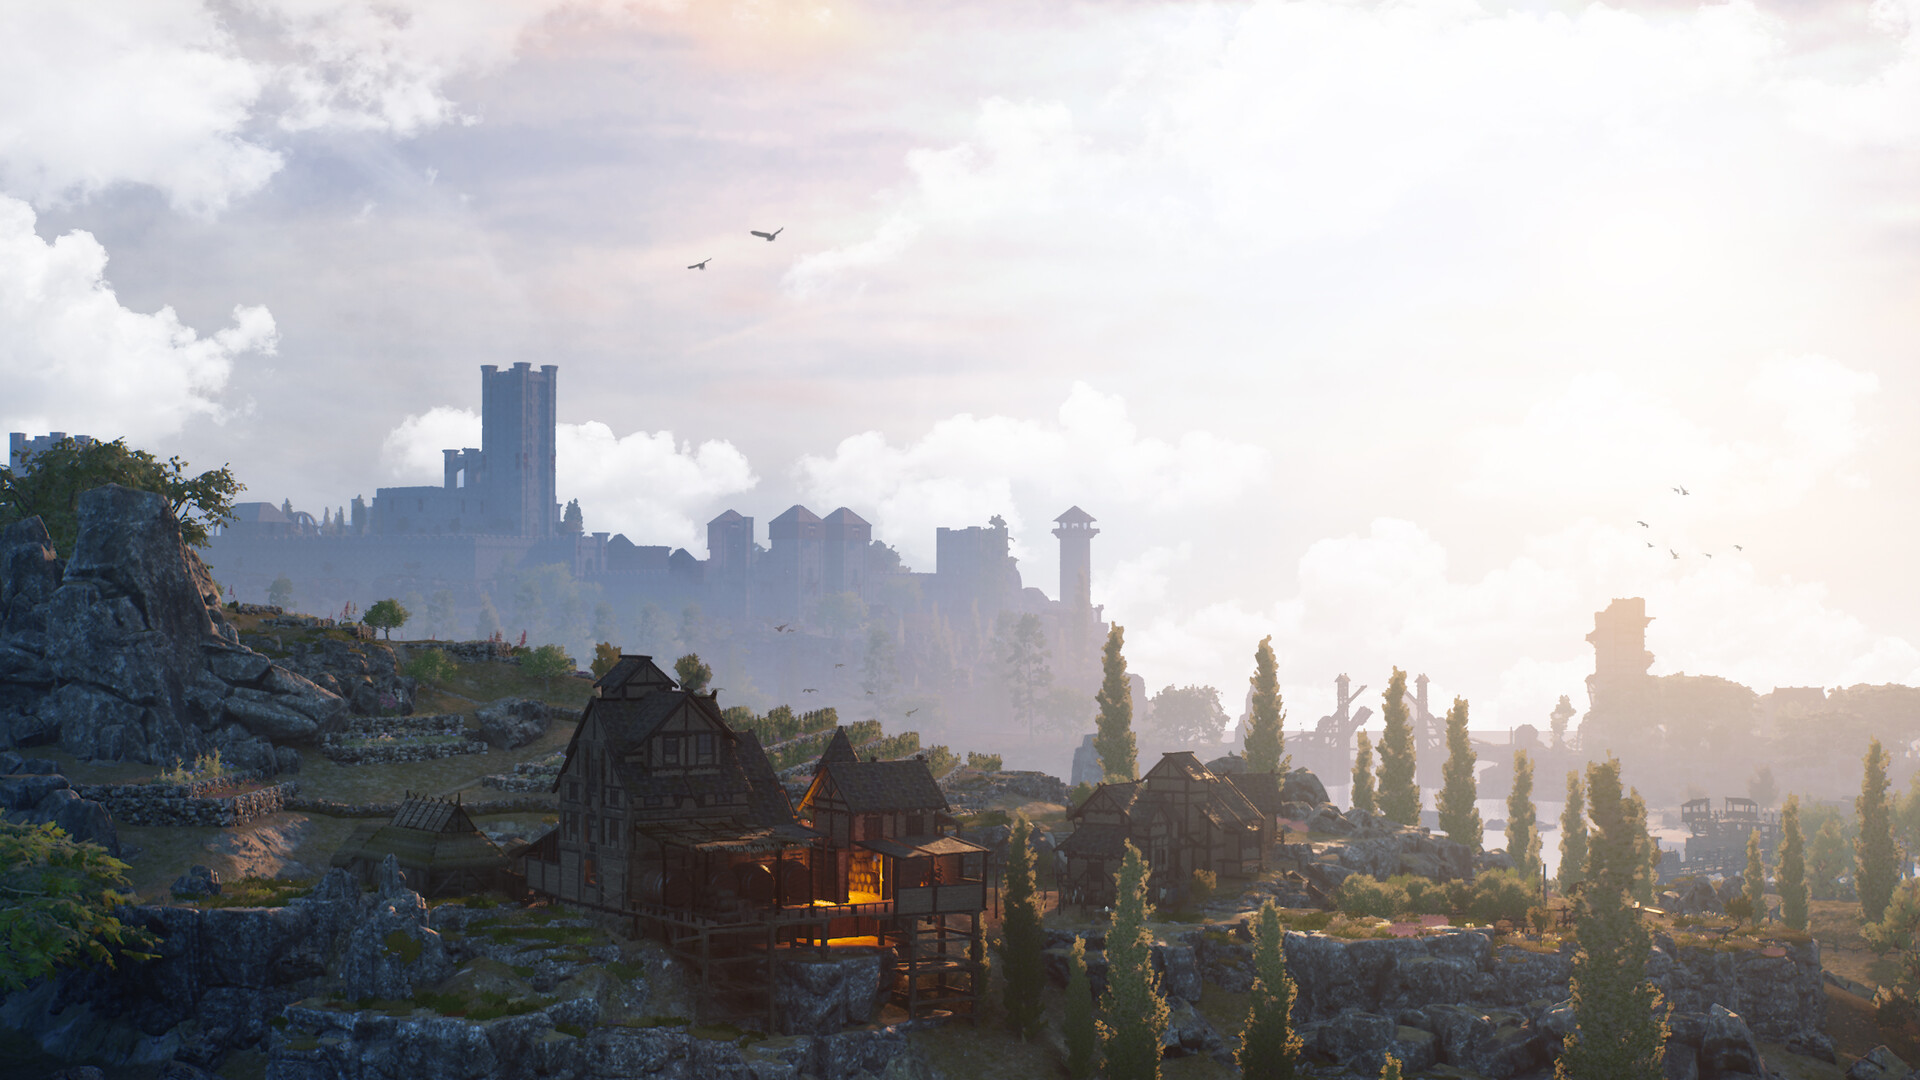
- Don't build where you start. The beach spawn is a trap. No resources, terrible defensive positions, and the wind direction means your campfire smoke will attract every hostile NPC within render distance. Head northeast until you find a hill with a cliff on at least two sides. Build your base there. My second run I built on a hill with a river to the east and a cliff to the west. I held off a 12-bandit raid with three dudes because they had to funnel through a 4-meter gap.
- Collect 20 stone before you do anything else. Not 10. Not 15. 20. You need stone for the campfire (5), stone axe (3), stone knife (2), stone hammer (5), and the foundation for your first shelter (5). If you don't have a hammer and shelter by nightfall of Day 1, the cold will kill you. Nighttime temperatures drop to -5°C, and your character starts taking damage at 0°C without shelter. I died my first night because I was too busy chasing deer and forgot to gather stone.
- The best weapon you can make on Day 1 is a spear. The stone axe does 12 damage per swing. The spear does 18 damage, has longer reach, and costs the same resources. Craft two spears. Always carry a backup. They break after about 20 hits, and you don't want to be unarmed when a bear shows up. Bears have 200 HP and deal 35 damage per swipe. A spear lets you poke them from outside their attack range. I've killed six bears with spears and zero with axes. Axes are for chopping wood, not war.
- Build a water collector on Day 2. You can drink from rivers, but river water has a 25% chance of giving you parasites, which reduces your max stamina by 50% for 3 days. A water collector with a clay pot gives you clean water infinitely. The recipe requires 10 wood, 5 clay, and 3 cloth. Cloth comes from breaking down the clothes of bandits you kill. Yes, you have to murder people for clean underwear to drink from. That's this game.
- Kill every rabbit you see. Rabbits drop fur, which you need for the Fur Vest (requires 8 fur, 2 cloth). The Fur Vest gives you +10 cold resistance, which lets you survive nights without a fire until you build proper shelter. More importantly, it frees up your inventory slot because you don't need to carry a torch everywhere just to stay warm. I spent my first 20 hours carrying a torch everywhere. The Fur Vest changed my life.
- Do not build a second floor on your shelter until you have nails. Wooden floors require iron nails. You don't get nails until you build a forge, which requires iron ore and a bellows. The game lets you place second-floor plans but doesn't warn you that you can't finish them. I built a two-story house frame on Day 3 and spent the next week staring at an empty skeleton because I couldn't find iron ore.
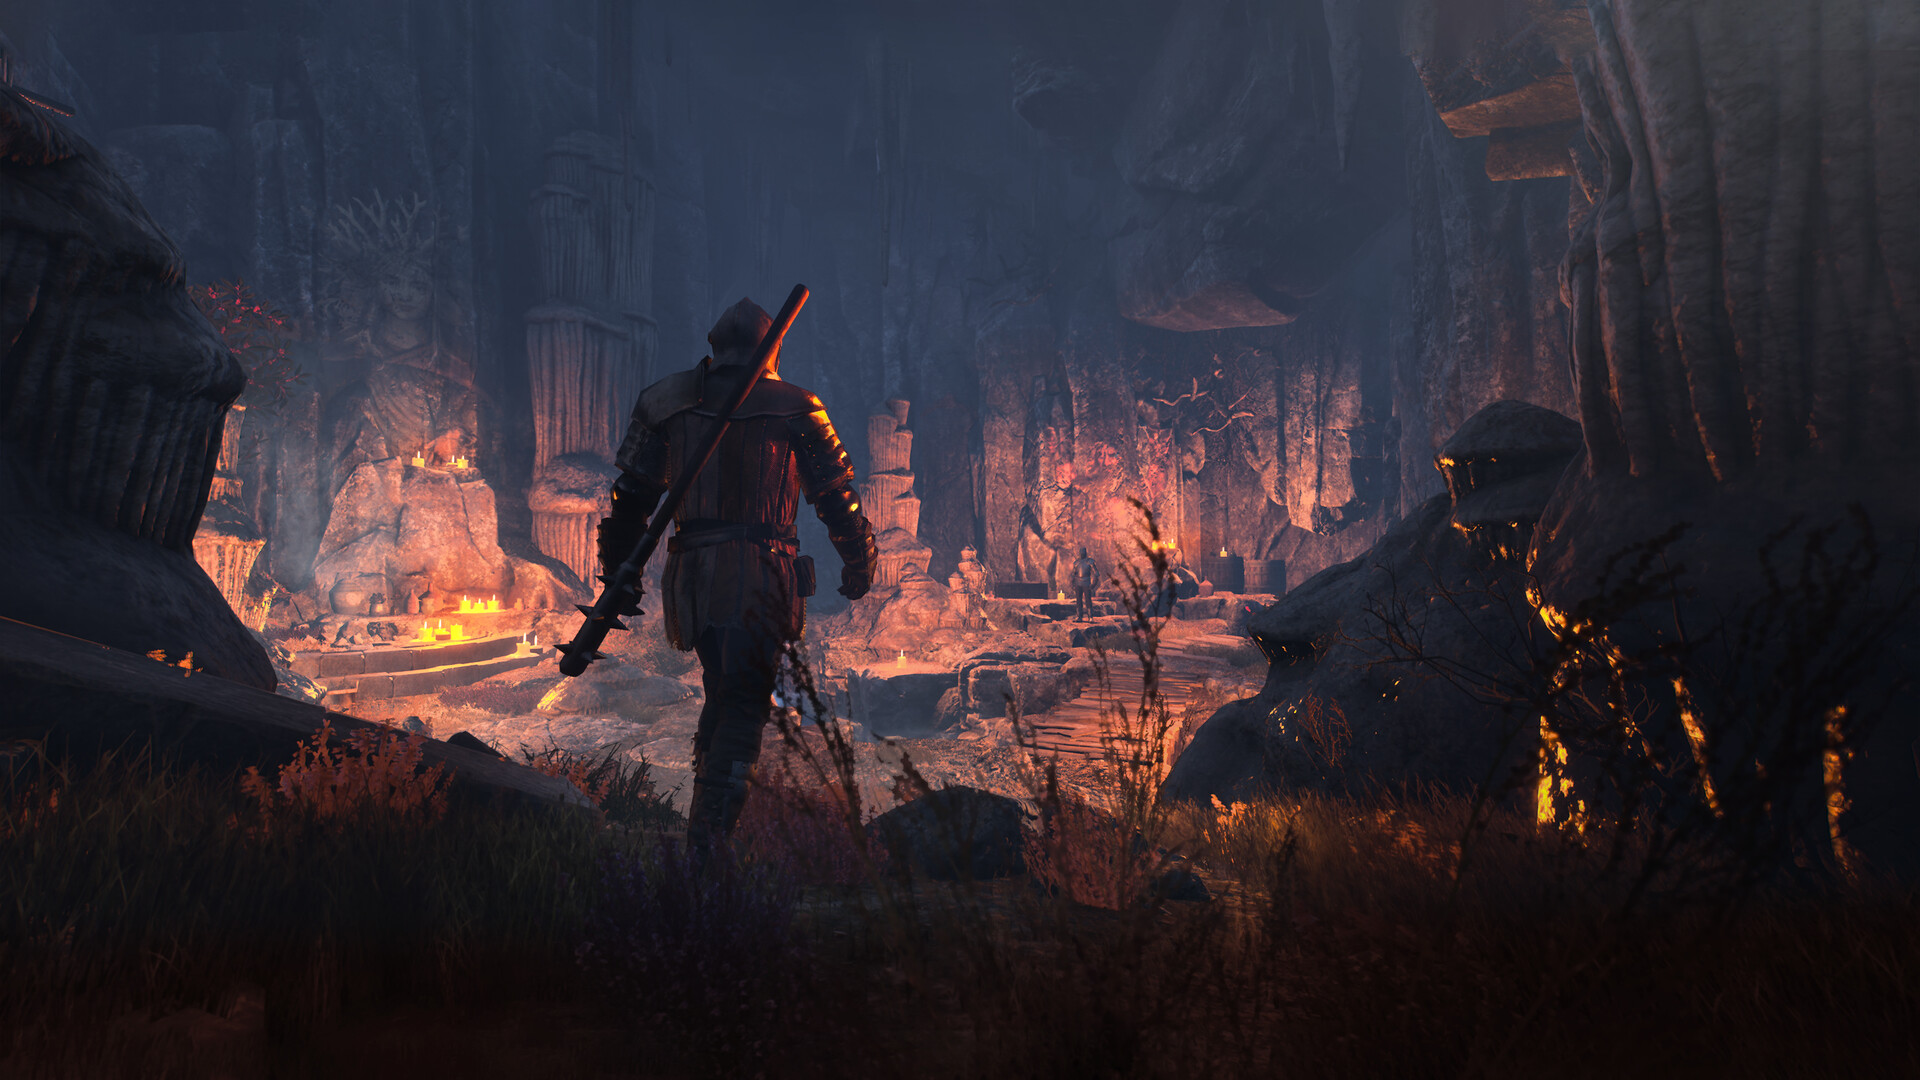
- Iron ore is in the caves, but the caves have spiders. The first cave (marked with a pickaxe icon on your map) has about 30 iron ore nodes and 8 spider nests. Each nest spawns 3 spiders. Spiders hit for 15 damage but poison you for 5 damage per second for 10 seconds. That poison stacks with multiple hits. I went into that cave with full health and 5 bandages, got hit by two spiders simultaneously, and died to the poison tick while trying to eat healing food. Bring poison antidote (requires 2 herbs, 1 water, cooked at a campfire) or accept that you will die at least once to spiders.
- Repair your tools before they break. Tools have a durability meter. When it hits zero, the tool breaks and leaves your inventory. To repair, you need the Repair Kit (5 stone, 2 cloth) at a workbench. Repair restores 50% durability but costs half the materials of a new tool. If you repair at 25% durability, you get two uses out of less than one tool's worth of materials. I didn't realize this until hour 40. I'd been throwing away broken tools and making new ones like an idiot.
- Trees regrow, but not where you want them to. Cut down a tree and it takes 7 in-game days to respawn. But the respawn location is random within a 50-meter radius. If you clear-cut an area for your base, the trees will come back in the middle of your dining room. I had a tree grow through my smithy floor. I had to dismantle the entire building to get it out. Tip: Build roads and paths with stone floors to prevent tree respawns in your base area.
- The compass tells you where enemies are, but only if they're moving. Static enemies (like sleeping bandits or hidden spiders) don't show up. The compass shows red dots for moving hostile NPCs within 100 meters. If you're walking through a forest and the compass is clear, that doesn't mean you're safe. It means nothing is walking. There could be 20 bandits sitting behind a rock watching you. I got ambushed by a patrol that was literally sitting still in a bush. The compass didn't ping until they stood up and aggro'd.
- Always carry 3 bandages and 2 antidotes. Not 1. Not 2. 3 bandages. Bleeding stacks. If a wolf hits you twice, you'll have two bleeding effects ticking for 10 damage each. One bandage removes one bleed. If you only carry one bandage, you die to the second bleed. I've lost more characters to bleed stacks than to any boss in the game. Antidotes are for poison, bandages are for bleed, never confuse the two.
- The first quest giver is lying to you. The old man at the starting camp tells you to go north to find "safe lands." North is infested with level 15 wolves (you start at level 1) and a bandit camp with 12 archers. The safe lands are actually to the southwest, where the deer spawn and the wolves are level 3. I followed his directions, walked north, and got mauled by three wolves within 30 seconds. The game is testing you. Fail the test and learn, or succeed and call the old man a liar. I called him a liar and started my third run immediately.
Expert tips — stuff the wiki doesn't tell you
Once you've got the basics down, here's the advanced stuff that separates a dead player from a thriving one:
- The Flamethrower (yes, there's a flamethrower) does 45 base DPS but ramps to 120 after 3 seconds of continuous fire. You find the schematic in the Underground Vault (southwest corner of the map, behind a door that requires 3 lockpicks). It requires oil (rendered from animal fat at a smelter) and a metal tank. It's not a primary weapon — it's too heavy and the oil costs too much. But it's the best crowd control tool against spiders and tree creatures. Load it up, walk into a spider cave, and just hold the trigger. Everything dies in 5 seconds.
- The Bloodmoon Knight boss has a secret weakness. He's immune to fire, resists slash damage (swords, axes), but takes 150% damage from blunt weapons. A mace does 30 base damage to him, which becomes 45 per hit. I fought him with a sword for two hours, died 12 times. Switched to a iron mace with +3 upgrade, killed him on my first try in 40 seconds. The game doesn't tell you this. You have to experiment or read the environmental clues (his armor is covered in fire runes, implying he's fire-aligned, so fire does nothing).
- You can kite enemies into each other. Wolves and bandits are hostile to each other. If you're being chased by a wolf pack, run towards a bandit camp. The bandits will aggro on the wolves, fight them, and usually win. You can loot both sides. I cleared an entire bandit fortress this way by luring three bear patrols into their front gate. Cost me nothing but patience.
- The campfire smoke mechanic: build two fires. One fire for cooking (near your base), one fire for smoking (further away). The smoke from the cooking fire attracts enemies. The smoking fire does not produce visible smoke on the map (the game lies — it produces a thin wisp that only renders within 20 meters). I built my smoker in a dip behind my base hill. Bandits never found it, but I could smoke 50 meat at a time without attracting attention.
- Storage chests have weight limits, not slot limits. A small chest holds 50 kg. A large chest holds 200 kg. But here's the trick: stacks don't count against weight until they exceed 1 kg per item. Stone weighs 0.5 kg per unit. You can fit 100 stone in a small chest (50 kg weight limit). Iron ore weighs 1.5 kg per unit. You can only fit 33 iron ore. Don't mix heavy items with light items in the same chest. Organize by weight category. My base has three chests: one for wood/stone (light), one for ore/ingots (heavy), one for food/fabric (medium). This changed my entire logistics game.
- The "hidden" workbench upgrade. At the workbench, you can craft a Sharpening Stone (10 stone, 1 iron ingot). When you use a Sharpening Stone on a weapon, it gives +25% damage for 10 hits. It consumes the stone. You can stack multiple stones for longer duration but not more damage bonus. I sharpened my mace before the Bloodmoon Knight fight and was doing 56 damage per hit instead of 45. It's cheap to make and absolutely worth using before any boss fight or major exploration.
- Fast travel is a trap if you use it wrong. You can set up fast travel points at the Waystone structures scattered around the map. But fast travel costs 5 stamina per 100 meters and you arrive exhausted (0 stamina). If you fast travel into a hostile zone, you cannot run or fight for about 15 seconds while stamina recovers. I fast traveled to a waystone, appeared at 0 stamina, and immediately got jumped by a bear. Dead before I could take a step. Always scout the waystone's surroundings before you fast travel to it.
Common mistakes — the stupid ways I died (so you don't have to)
I have 200 hours in this game. I've died in every stupid way possible. Here's what cost me runs:
- Not respecting the rain. Rain extinguishes campfires. If you're in the middle of nowhere when it starts raining, your fire goes out, you can't cook, and you take cold damage. I was exploring the Northern Marsh (a huge area with no natural shelter), got caught in a storm, lost my fire, and froze to death while trying to build a roof over the embers. Always carry a portable shelter kit (5 wood, 3 cloth — build it at a workbench, it deploys as a tent you can pick back up). A tent keeps you dry and warm even in a hurricane.
- Inventory management disorder. I used to pick up EVERYTHING. Then I'd be overencumbered, moving at a crawl, and a single wolf would catch me. I'd drop all my loot to fight, survive, but then not remember where I dropped it. Lost three full expeditions worth of rare herbs and iron this way. Set a rule: only carry one tool per type, 5 food, 3 bandages, 2 antidotes, and don't pick up anything that weighs more than 1 kg per unit unless it's iron ore. Stop picking up feathers. You don't need 300 feathers. You use 5 per day.
- Building too close to the water. Rivers flood. The Flood Season happens every 30 days and lasts 3 days. Any building built within 20 meters of a riverbank will flood, destroying your furniture and damaging your walls. I built my entire first base 10 meters from a river because I liked the view. Day 30, flood came, wiped out all four of my storage chests and my cooking station. Everything ruined. I had to dismantle and move the entire base uphill. Check the terrain: if you see old flood debris (dead trees, loose rocks) near the water, don't build there.
- Going to the Ruined Keep without a ranged weapon. The Ruined Keep has three archer towers. The archers have 360-degree vision and infinite arrows. You can't block arrows effectively with a shield (shields block 50% of arrow damage, but you still take the stamina hit and stagger). Bring a bow. The makeshift bow does 25 damage, but more importantly it has 50-meter range while enemy archers only have 40-meter range. You can out-range them and pick them off one by one. I spent three hours trying to melee-rush that keep. I cleared it in 20 minutes with a bow and 15 arrows.
- Not saving before the plague event. The Plague event triggers when you've been playing for about 15 days. It's marked by a green haze appearing around your base. If you don't immediately build a quarantine zone (10 wood, 5 cloth, requires a dedicated building), the plague will spread to your entire camp and kill all your NPC followers. I lost a max-level blacksmith and two warriors to the plague because I was too busy exploring. The game autosaves before the event, so you have a chance to reload. I didn't realize this until it was too late. Always manual save before Day 15.
FAQ — the questions you're googling at 2 AM
Q: Can I respec my skill points?
A: No. Skill points are permanent. The Respec Shrine you see on the map is a lie — it's actually a quest item for a later storyline. Don't waste your time. Plan your build from the start. Iron skin (reduces fall damage by 50%) is a noob trap. Take Quick hands (faster tool switching) and Sturdy legs (20% less stamina drain while running). Those two skills will save your life more than any combat buff.
Q: What's the best weapon for mid-game?
A: The Iron Battle Axe. It does 35 base damage, has a sweeping attack that hits multiple enemies, and costs 10 iron ingots + 5 wood. The sword does 28 damage but hits faster. The spear does 22 damage but reaches further. The axe is the best all-rounder. I used the iron axe from hour 30 to hour 100 before I found the Ancient Greatsword (a unique weapon from the Forest Temple boss). If you're doing a casual playthrough, the iron axe is your best friend.
Q: How do I get more NPC followers?
A: Complete their personal quests. Each potential follower has a quest chain (usually 2-3 quests). The first quest is always "bring me 5 cloth" or "kill 3 wolves." Once you finish the chain, they'll offer to join your camp. There are 12 recruitable NPCs in the game. I've found 9 of them. The best is Erin, who gives you a passive +20% crafting speed. She's in the Southern Village, but she won't talk to you unless you've built a forge. Come prepared.
Q: Is it worth building walls around my base?
A: Yes, but only stone walls. Wood walls have 200 HP. Stone walls have 800 HP. Bandit raids will destroy wood walls in about 15 seconds. Stone walls take them 2 minutes, which is plenty of time to kill them. A stone wall costs 20 stone and 5 clay per section. You need about 40 sections to fully enclose a medium base. That's 800 stone and 200 clay. Start collecting from Day 1.
Q: What's that weird purple crystal I found in a cave?
A: Void Shard. Don't touch it with your bare hands. It deals 50 damage per second while holding it. You need a Crystal Pouch (crafted at the Alchemy Station, requires 10 herbs and 5 cloth) to carry it safely. It's used in endgame crafting for the Void Walker armor set and the Oblivion Blade. Store it in a chest until you have the alchemy station. I picked one up, took 150 damage before I could drop it, and died.
Q: I'm stuck on the second boss, the Frost Witch. Help?
A: The Frost Witch is weak to fire. Fire arrows do 40 damage to her (regular arrows only do 15). You need the Fire Bow schematic from the Blackwood Mine (north of the starting area, guarded by level 10 wolves). The Fire Bow requires 5 iron ingots and a Fire Core (drops from the Magma Spider boss in the Volcanic Caverns). Yeah, it's a chain of bosses. Welcome to Bellwright. If you don't have the fire gear, kite her around the arena's central pillar. Her ice beam has a 3-second charge time — you can dodge it by running perpendicular. I beat her with a torch and a lot of patience on my third try. Check out our Valheim guide for similar boss-fighting strategies — the circle-and-dodge method works in both games.
Q: Why does my food keep spoiling in the chest?
A: You built the chest in direct sunlight. Chests placed outdoors spoil food twice as fast. Build your pantry chest inside a shelter with a roof. The game checks two conditions for spoilage: enclosed space (walls and roof) reduces spoilage rate by 50%. Cool temperature (underground or near water) reduces it by another 25%. I built my pantry in a basement room under my forge. My food lasts 4 times longer than it did in my outdoor chest.
Q: Any good mods for beginners?
A: Yes. "Better Map Icons" mod adds markers for resource nodes. "Quick Stack" lets you dump your inventory into nearby chests with one button. "No Rain Extinguishes Fire" is a quality-of-life mod that fixes the single most annoying mechanic. These are all on Nexus Mods and work with the current version. The game doesn't disable achievements for mods (as of patch 1.4), so go wild. But be warned: mods can break on updates. Back up your saves before installing.
Q: I keep dying to the tutorial wolves. Am I bad?
A: No. The tutorial wolves are overtuned. They have 80 HP and do 20 damage per bite. You start with 100 HP and a stick that does 8 damage. It takes 10 hits to kill one wolf, and one wolf takes 5 hits to kill you. The math doesn't work. Skip the tutorial wolves. Run past them. The game's tutorial is poorly designed. Just get to the first camp and start gathering. You're not supposed to fight them. I died three times to those wolves before I realized I could just sprint past. This is a similar issue to the early-game difficulty in Grounded — sometimes the game expects you to run, not fight.
Sign in to post a comment.
Sign in with GitHub to join the discussion.
💬 Comments
What players are saying:
Dude, the tip about building your smoker away from the main camp saved my entire run. I was wondering why every bandit raid seemed to know exactly where my base was. That smoke mechanic is way more punishing than the game implies. Also, the spear advice is legit — I've killed four bears now with the same strategy you outlined. Great guide, only wish I'd read it before I lost my first 30 hours to the plague.
Gotta disagree on the battle axe. The spear's reach is more important for the spider caves because you can poke them from outside their poison spray range. I tried the axe, got poisoned, died. Switched back to the iron spear with the "long reach" upgrade and cleared the entire Southern Cave system without taking a hit. Otherwise solid advice, especially the bit about the Flood Season. I lost a full iron smelter setup to that. Fuck the river.
The tip about stacking bleeding effects and carrying 3 bandages instead of 2 saved my life in the Bloodmoon fight. I went in with 4 bandages just to be safe and the boss hit me with two bleed stacks in a row. If I'd had only 2 I'd have died. Also, the Sharpening Stone tip is huge — I'd never even looked at that recipe. Now I'm rolling through enemies. This guide is way better than the Fextralife wiki. Thanks for writing it.