
Why I’m Writing This
I’ve got over 400 hours in Crab Champions, and I still remember my first ten runs. I picked the Poison Claw because it looked cool, stacked every green mod I found, and got absolutely wrecked by the second boss—some giant laser-shooting turtle thing—before I even got a third of its health bar down. I alt-F4'd, uninstalled the game, and sat on my couch for ten minutes just stewing. Then I reinstalled it because I'm an idiot and I love it. This game is brutally honest: it does not care if you're new, it does not care if you're having a bad day, and it will punish you for bad habits harder than most shooters I've played. But underneath that shell (pun absolutely intended) is one of the most satisfying loop-driven games I've ever touched. This guide exists because the game explains almost nothing, and the wiki is still half-baked. I want you to skip the pain I went through and actually have fun from run one.
The Stuff That’ll Make You Rage
Let's be real about what's actually hard here. It's not the aim—anyone who's played a few rounds of Risk of Rain 2 or a third-person shooter can get the hang of the gunplay. The real pain points are:
- The Currency Trap: You get currency called Pearls at the end of each run. The game wants you to spend them on random upgrades at a vendor between runs. But the vendor is a liar. I wasted my first 1,200 Pearls buying a "rare" necklace mod that gave +5% movement speed and a poison tick that did 2 damage per second. That is trash. You cannot refund these. You will feel stupid.
- Enemy Spawning Logic: The game sometimes throws 10+ ranged enemies at you in a wide-open arena with no cover. If you don't know the spawn patterns, you'll get shredded from three angles in under four seconds. The game's difficulty curve isn't smooth—it's a vertical wall that appears randomly.
- Boss One (The Claw Mother): This boss has a phase where it spawns 8 homing orbs simultaneously. The game doesn't tell you that you can shoot the orbs down or that they despawn if you break line of sight. I died to this phase seven times in a row before I realized I was supposed to play hide-and-seek, not just dodge.
- Inventory Management: You have four weapon slots and four mod slots. The game lets you carry way more items than that, but it doesn't tell you that dropping a weapon destroys it forever. I accidentally dropped a +3 Titan Sword (the best melee in the game) trying to swap a grenade and cried.
- Scaling Lies: The difficulty scaling is tied to your Island Level, which goes up as you complete biomes. But the boss health scaling is buggy—sometimes a boss on Island Level 4 has 30% more HP than on Island Level 3, sometimes it has 80% more. There's no consistency, and you'll think you're ready when you're not.
Your First Real Day on the Island
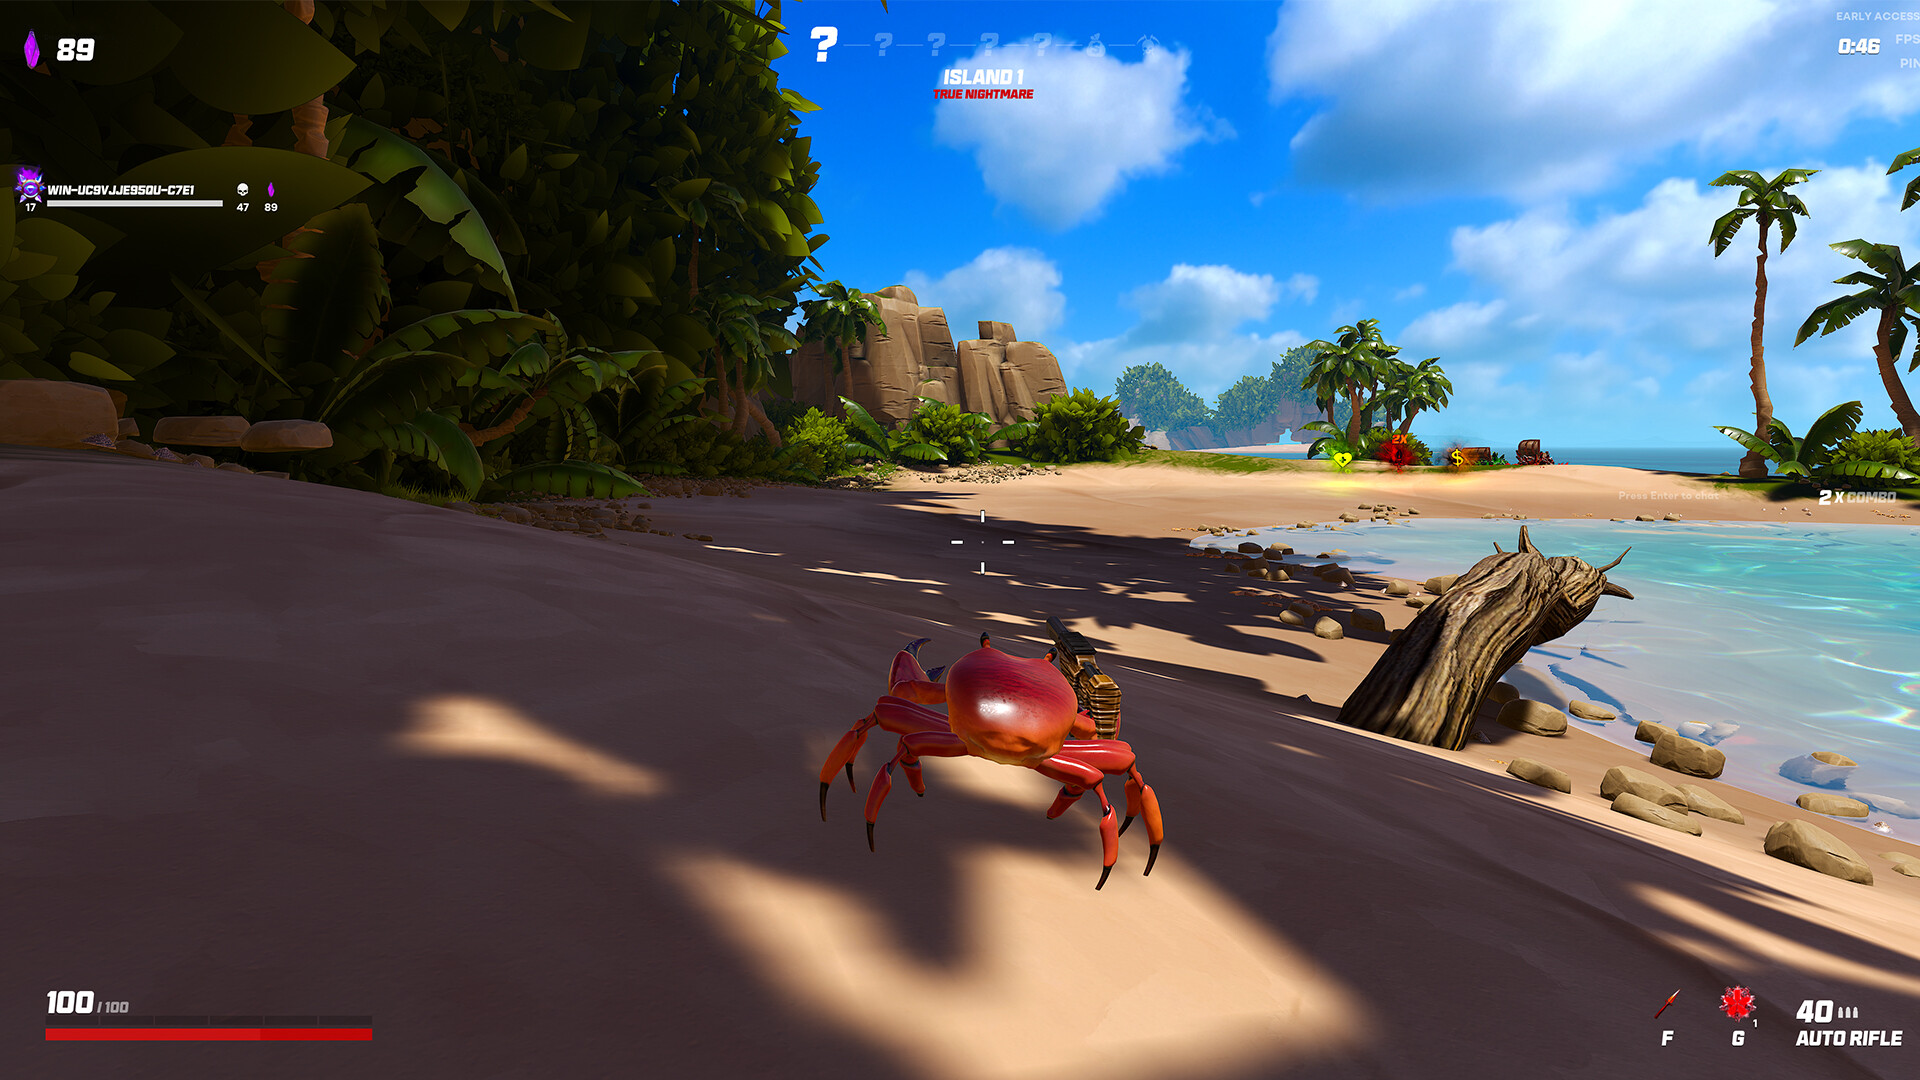
Alright, so you've loaded in. You're a crab. You have a stick. The tutorial is three buttons and then the game throws you into the deep end. Here's what you actually need to know:
Pick the Double Jump passive first. I know the +Shield Regen looks good on paper. It's not. Double Jump is the most valuable mobility tool in the game because 60% of enemy projectiles track the ground level. If you jump twice, you're above their aim arc. It saves you from the homing orbs, the mine layers, and the stupid sniper crabs that one-shot you from off-screen. The moment you unlock it, equip it. Never unequip it.
Weapon priority on your first run: You start with a Pistol. It's fine for the first biome. Your first shop or chest should be a Shotgun (the spread gives you crowd control) or the Flamethrower (which does 45 base DPS but ramps to 120 DPS after 3 seconds of continuous fire—this melts the first boss if you get right in its face). Do not buy the Sniper Rifle on your first run. It looks cool, but you don't have the mobility to keep distance, and the reload time will get you killed.
Mods that matter early: You find mods in chests—green, blue, purple tiers. Do not hoard them. If you see +Crit Chance (even green tier), take it. A +15% Crit Chance mod combined with a fast-firing weapon like the SMG will double your damage output against the first boss. Second priority is +Move Speed on Kill. It stacks multiplicatively with your base speed, meaning if you get two of them, you'll be zipping around the arena and enemies will miss constantly.
The first boss fight (Claw Mother): Stay near the edges of the arena. The boss shoots a line attack that covers the center 60% of the floor. When it raises one claw, dodge perpendicular to its body—the claw slams and creates a shockwave that travels in a straight line. During the orb phase, run to the back corner pillars. Crouch behind them. The orbs will hit the pillar and despawn. Shoot the boss between waves. I've beaten this boss with just the starter pistol by doing this. You don't need damage if you survive longer.
Pro tip I wish I knew on day one: Right before you enter a boss arena, there's usually a health fountain and a vendor. Do NOT buy from that vendor unless you see a purple or gold mod. The vendor in boss arenas has a hidden +50% price markup. Save your Pearls for the biome exit vendor, which has normal prices. I wasted 400 Pearls on a blue mod right before the second boss because I panicked. Don't be me.
Tricks That’ll Save Your Shell
Once you've got the basics down, you're going to hit a wall around Island Level 6 or 7. The enemy density spikes, the biomes get more annoying (looking at you, Lava Caves with their floor-is-lava gimmick), and you'll feel like you can't keep up. Here's how you break through:
- Learn the "Dodge Cancel" tech: Your dodge roll has a 0.3-second invincibility window at the start. But if you press attack right after the dodge, you cancel the recovery animation. This lets you attack, dodge, attack again in about 1.2 seconds instead of 2. It's huge for DPS. Practice in the first biome against the slow melee crabs until it's muscle memory.
- The Flamethrower + Poison Stacking combo is real but situational: A lot of guides will tell you to run Flamethrower + Poison Claw + Stacking Poison Mod. This does work—it can hit 200+ DPS with full stacks. But it falls off hard against flying enemies and enemies that teleport (there's a type of Shadow Crab that teleports every 3 seconds and resets your poison stacks). If you see the Shadow Crab biome, drop this build and switch to raw crit damage with a Revolver. The Revolver does 80 base damage per shot and ignores the teleport issue.
- Shields are overrated in the late game: I see so many players stacking +Shield Capacity mods. Stop. At Island Level 7+, enemies deal damage in chunks. A single hit from an elite can do 50-70 damage. Your shield might be 80 max. So you're dead in two hits regardless. Instead, stack +Max HP and +Healing on Kill. Each point of healing on kill is worth roughly 3 points of shield because you can recover between fights. I run +2 HP per kill with a +30% Max HP mod and I live twice as long as with a full shield build.
- The "Sacrifice" mechanic is bait for new players: Some altars let you sacrifice a weapon for a random upgrade. The upgrade is almost always a mod tier lower than what you sacrificed. I sacrificed a purple SMG and got a green ammo mod. Never again. Only use the sacrifice altars if you have a duplicate weapon you don't care about.
- Movement is your best defensive mod: There's a mod called +5% Move Speed per kill (stacks 10 times). It's green tier. I've beaten Island Level 10 with that as my only defensive mod. If you keep moving in wide circles (not straight lines), the homing projectiles will miss because they have a turn radius. At max stacks, you're moving at +50% speed, and the game's enemy AI can't track you properly. This is the closest thing to a "win button" the game has.
- Memory the spawn points: In each biome, enemies spawn from specific cracks in the ground or glowing nodes on walls. If you memorize the first two spawn points in each arena, you can pre-fire a grenade or a charged shot. The Grenade Launcher does 120 damage in an AoE and can clear a spawn wave instantly. I've cleared entire biomes by just standing at the spawn point and throwing grenades every 8 seconds.
Common Mistakes to Avoid
I've made every mistake in this game so you don't have to. Here's what's costing you runs:
- Standing still to aim. I know you want to line up that headshot. Don't. This game's enemies have zero aim delay. If you stop moving for more than 2 seconds, a ranged crab will hit you. Always strafe. I don't care if you're using a sniper—jump, shoot mid-air, land, repeat. Your accuracy will drop by maybe 10% but your survivability doubles.
- Ignoring the minimap. The minimap shows red dots for enemies and yellow dots for items. New players get tunnel vision and run past chests. I missed a purple mod on my first run because I didn't see the yellow dot behind a pillar. Pause every 30 seconds, glance at the minimap, adjust your route.
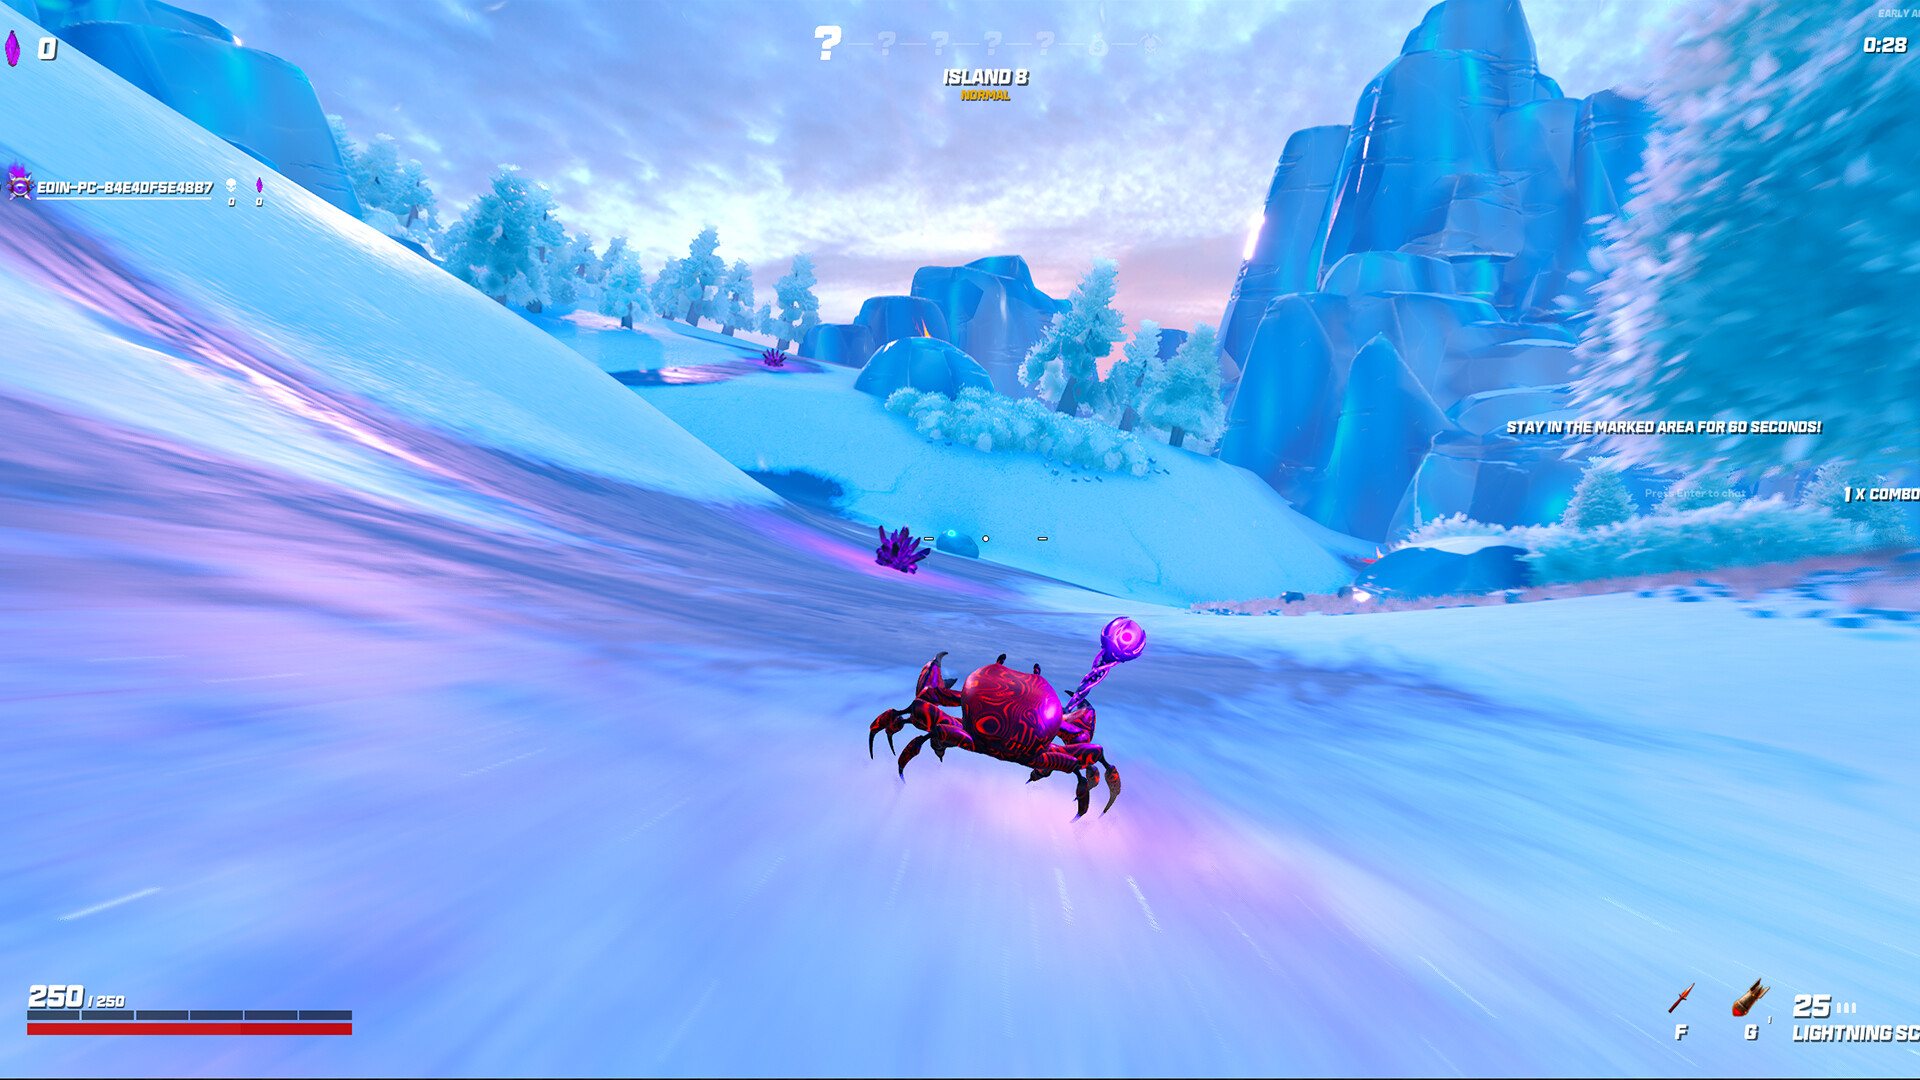
- Using the wrong weapon for the biome. The Ice Biome has enemies that slow you with every hit. If you run a Shotgun there, you have to get close, and then you get slowed, and then you die. Switch to the Assault Rifle (good range, decent fire rate) or the Crossbow (high damage, safe from range). The Fire Biome is the opposite—everything is close-range, so Shotgun or Flamethrower shines. Match your loadout to the biome or you'll hate yourself.
- Not using your secondary weapon slot for utility. You have four weapon slots. Three of them are for damage. One should be utility only. I put a Grappling Hook (yes, it counts as a weapon) in my fourth slot. It does 0 damage but lets me escape any crowd, reach high ground, or dodge a boss's one-shot attack. I've seen people use a Shield Drone (deploys a shield that blocks 3 hits) as their utility. That works too. But if all four slots are damage, you have no answer to getting cornered.
- Farming the same biome over and over. I got stuck on the Jungle Biome for 12 runs because I thought I needed to "get good" at it. Turns out, if you're struggling with a biome, skip it. The game lets you choose between two biomes after each boss. If the Jungle is wrecking you, pick the Crystal Caves instead. They have different enemy patterns that might click better. Don't bang your head against a wall.
- Not buying the "Insured" upgrade at the hub shop. The hub has a permanent upgrade called Insured that costs 500 Pearls. It gives you one free revive per run. It's the single best investment you'll make. I bought it after 30 hours. I should have bought it after 2. Get it third, after Double Jump and +Healing on Kill.
Quick Answers for Annoying Questions
- Q: Why do I keep missing the third jump? A: You're not missing it. The game's third jump (from a mod called Triple Jump) has a 0.15-second input buffer window. If you press jump before you land, it doesn't register. Wait until you see the crab's feet touch the ground, then press jump. It's tight but consistent.
- Q: The second boss (The Engineer) is impossible. What do I do? A: The Engineer spawns turrets that shoot at you. Ignore the turrets. They have 40 HP and respawn after 15 seconds. Focus the boss. Use a weapon with piercing (like the Railgun) so you can hit the boss and a turret at the same time. And stay behind the pillars—the boss's laser attack goes through the arena but not through solid walls. This is a patience fight, not a speed fight.
- Q: What's the best permanent upgrade to get first? A: Double Jump (costs 300 Pearls), then Healing on Kill +1 (costs 400 Pearls), then Insured (500 Pearls). After that, get +10% Crit Damage and +1 Weapon Slot.
- Q: Why do some runs feel impossible even with good gear? A: Sometimes the game gives you a bad seed. The mod drops are random, and you can get a run where you only find green-tier mods for the first three biomes. That's not your fault. The game has a mechanic where seed quality affects loot rarity. If you're 15 minutes in and haven't seen a single blue mod, just reset. Don't waste 40 minutes on a dead seed. You can reset by going to main menu and starting a new run—you keep your Pearls.
- Q: Is there a way to refund mods I bought with Pearls? A: No. There is no refund system. The dev said they're working on it, but as of now, every purchase is permanent. That's why I tell you to never buy from the boss arena vendor. Double-check every purchase.
- Q: This game reminds me of Risk of Rain 2. Any similarities? A: Tons. The item stacking, the scaling difficulty, the "you're OP until you're dead in one hit" vibe. If you like the buildcrafting in Crab Champions, you'll probably enjoy our Risk of Rain 2 guide for the character Loader—similar mobility and burst damage playstyle.
- Q: Are there any secret items? A: Yes. There's a hidden Golden Lobster in the Sunken Temple biome. Destroy the cracked wall behind the third fountain and you'll find it. It gives +10% damage to all attacks for the rest of the run. It's not game-breaking but it's a nice boost.
- Q: I keep getting one-shot by traps in the Lava Caves. A: The traps do 50 damage per tick. You're walking on them. Every lava tile has a 2-second safe window after it erupts. Wait for the eruption, then cross. It's that simple. If you're panic-dodging, you'll land on the lava mid-eruption. Calm down, watch the pattern, cross deliberately.
- Q: Can I play with friends? A: Yes, but the enemy scaling in co-op is brutal. Each player adds +60% enemy HP and +30% spawn rate. If your friend is bad, they're making the game harder for you. I only play co-op with friends who have beaten Island Level 5 solo at least once. Otherwise, it's a wipe fest.
Sign in to post a comment.
Sign in with GitHub to join the discussion.
💬 Comments
What players are saying:
Man, the part about the boss arena vendor with the 50% markup saved me so many Pearls. I literally had my cursor over a purple mod before I read this guide. Also, the Double Jump tip is huge — I was running shield regen for 20 hours like an idiot. Thanks for not writing like a bot.
I disagree about the Flamethrower. It's good for the first boss but falls off hard on Island 8+ because of the flying enemies. The author mentions that but doesn't stress it enough. I'd add: bring a secondary weapon with good range when you run fire builds. Otherwise solid guide, especially the spawn memory trick — never thought of that.
The dodge cancel tech changed my whole playstyle. I spent 60 hours mashing dodge and waiting for the recovery animation to end. Now I'm attacking-dodging-attacking like a madman and melting elites. The author's 400 hours shows. Only thing missing is a section on the golden lobster secret — found it after reading this guide and it's neat.