
What’s in this guide:
I Almost Gave Up On This Game Three Times
Look, I'm not gonna lie to you: the first time I launched From the Depths, I spent thirty minutes trying to make a boat float, gave up, and played Raft instead. The second time, I built a block of armor with a paddle wheel, watched it flip over the second a single enemy sneezed at it, and uninstalled. The third time? I rage-clicked the "Tutorial" button, realized the tutorial is actually useless for real combat, and then I finally figured out what this game really wants from you.
Now I've got 900 hours in this thing. I've lost battles to a single poorly-placed ammo barrel. I've watched a 50-meter battleship tip over because I forgot to put the center of mass low enough. And I've had that moment where a tiny, stupidly-designed wooden raft with a single missile launcher destroys my floating fortress. This game will kick your teeth in, then ask you to rebuild them from scratch.
But I also haven't touched another building game in two years. Once the rage subsides and the "click" happens, From the Depths is the most satisfying, deepest, and most rewarding engineering sandbox ever made. It's Kerbal Space Program meets naval combat, but with more cursing and less public funding.
This guide is me sitting you down, buying you a drink, and telling you what I wish someone had told me. Not the manual's version. The real version.
Why This Game Makes You Want to Punch Your Monitor
I've seen the Steam reviews. "Too hard." "No tutorial." "I can't get anything to float." "Why does my ship explode when I look at it?" Let me validate every single one of those complaints, because they're all true.
The real pain points are:
- The learning curve is a cliff. The game assumes you know what "center of buoyancy" and "drag coefficient" mean. I failed physics. I wanted to build a cool looking warship, not pass an engineering exam.
- The tutorial teaches you buttons, not strategy. It shows you how to place a block but doesn't tell you that putting your AI core on the top deck is a death sentence. It teaches you how to aim a cannon but doesn't explain that one bad armor layer means your entire ship gets ammo-racked.
- You will sink before you shoot anything. Most new players spend hours building a beautiful ship, press V to start, and watch it immediately capsize or sink straight to the bottom. The game doesn't warn you that your center of mass has to be BELOW your center of buoyancy.
- Enemies are not fair. The Deep Water Guard tutorial ship? That thing will blast holes in your floating brick like it's paper. The game throws you against designs that have been optimized by players who've done this for years.
- Resource management feels broken at first. You're spending Mats on guns and armor, but a single hit can take out your fuel engine or your AI, and then your ship is just a floaty coffin.
Every single one of these hit me. I spent my first three runs trying to stack layered armor and put big guns on top, and I got destroyed by the Marauder (the first real enemy) EVERY TIME. The game punishes you for building like you're in Minecraft. You need to build like you're in a physics simulation.
What You Actually Need To Know On Day One
Forget what you think you know about shipbuilding. From the Depths is not "build a box and put guns on it." Here's your actual first steps:
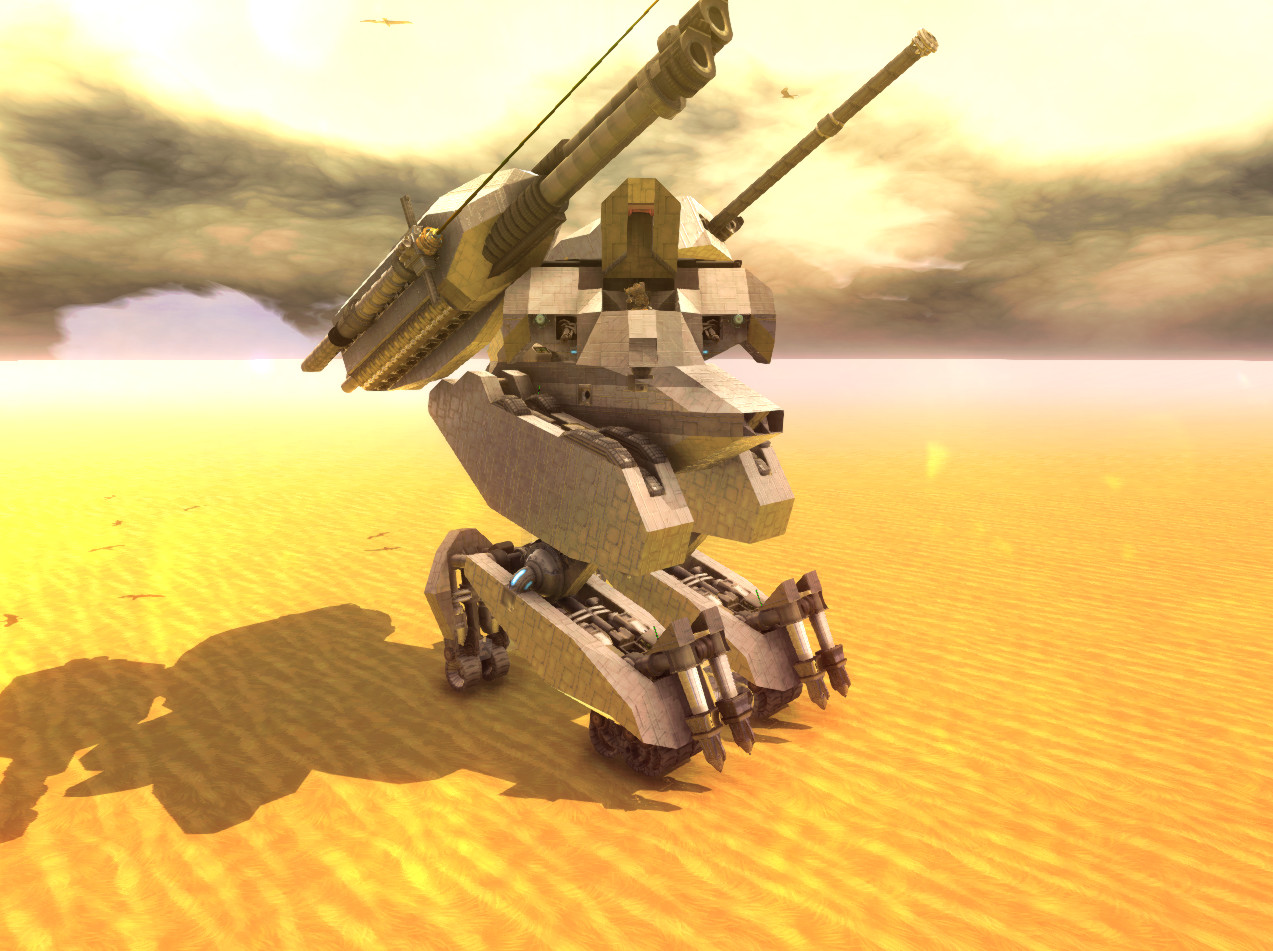
1. The First Hour: Stop Building Ships. Build A Submarine.
I'm serious. Your first vehicle should not be a battleship. Build a tiny, ugly, torpedo-toting submarine. Why? Because submarines don't have to worry about balance as much (you just adjust ballast tanks), they're harder to hit, and torpedoes are the easiest weapon system to set up. Here's your first build:
- A 3x3x10 rectangular hull. Use alloy for the outer layer (lighter than metal, better buoyancy).
- Fill the bottom 2 blocks with lead to get your center of mass low.
- Place a Small Fuel Engine in the middle (one fuel tank, one engine block).
- Add a Simple AI core somewhere interior, ideally behind armor.
- Attach 2 Simple Torpedo Launchers on the sides, pointing forward.
- Add ballast tanks (air pumps + propeller hydrofoils) to maintain depth around 5-10 meters underwater.
This piece of garbage will beat the first few Deep Water Guard ships 9 times out of 10. You're not trying to win a beauty contest. You're trying to survive long enough to learn.
2. Understand The Three Core Stats That Matter
The game hides critical info behind menus. Here are the numbers you need to watch:
- Center of Mass (CoM) — Shown as a red sphere on your build. Must be BELOW the green sphere (center of buoyancy) or you flip. No exceptions.
- Drag — Lower is faster. Big flat surfaces create drag. Pointy ends on your hull reduce drag by about 15-20% compared to a flat brick.
- Armor Health vs. Armor Class (AC) — A block with high AC resists damage better than a block with high HP. Metal has 10 HP per block but 15 AC. Wood has 5 HP and 5 AC. The ratio matters. Use metal for outer layers, wood/heavy armor for inner spall liners.
3. Set Up Your AI (The Most Overlooked Step)
Your ship will do nothing unless you tell it what to do. Hit Q on your AI core. Set the target prioritization to "Closest Enemy" — the default is "Largest Enemy," which means your little torpedo sub will ignore the tiny missile boat shredding your stern. Also, set the engagement range to 200 meters for early-game weapons. Don't try to snipe at 500 meters with a pea shooter.
If your AI is exposed on the top deck, move it inside. I lost a 4-hour build because a single HEAT round hit my AI core and my ship became a driftwood. The AI belongs in the safest, most armored compartment you have.
4. Learn The "Press Play" Button
Your vehicle isn't ready until you've pressed P in the designer and watched it for 30 seconds. If it tips over, adjust ballast. If it sinks, add more alloy or air pumps. If the engine stalls, check fuel. The designer is free, so use it to test before you spawn in a campaign battle and cry.
Hard-Earned Pro Tip: Your first campaign should be on "Easy" resource mode with infinite build time. I know your pride hurts. Mine did too. But I spent 30 hours on "Normal" never making it past the third enemy fleet, and my buddy who started on "Easy" beat the entire campaign in 40 hours. You learn faster when you're not constantly rebuilding from scratch. Plus, "Easy" gives you double resources, which means you can actually experiment with different weapons without bankrupting yourself.
Expert Tips & Tricks That Actually Matter
Alright, you've got a floating (or swimming) boat. Now let's make it deadly. These are the things the game doesn't teach you, the stuff you'd only learn by reading forum posts at 2 AM or losing your 50th battle.
Weapon Systems: Don't Sleep On Simple Weapons
Everyone wants a 500mm precision railgun that fires across the map. Guess what? That requires complex math, dozens of components, and specific ammo types. Your first 20 hours? Use Simple Weapons — the prefab turrets. The Simple Missile Launcher (the small one, 3-block) does 120 damage per hit and reloads in 8 seconds. The Simple Laser (the diamond-shaped one) has no ammo cost, just engine power drain. Both are criminally underrated by the forums.
My first campaign-killer was a submarine with six Simple Missile Launchers and a Radar component (adds target tracking). The missile salvo would overwhelm enemy anti-missile systems. Save the railguns for your third playthrough.
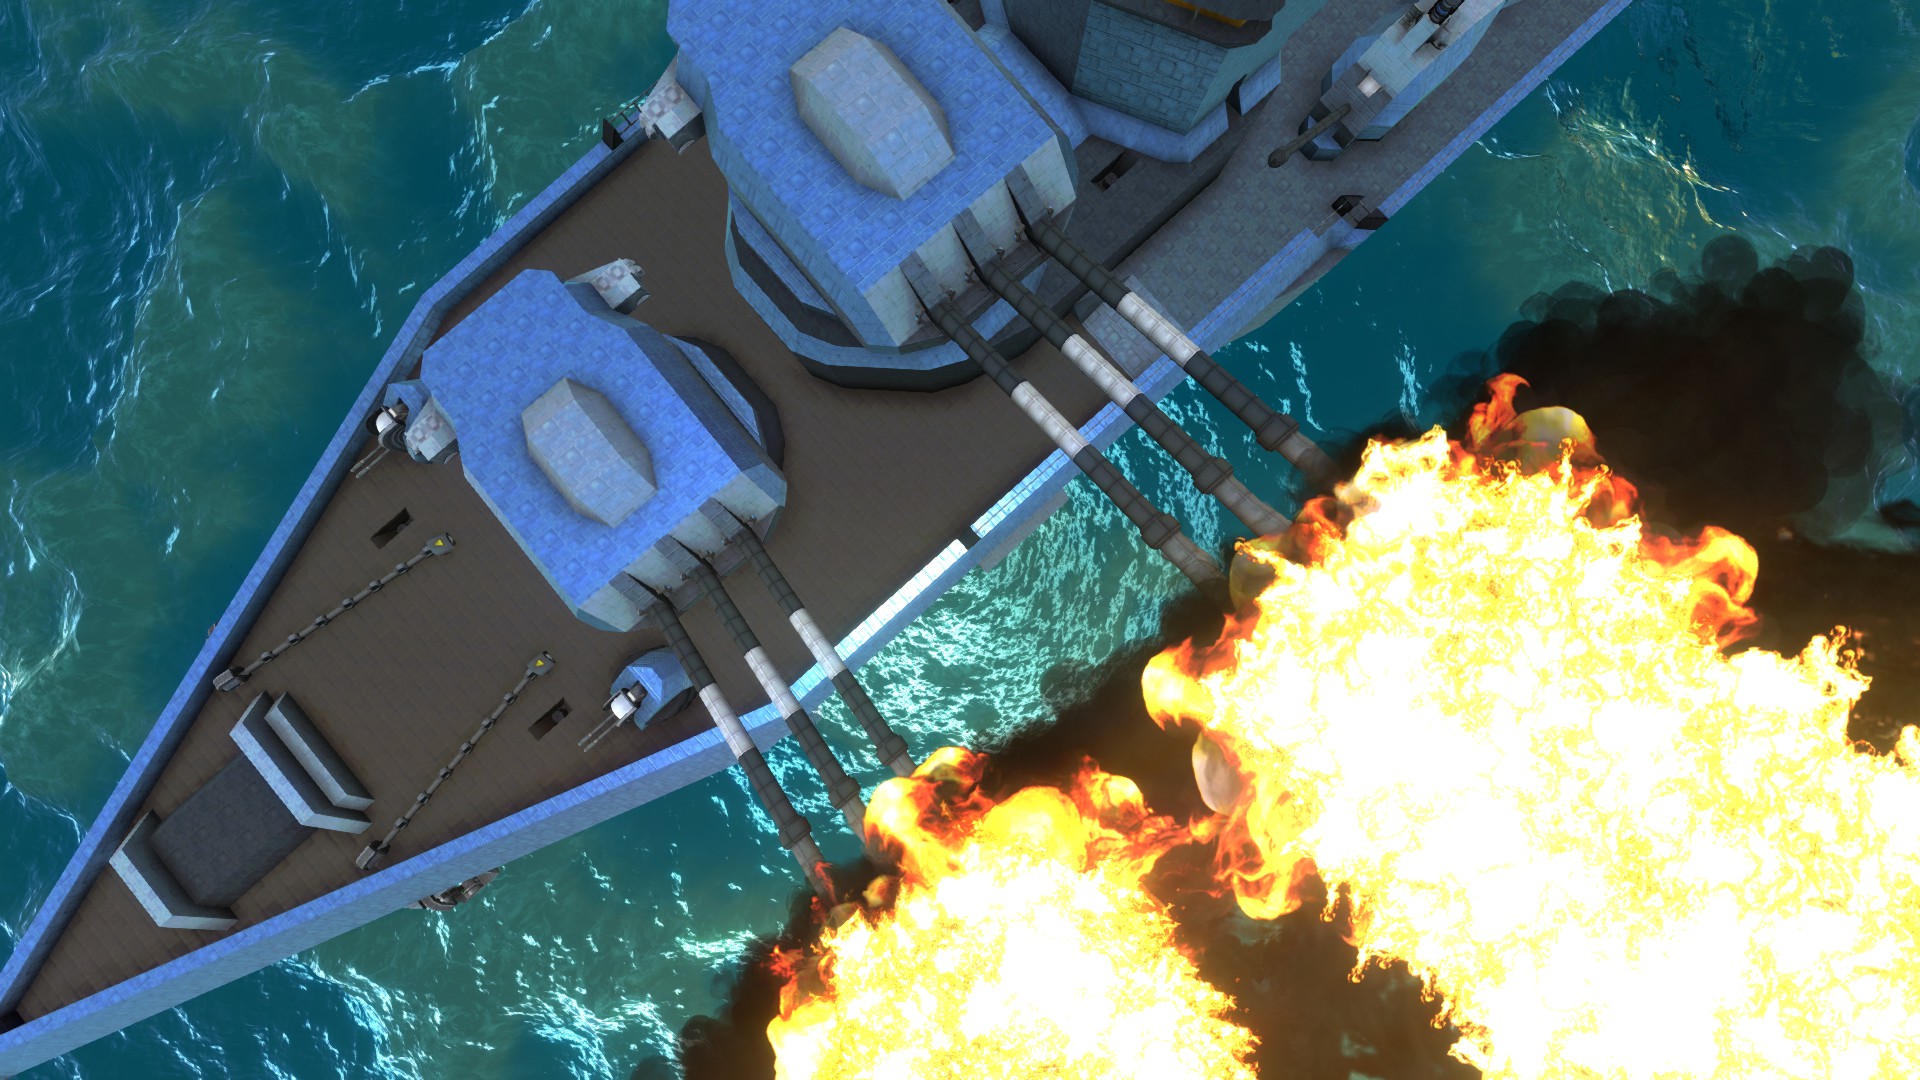
Armor: Layering Is Everything
A single layer of metal has 15 AC. Add one layer of air gap (just a block of empty space), then a layer of wood on the inside, and suddenly that same wall has effective AC of 28 against HEAT warheads. The air gap causes HEAT jets to spall and lose penetration. This is called spaced armor, and it's the difference between a ship that tanks 3 hits and a ship that explodes on the first shot.
My standard armor belt for early-game ships: outer metal, air gap, inner metal, then a wooden layer on the inside as a spall catcher. The wood won't stop AP rounds, but it will catch fragments that get through the air gap. For larger ships, add a layer of heavy armor (40 AC) around the AI and ammo storage.
Power Management: Engines Will Kill You
I built a ship that looked perfect: beautiful turrets, 8 missiles, all the bells and whistles. I pressed P to test, and it moved at 2 m/s. Why? My fuel engines were underpowered for the weight. Rule of thumb: each propeller block moving a large ship needs about 500 engine power to achieve 10 m/s. Your fuel engines produce power based on the number of cylinders and carburettors. A 3-cylinder engine (3 cylinder blocks, 3 carburettor blocks, 1 crankshaft) produces roughly 600 power and burns about 30 fuel per minute. For a modest 200-ton ship, you want at least 3 of those engines.
Also, the game's default engine setup is inefficient. The fuel refinery takes raw resources (Mats) and turns them into fuel. One refinery can support about 2-3 of those small engines. Place refineries near your fuel storage to reduce explosion risk if a fuel tank gets hit.
Detection Systems (The Hidden Stat That Wins Fights)
Your guns are useless if they can't see the enemy. Your ship comes with a default Camera and a Radar block, but you need to add Detection Sensors (like Infrared, Sonar, or Radar 360) to get good tracking data. A single Radar 360 block on a mast gives you 500 meters of detection range with decent accuracy. Combine that with a Camera and your guns will actually hit their target at range instead of firing blindly.
I spent 10 hours wondering why my main cannon kept shooting 50 meters to the left. Turned out I had no detection equipment. I added a Camera and instantly started hitting consistently. That alone doubled my combat effectiveness.
Propulsion: You Don't Need Paddles
Paddle wheels are cool. They're also slow and fragile. Use steam propellers for early-game ships. They're cheap, produce good thrust, and are easy to mount on the bottom of your hull. One medium steam propeller with a steam boiler (piston engine) can push a small destroyer at 12-15 m/s. Don't bother with sails on combat ships — they're purely for aesthetic roleplay, and they make you a stationary target when wind dies.
Common Mistakes I Watched (And Made) That Got Me Killed
I'm listing these because I've done every single one. Twice.
- Putting ammo on the outer hull. One stray HE round, and your ship becomes a fireworks display. Ammo barrels have 500 HP and explode for 8000 damage when destroyed. That's enough to core a small ship. Put ammo deep inside, behind two layers of armor, and consider adding ammo ejectors (throw out ammo before it explodes).
- Ignoring the AI's "Pitch" and "Roll" settings. Default AI will point your ship's nose at the enemy and keep it level. That's fine for broadside fights, but if you have a narrow ship, the AI may try to turn sideways and eat full volleys. Go into the AI's Nav/Combat tab and set Preferred Angle to 0 degrees (pointing straight at enemy) or 30 degrees (angling armor). This is crucial for not showing your broadside every time.
- Using too many weapons on a small ship. More guns = more weight = slower ship = easier to hit. My first ship had 4 cannons, 8 missiles, and a laser. It weighed 300 tons, moved at 5 m/s, and got circlestrafed by a tiny Crossbones (enemy light craft). Pick 2 weapon systems max early on. Missiles + Simple Laser is a solid combo.
- Not repairing between battles. In campaign, every battle is sequential. If your ship has 30% health and half your guns are disabled, you're gonna lose the next fight. The game gives you a Repair button in the map view. Use it. It costs resources, but a half-dead ship is a total-loss ship.
- Forgetting to add Emergency Propellers. If your main engine dies (fuel tank hit, engine block destroyed), your ship is dead in the water. I add a single Small Electric Propeller with a dedicated battery on my AI. It can move the ship at 3 m/s, which is enough to get you out of torpedo range or turn to present undamaged armor.
- Building everything symmetrical. Symmetrical ships look cool but are unstable. A ship with 500 tons of armor on the port side and 500 tons on starboard feels balanced, but if one side gets hit and loses weight, you'll list. I build slightly asymmetrical interior layouts (engine on one side, ammo on the other) and rely on active roll stabilization (hydrofoils with propulsion) to keep it upright.
One more: don't trust the Scarlet Dawn faction missions. The first one seems easy. It's not. They will send a fleet of 5 ships against your starting craft. I learned this the hard way when I lost my entire starting fleet inside 10 minutes. Save those missions for when you have a fleet of 3+ combat-ready ships.
FAQ — The Questions You're Googling Right Now
Q: Why does my ship sink instantly when I press V?
A: Your center of mass is too high, your hull is too heavy, or the pitch and roll controls aren't assigned. Check your P menu in the designer: if the CoM is above the green buoyancy sphere, add lead to the bottom or remove weight from the top. If your ship still sinks, add air pumps (inside hull compartments) and make sure your hull has enclosed spaces. Also, your propulsion may be set to "stop." In the AI's General settings, set "Idle Mode" to "Move Towards Enemy" or "Hold Position."
Q: How do I build a turret that actually rotates?
A: Place a Turret Block (from the "Weapons" tab) on your main hull. Then hold Shift and click on the turret block. This "enters" the turret sub-construction. Build your cannon and armor on top of that. Exit with Escape. Your turret will now rotate independently. A common mistake is building the gun directly on the deck — that's fixed. Use turrets for any main weapon.
Q: What's the best early game weapon?
A: Simple Missiles. The Simple Missile Launcher (the 2x1x3 block) costs 80 Mats, reloads in 10 seconds, and does 500 damage per hit with a decent AoE. Use 4-6 of them on a small ship. For anti-air, add a Simple Laser (fires once per second, 100 damage, instant hit). Avoid advanced cannons until you've read a dedicated guide — they're complex and easy to mess up.
Q: How do I get more resources in campaign?
A: Claim territory by destroying enemy fleets in each sector. Every sector gives a passive income of 20-100 Mats per minute depending on resource richness. Also, build resource gatherers (small mining ships or stationary platforms) in sectors you control. The Resource Harvester block (placed on water) produces 5 Mats per second in rich sectors. Build 3-4 of those early and you'll never starve.
Q: What's the deal with "HEAT" and "HESH" rounds? Which one do I use?
A: HEAT (High Explosive Anti-Tank) creates a jet of molten metal that penetrates straight through armor, damaging internal components. It's great against light to medium armor but gets stopped by air gaps. HESH (High Explosive Squash Head) flattens against the armor and sends spall fragments flying inside, damaging crew and components without needing to punch through entirely. In reality, HESH is better against spaced armor. In this game, use HEAT if you have a single thick layer; use HESH if the enemy has air gaps. I default to HEAT for early game because most enemy ships are thin-skinned.
Q: This game is so hard. Is it even worth it?
A: Yes. But you have to get past the 20-hour "wall." Once you can build a ship that doesn't sink and can kill a Marauder reliably, everything clicks. It's like learning Dark Souls — the first boss beats you up, but then you realize you just have to dodge right. This mechanic is similar to Kerbal Space Program — the failure IS the tutorial. Each failure teaches you something: "Oh, my ammo rack needs armor," "Oh, I need more detection," "Oh, my engine is too weak." The game respects your intelligence by teaching through consequence.
Q: Where can I learn more about advanced builds?
A: Check out Space Engineers guide for some parallel building principles like conveyor systems and power grids. For pure From the Depths specifics, the official forums and the FtD Discord are better than any wiki. The community is small and helpful — ask a specific question about why your cannon won't fire and someone will post a fix within an hour.
Sign in to post a comment.
Sign in with GitHub to join the discussion.
💬 Comments
What players are saying:
This is the first guide that actually told me to build a submarine first. I followed the 3x3x10 design, swapped metal for alloy on the outer layer, and beat the first Deep Water Guard fleet in 20 minutes. The tip about pressing P to test before spawning in campaign saved my sanity. Thanks.
I disagree about the "Easy resource mode" tip. I think Normal teaches you to be efficient. But I 100% agree on the AI placement thing — lost a 12-hour save because I got lazy and left the core exposed. The spaced armor section is on point. I'd add: use lead's weight to your advantage, not just for ballast. I put lead on the bottom of my turret base and it makes the ship more stable in rough seas.
400 hours in and I still learned something. Never knew about putting the camera block with detection equipment to fix the "shooting left" problem. I've been adding radar 360 to every ship but never paired it with the camera. Fixed my accuracy instantly. The comment about the ammo barrels having 8000 damage explosion is terrifying and I'm going to redesign my flagship now.