
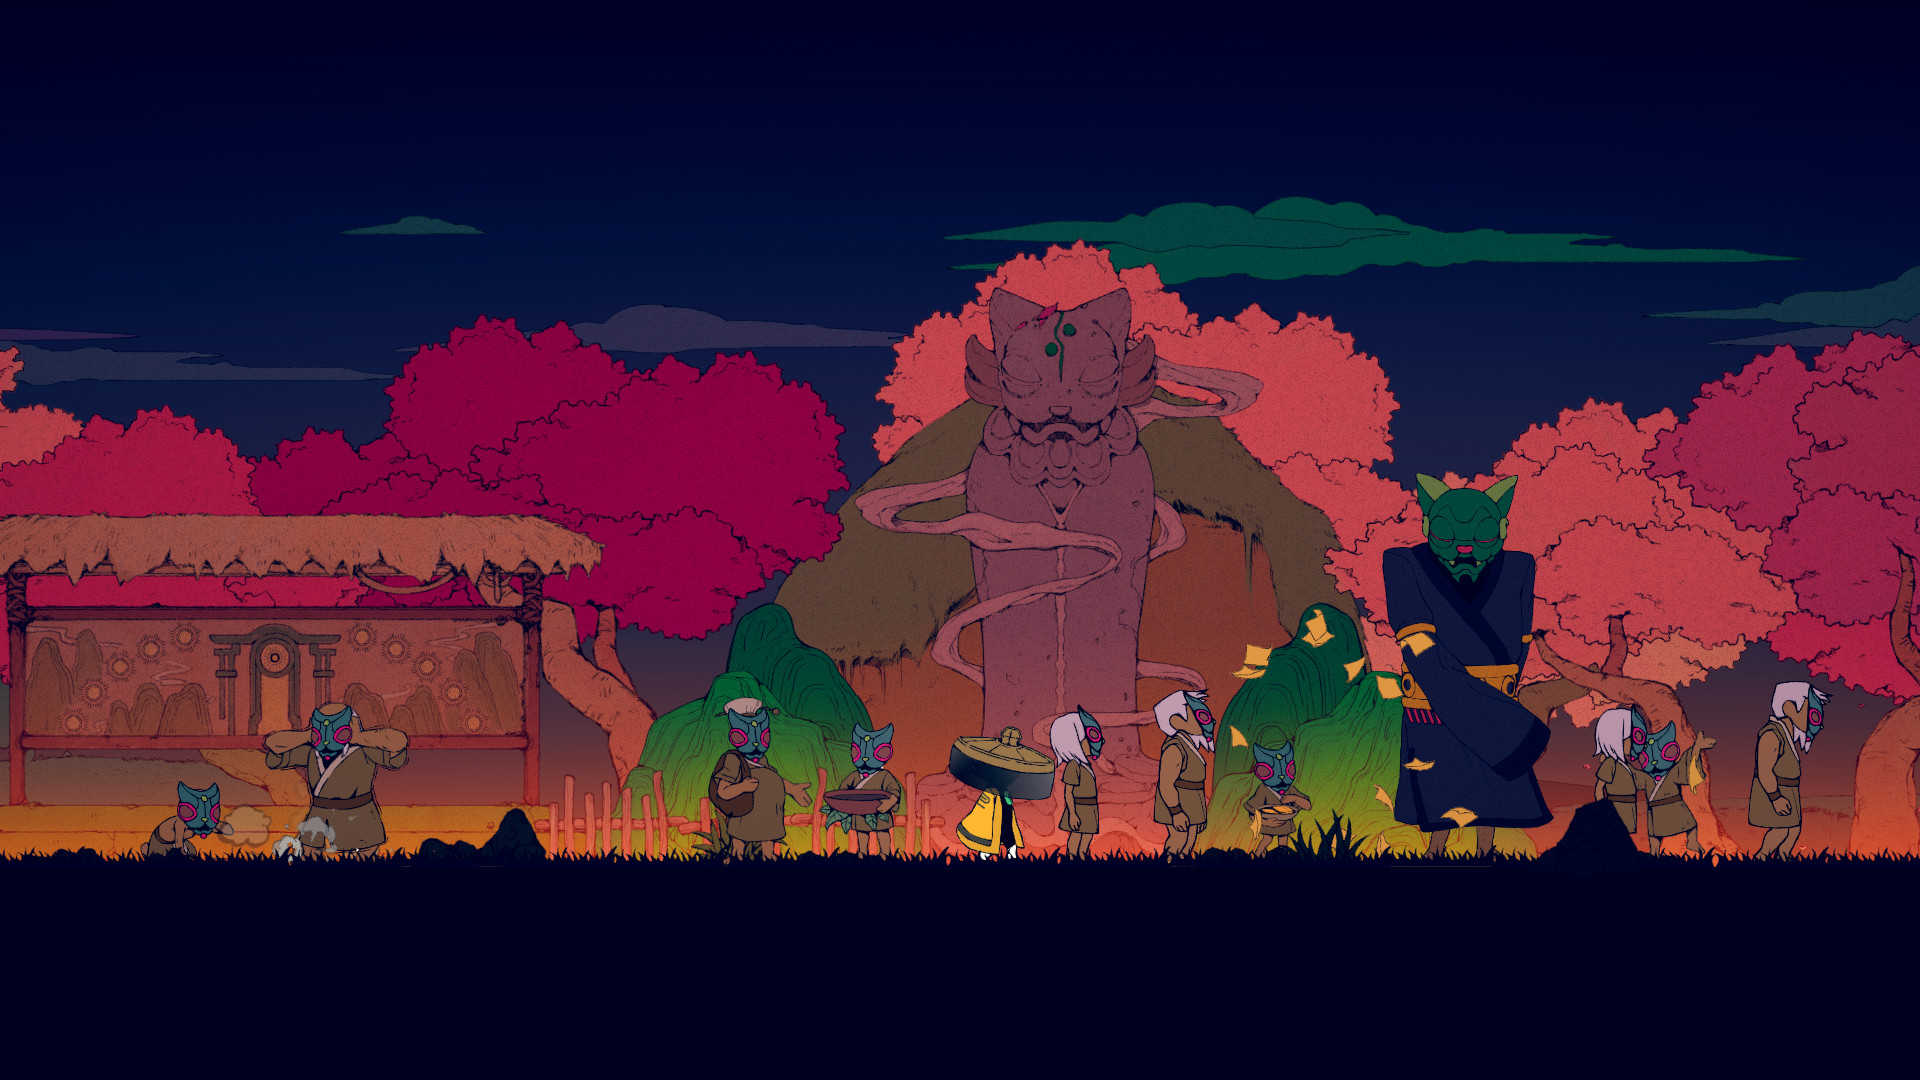
Yeah, I Know — This Game Is Rude
I’m just gonna say it: Nine Sols wrecked me. I’ve been playing action games since the PS1 era — I’ve beaten every Dark Souls, Sekiro, Hollow Knight, and even that one Ninja Gaiden game on Master Ninja that made me lose a controller. And this game still had me staring at a loading screen, muttering "what the actual hell" under my breath for about six hours straight.
So if you just picked this up because the art looked cool and now you’re getting folded by the first real fight, let me tell you: you’re not bad at games. This game is just mean in a specific way that takes time to click. I wrote this guide because the in-game tutorials are okay, but they don't explain why you're dying — which is usually way more important than what button to press.
I’m not going to tell you this is easy. It’s not. But I’ll tell you exactly what I wish someone had told me before I spent my first three runs trying to stack poison and getting destroyed by the second boss every time. Let’s get into it.
Why This Game Makes You Want to Punch Your Monitor
Let’s be real about the pain points. Because if you're reading this, you've already hit one of them.
First: the parry timing is NOT what you think. If you came from Sekiro, you’re screwed. Nine Sols uses a hold-and-release parry system, not a tap-to-block. You press the parry button, your character winds up, and the parry window is during the release animation. This feels backwards for the first 5-10 hours. I literally had to unbind my muscle memory and practice the "press and hold, then let go when the attack is about to hit" rhythm. It’s clunky until it isn’t, and then it becomes the most satisfying parry system I’ve ever used.
Second: the game punishes hesitation harder than almost anything else. The enemies have very short tells. If you stop to think, you’re dead. The first time I fought the Eagle boss, I spent the first 30 seconds trying to "read" her attack pattern. She killed me in 20 seconds. You have to act before you fully understand. React, fail, adjust, react faster. The game rewards aggression way more than careful play.
Third: the internal talisman system is flat-out poorly explained. The game tells you "internal damage charges over time" and then bam — you’re juggling three different talismans with different cooldowns, wondering why your damage output is garbage. I’ll break this down later, but know this: if your damage feels weak, it’s because you’re not cycling talismans correctly. That's not your fault.
And fourth: the map is designed to make you angry. Not in a fun Metroidvania way. In a "I just walked past this door three times and didn't see it" way. The verticality is brutal. Paths loop in ways that make no sense until you’ve died enough to memorize them. I spent an hour trying to find the third hub upgrade because I missed a tiny ledge behind a waterfall. Yes, really.
Day One: Stop Wasting Time, Do This First
Alright. Fresh file. You've just done the intro area and you're in the main hub. Here’s what I’d do differently if I could start over.
Your first priority: upgrade the Titan Sword to +5. I know there are three weapon options at the start. Ignore the debate. The Titan Sword has a base damage of 58 at +0, and it scales with your Strength stat at a 1.4x multiplier. At +5, that base damage jumps to 89, and the scaling goes up to 1.8x. The other weapons are fun later (I love the Scythe for crowd control), but early game, you need raw, consistent damage. The Titan Sword’s charged heavy attack also staggers most basic enemies in 2 hits, which is huge when you're still learning parry timing.
Where to get the upgrade materials fast: After you open the second shortcut in the Forgotten Cistern, there’s a secret room behind a breakable wall to your left. It has 3 Titanite Shards and a Ember Crystal. Don't miss this. It saves you about two hours of farming. I missed it my first run and spent forever fighting those stupid rat-men for shards.
Your stat spread for the first 15 levels: Put every point into Vitality and Endurance until both are at 15. I don't care how tempting Strength looks. You need the health to survive mistakes while you learn parry timing, and you need stamina to roll out of the boss's combos. The game gives you a lot of damage through weapon upgrades and talismans; your stats are for survival. Once both are at 15, then you can pump Strength to 20. Don't touch Dexterity or Intelligence until you've beaten the third boss. Trust me.
Learn the talisman system immediately. The game gives you three talisman slots early. Your starting talisman is the Wind Talisman. Here's the trick: internal damage builds up over 4 seconds and then decays over 2 seconds. If you trigger the explosion early (by double-tapping the talisman button), you lose 40% of the potential damage. The optimal play is: apply Wind Talisman → wait for the glint → then use a heavy attack or parry to trigger the detonation at max charge. This does 120 base damage per cycle, which is more than most early heavy attacks.
One important thing about the hub: The merchant girl with the red hair? Buy the Healing Salve from her immediately. It costs 500 gold. It gives you a second heal charge for boss fights. Most new players don't even know she sells it, and they go into the first boss with one heal. That's a death sentence.
Pro tip I learned the hard way: When you die, your "soul" (or whatever this game calls it) drops at the spot you died. But if you die again before retrieving it, that resource is gone forever. This is a cruel mechanic, but here's the workaround: if you're in a tough area and your soul is deep in enemy territory, quit to the main menu. When you reload, you'll be at your last checkpoint, and the soul will be right next to you. This doesn't work in boss arenas, but it works everywhere else. I wish I knew this before I lost 2,000 gold to a platforming section.
The Stuff Nobody Tells You (Until After You Die 50 Times)
Here’s the advanced stuff. Some of this is mechanical, some is mental. All of it will save you hours.
The parry window is bigger than you think — but only if you hold. I mentioned this earlier, but let me be precise. The active parry window (the frames where you can block an attack) is about 8 frames at 60 FPS. That’s tight. But the hold portion — where you’re holding the parry button before release — creates a buffer. If you hold parry for up to 1.2 seconds, then release, the 8-frame window starts from the moment you release. So instead of trying to tap at the exact right moment, press and hold when you see the enemy start winding up, then release when the attack is about halfway through its animation. This gives you a much wider margin for error. Practice this on the training dummies in the hub for 10 minutes. Seriously.
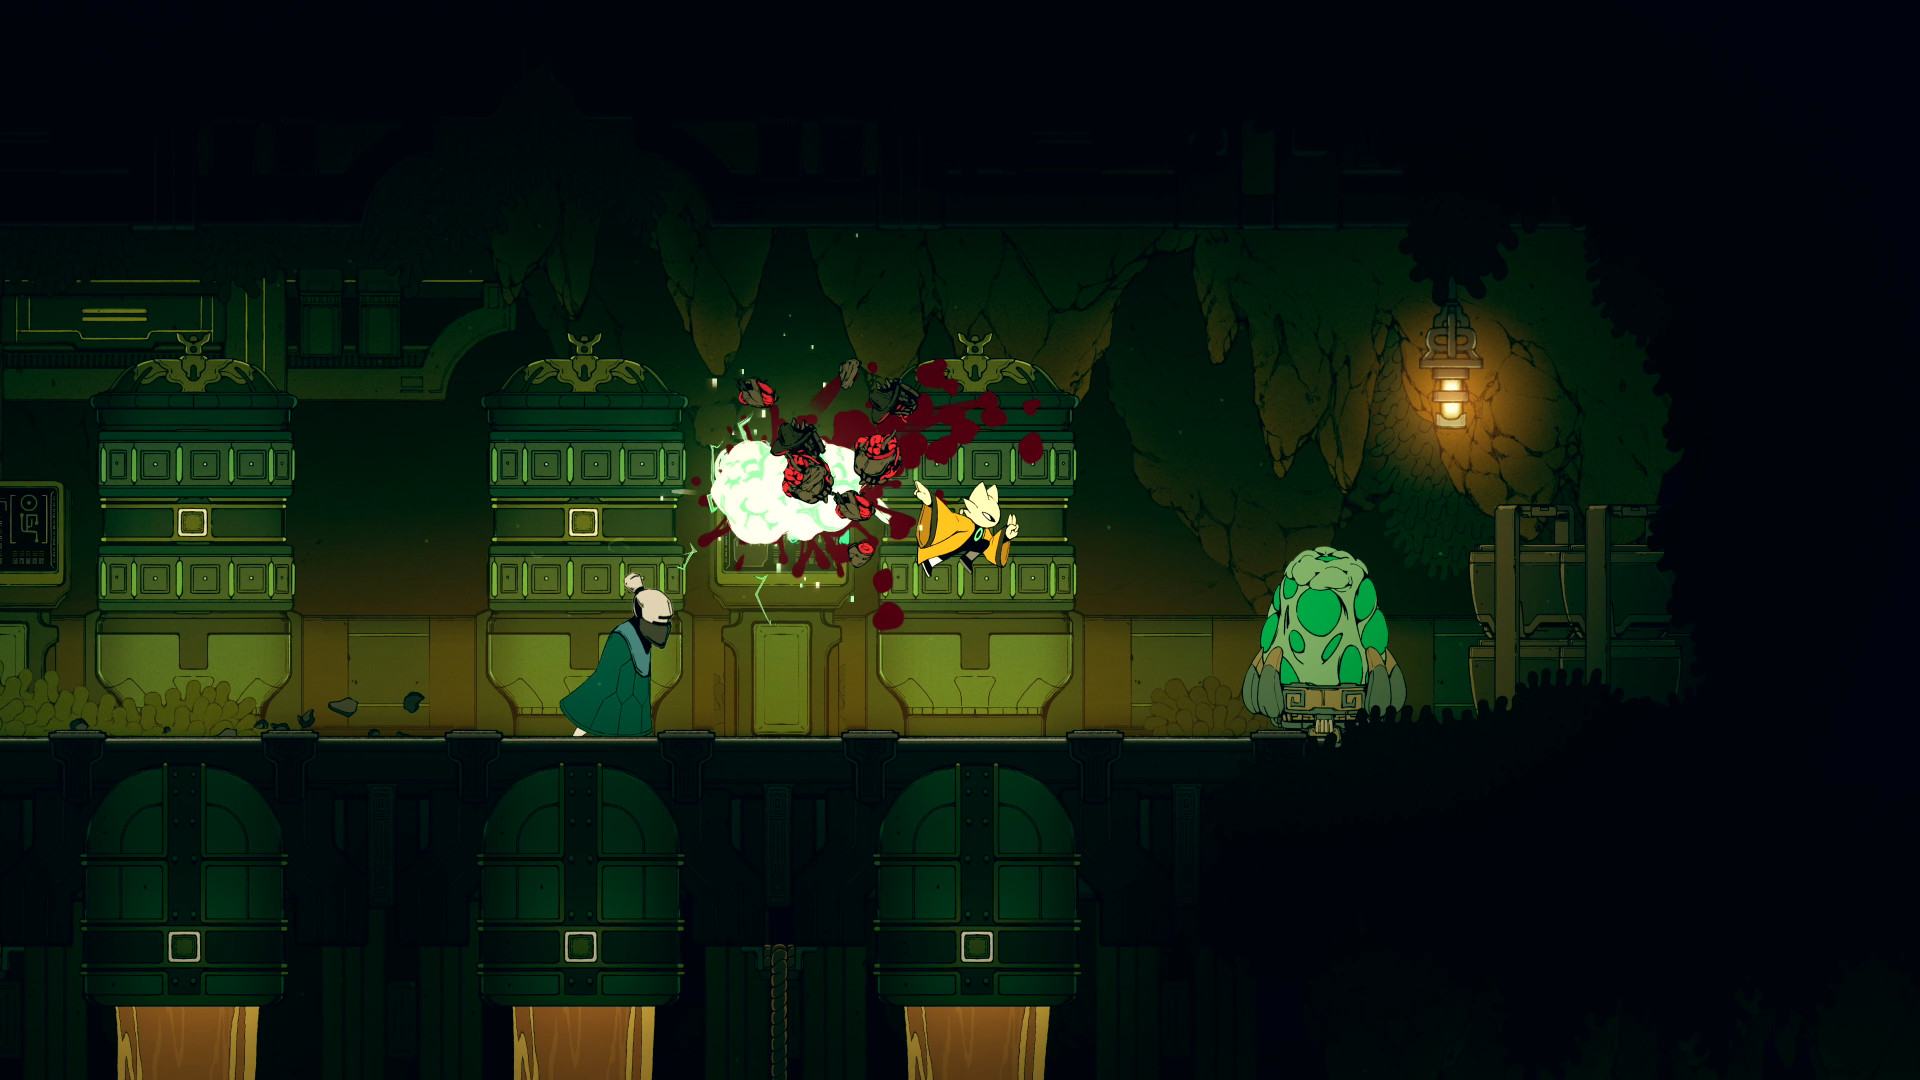
Internal Damage is the key to every boss fight. I see so many players (including me, my first run) trying to chip away at bosses with basic attacks. That’s wrong. The internal damage mechanic means that every parry you land applies a stack of internal damage that builds up over time. Once the internal damage meter on a boss is full, they get staggered for 3 seconds, during which they take double damage. The strategy is: don’t try to kill the boss by hitting them. Parry everything you can to fill the internal damage meter, then go ham during the stagger phase. I beat the Eagle boss my second attempt with this strategy after dying a dozen times trying to hit her.
The Grapple Hook has a hidden move. Late in the game, you get the Grapple Hook. What the game doesn’t tell you: if you press attack immediately after grappling to an enemy (not a ledge), you do a slashing dive that does 150 base damage and applies a 2-second stun. This is insane for interrupting boss attacks. The timing is tight — you have about 0.3 seconds after the grapple connects — but once you master it, you can basically skip entire phases of the third boss.
The Fire Talisman is overrated for single-target. I see guides recommending the Fire Talisman for bosses. It does 35 base DPS with a burn that ticks for 12 damage per second for 5 seconds. That sounds good, but the burn doesn't stack with itself, and it takes 3 seconds to apply. Against single targets, the Lightning Talisman (which I’ll talk about in a second) does way more damage. Fire is good for clearing groups of weak enemies, but if you're using it on bosses, you're gimping yourself.
Lightning Talisman — the real MVP. The Lightning Talisman has a 2-second charge time, but once fully charged, it releases a bolt that hits for 180 damage plus 50% of the target’s missing health. Yes, you read that right. On a boss at 20% health, that single bolt does around 250-300 damage. This is your "execute" tool. Get the boss down to half health, then start charging Lightning. It eats stamina like crazy (costs 60 stamina at max charge), so make sure you have Endurance at 20+ before relying on it. But once you do? You can chunk the final phase of almost any boss in two or three hits.
The parry counter system is not a gimmick. After you parry an attack, if you immediately press heavy attack, you do a riposte that does 2x weapon damage and knocks the enemy down. This is the only way to interrupt some boss attacks (the Eagle’s dive bomb, the Warden’s charge). But here’s the pro tip: don’t riposte immediately. Wait for 0.5 seconds after the parry flash. If you riposte too fast, the damage multiplier drops to 1.3x. The timing window for the 2x multiplier is 11 frames. Practice it until you can hit it consistently. This more than doubles your effective DPS in boss fights.
One more thing about the hub upgrades: The Blacksmith’s Forge upgrade (costs 3,000 gold and 1 Titanite Chunk) is the best investment in the early game. It lets you reforge weapons, which resets their upgrade level and gives you back 80% of the materials. This means you can try out different weapons without worrying about wasting your Titanite. I regretted sinking all my early mats into the Scythe (which I hated), and this upgrade saved my second run. Get it before you start upgrading anything past +3.
Mistakes That Got Me Killed — Don't Be Me
I made every mistake you can make in this game. Here’s the hits.
Mistake #1: Ignoring the training dummies. I thought I was too good for the hub practice area. I spent three hours getting murdered by the Eagle boss. I finally went back, spent 20 minutes practicing the hold-release parry on the dummies, and I beat her on my next attempt. You are not too good for practice. You are too proud, and the game will punish that.
Mistake #2: Hoarding resources. I was that player who saved every Titanite Shard "for the right weapon." News flash: there is no "right weapon" at the start. The game expects you to upgrade. I had 12 Titanite Shards in my inventory when I died to the second boss for the 15th time. Use them. Upgrade the Titan Sword to +3 immediately. You'll find more. The game is balanced around you upgrading. If you’re hoarding, you’re playing on hard mode for no reason.
Mistake #3: Trying to clear every area before progressing. This is not Dark Souls. The side areas in Nine Sols are designed for later game. The Subterranean Pools? That area is full of enemies that do 80 damage per hit when you only have 120 HP. I spent two hours trying to clear it, died constantly, and then realized the boss I needed to beat for the next upgrade was in a completely different direction. The game gives you freedom, but it’s a trap. If an area feels impossible, it probably is. Mark it on your map and come back later.
Mistake #4: Sleeping on the dash attack. The dash attack (press light attack while dashing) does 45 base damage and applies a 0.5-second stagger. I completely ignored this move for the first 20 hours. It’s one of the best tools in the game. It closes distance, interrupts attacks, and costs no stamina if you time it right. Use it constantly. Against the Warden boss, I dash-attacked through all of his projectile patterns and it made the fight trivial.
Mistake #5: Not respeccing. The game gives you a Respec Scroll after the third boss. I had already dumped points into Dexterity because I thought the daggers looked cool. They’re not cool. The daggers do 12 damage per hit at base. The Titan Sword does 58. I respecced into Strength and Vitality and immediately started winning fights I had been stuck on. Don’t be stubborn. Respec if your build isn’t working.
Mistake #6: Forgetting to use items. This one is just me being dumb, but I bet you do it too. I had a stack of 20 Healing Salves in my inventory and never once used them in the first three boss fights. They’re there. Use them. Bind them to a hotkey. The game doesn’t punish you for using items; it punishes you for dying with them.
Mistake #7: Fighting the camera. The camera in tight spaces is your enemy. The second boss arena is a small circular room, and the camera can get stuck on the walls. I died three times because I couldn’t see the boss’s attack windup. Solution: unlock the camera (press R3 on controller) when you’re in tight spaces and control it manually. It takes some getting used to, but it saves your life.
Stuff You're Probably Googling at 2 AM
Q: How do I increase my stamina? I keep running out in the middle of combos.
A: Level Endurance. Every point gives you 5 stamina. Get it to 15 minimum. Also, the Stamina Ring accessory (found in a chest behind the second shortcut in the Forest of Echoes) gives you +20 stamina and +10% stamina regen. It’s a must-have for the first half of the game.
Q: What's the best weapon for a beginner?
A: Titan Sword. I already said this, but let me be clear: it’s not the fastest, but it has the highest damage per stamina ratio. At +3, a charged heavy attack does 140 damage for 25 stamina. The Scythe does 90 damage for 30 stamina. The numbers don’t lie. If you’re struggling, the Titan Sword gives you the most return for every swing.
Q: How do I beat the Eagle boss? I'm hard stuck.
A: She’s tough. Here’s the specific strategy: she has three phases. Phase 1: stay close. Parry her claw swipes (they have a 1.2-second windup, so hold parry for a full second, then release). Phase 2: she starts flying. When she dives, dash toward her, not away. You’ll dodge her and end up behind her for a free combo. Phase 3: she uses lightning talismans. When she raises her left arm, she’s about to throw them. Parry the first bolt, then immediately dash to the side to avoid the second. The Lightning Talisman (the one you equip, not hers) does 180 damage to her in phase 3 if you use it when she’s staggered. That’s how I beat her.
Q: Is there a way to respec beyond the first scroll?
A: Yes. After the fifth boss, the merchant in the hub starts selling Respect Scrolls for 2,500 gold each. They’re limited (she carries 3 at a time, respawns them after you beat a boss). Use them wisely. Also, the Respec Altar in the hub works an unlimited number of times, but it costs 1,000 gold per use. So you can always respec, but it gets expensive.
Q: What does "internal damage" actually do?
A: Internal damage is a hidden health bar above the target’s main health. Every parry, talisman application, or charged attack adds to it. Once it’s full, the enemy is staggered (3 seconds for bosses, 5 seconds for normal enemies) and takes 2x damage from all sources. The internal damage meter decays over time if you don’t fill it, so you need to be aggressive. It’s the core combat loop: parry → build internal damage → stagger → punish. Master this, and you master the game.
Q: Is the game just about parrying? I feel like I can't win without it.
A: Pretty much. You can dodge through some attacks, but the i-frames on the dodge are 5 frames (very tight), while the parry window is 8 frames plus the hold buffer. The game wants you to parry. The bosses are designed around parry patterns. If you try to dodge everything, you are playing this game on hard mode. Accept the parry life. It will become second nature after a while. For a similar mechanic, check out our Sekiro guide — that game also demands you stand your ground and deflect.
Q: How long is the game?
A: My first blind playthrough took 42 hours, and I missed about 20% of the side content. A focused run with knowledge of where to go takes about 25-30 hours. The game has 7 main bosses, about 15 mini-bosses, and a lot of optional areas. It’s worth the time. If you're coming from Hollow Knight, this is shorter but denser — similar to how our Hollow Knight guide lays out the pacing.
Q: Is it worth playing on the harder difficulty?
A: The game has a "Hard" mode that reduces your parry window by 3 frames and increases enemy damage by 30%. Don't. Seriously, don't. The base game is already hard enough. Hard mode is for players who have already beaten the game at least twice and want a challenge. If you’re reading this guide, you’re not that player. Play on Normal. The game doesn't tell you which difficulty you're on, which is dumb, but you can check in the settings menu. Make sure it says "Normal."
Q: Can I go back to old areas after the final boss?
A: Yes. After you beat the final boss, the game loads you back to the hub, and you can fast travel to any area. There’s no "point of no return" warning, but the game will tell you before you enter the final boss arena. Take your time. Explore everything. The side content is really good — especially the Abandoned Temple area, which has the best talisman in the game (the Ice Talisman, which freezes enemies for 4 seconds). Don't miss it.
Q: I'm still dying a lot. What am I doing wrong?
A: Honestly? You’re probably panicking. I did the same thing. The game speeds up as bosses lose health. Their attack patterns get faster and have fewer tells. When you panic, you start mashing inputs, which makes the parry timing worse. Take a break. Go make some tea. Come back and tell yourself: "I will only parry. I won't attack until after a stagger." Then do exactly that. The first time I beat a boss with this mindset, I didn't get hit. That's when the game clicked for me.
Sign in to post a comment.
Sign in with GitHub to join the discussion.
💬 Comments
What players are saying:
Bro, the hold-release parry tip literally saved my playthrough. I was trying to tap-parry like Sekiro and getting frustrated. That one paragraph about holding for 1.2 seconds changed everything. I beat the Eagle boss in three tries after I practiced on dummies for 10 minutes. This guide is 10x better than the IGN walkthrough.
I kinda disagree about the Titan Sword being the best for everyone. I switched to the Scythe around the third boss and it felt way better for my playstyle — the crowd control in the area before Warden is insane. BUT the advice about Endurance to 15 before Strength is 100% correct. I was a glass cannon and kept getting one-shot. Respect to the author for not gatekeeping with "git gud" bullshit.
The tip about quitting to main menu to save your soul is genius. I lost 3k gold to that stupid platforming section in the Cistern and was about to uninstall. This guide saved my sanity. Also, the Lightning Talisman execute thing? Wow. Just wow. I've been sleeping on it because I thought it was too slow. 300 damage on a staggered boss is ridiculous.