

I've Died More in This Game Than in Any Soulslike, and I Love It
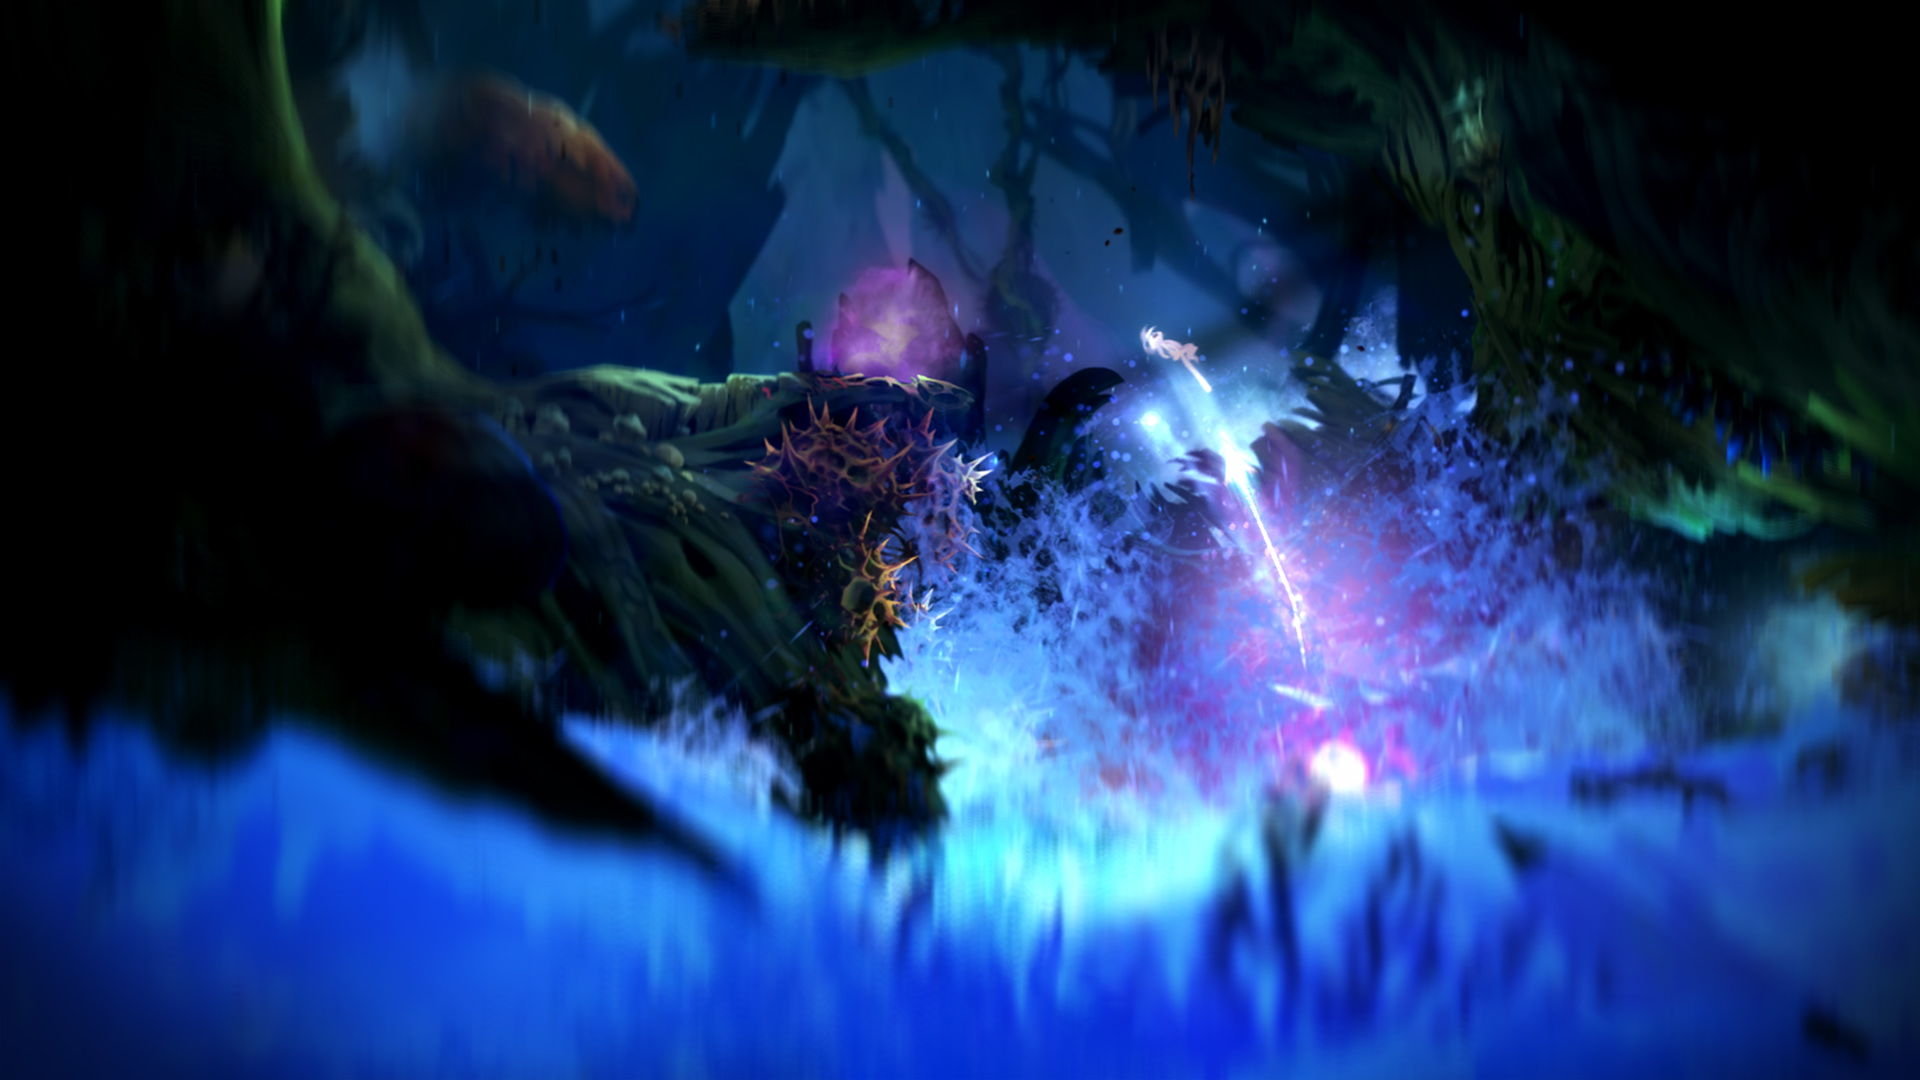
Let's get this straight right now: Ori and the Blind Forest is not a cute, relaxing little platformer you play on a Sunday afternoon with a cup of tea. Sure, it looks like a watercolor painting come to life, and the music by Gareth Coker will make you cry within the first fifteen minutes. But underneath that gorgeous exterior is a game that will absolutely wreck you if you don't respect its systems. I've beaten this game seven times, I've got the 100% completion save files to prove it, and I still remember my first playthrough where I spent four hours trying to escape the Ginso Tree. Four. Hours. I almost snapped my controller in half. So when I say I understand your frustration, I mean it. This guide is built from my own rage, my own stubborn refusal to quit, and the specific tricks I eventually figured out that turned Ori from a frustrating experience into one of the best games I've ever played.
You're not bad at games. Ori just doesn't tell you half of what you need to know, and it punishes you brutally for things the game itself never explains. That's why I'm writing this. Let's fix that.
Why This Game Makes You Want to Throw Your Keyboard
Let's address the elephant in the room. Ori's difficulty isn't fair in the way a game like Celeste is fair. Celeste gives you a one-screen puzzle, you die, you're back in two seconds. Ori gives you a fifteen-minute gauntlet of precision jumps, climbing, and bash-reflects, and if you die at the very end? Back to the last save point you manually placed. Yeah, you have to create your own checkpoints using Soul Links, and if you forget to do it, or if you run out of energy, you lose thirty minutes of progress. That's not a bug, that's a feature, and it's the single biggest source of player frustration I've seen.
The other big pain point? The map is a liar. Not literally, but it shows you where everything is without telling you how to get there. You'll see a glowing orb on the other side of a wall, and you'll spend an hour trying to jump into it, only to realize you need a double-jump upgrade that's four zones away. The game is a metroidvania, which means you are constantly going to hit walls—literally—and then backtrack hours later. New players don't expect this. They think they're missing something obvious, when really the game is just saying "come back later."
Finally, the combat. Early Ori is pathetically weak. Your basic attack, Spirit Flame, does a laughable amount of damage, and you have no health, no defense, and no crowd control. The game throws enemies at you that can kill you in three hits, and you're expected to either run past everything or die repeatedly until you learn the attack patterns. It's brutal. But here's the secret: you're not supposed to fight everything. Most of the game is about movement and evasion, not combat. Once I figured that out, my death count dropped dramatically.
Spirit Flame (your basic attack) can be charged. Hold the button down. A fully charged Spirit Flame does 3x damage and has splash radius. But more importantly, it breaks certain cracked walls without needing the Ground Pound ability. This means you can access optional areas much earlier than the game expects. I missed this for my entire first playthrough. Don't be me.
Day One: What You Actually Need to Know (Skip the Tutorial Noise)
The tutorial areas in the Hollow Grove are fine, but they don't teach you the survival habits that will keep you alive. Here's the real start-up guide:
- Spend your first ability points on these three things in this order: Wall Jump (if you somehow haven't gotten it yet), Double Jump, and then the Charge Flame upgrade for Spirit Flame. Double Jump is the single most important movement tool in the game. It's not optional. Rush it. The game's entire world design is built around you having it, and trying to explore without it is masochism.
- Save every time you see a Soul Link pedestal. These are the little glowing circles on the ground or walls. They restore your energy and let you place a save. If you have 2+ energy orbs, place a save before any large jump or enemy encounter. The game gives you one free save per pedestal use (the pedestal refills your energy). Use it. I cannot stress this enough. The number of posts I've seen on the Ori subreddit that say "I just spent an hour and died and lost everything" is astronomical. That's you if you don't save.
- Blue orbs = Health. Green orbs = Energy. You know this. But what you might not know: enemies drop these orbs when killed. Not always, but often. If you're low on health in a safe room, you can wait for respawning enemies to come back, kill them, and farm orbs. It's slow but it works.
- The first dungeon is the Ginso Tree escape sequence. This is the game's first "wall." It's a scripted chase scene where you run upward while water rises beneath you. You have no checkpoints during the escape. If you die, you restart from the last Soul Link you placed before entering. Place a save right outside the Ginso Tree. Do this. I lost two hours the first time.
Speaking of the Ginso Tree, here's the mechanical trick that makes it manageable: use the "Bash" ability aggressively. Bash lets you launch off of enemies and projectiles. During the escape, there are wind currents and jellyfish-like enemies. If you bash off of them at the right angle, you gain massive upward momentum. Don't just spam jump. Look for things to bash off of. It's faster and more forgiving than pure platforming.
Expert Tips & Tricks That Turn You Into a Speedrunner
Once you've got the basics down, it's time to start playing the game the way it was meant to be played: fast, reckless, and with perfect knowledge of your tools. Here's the stuff that separates a good Ori player from someone who just finished the game once.
- The "Bash + Double Jump" cancel. If you bash off an enemy directly downward, you can then double jump immediately after. This gives you a massive horizontal boost that normal movement can't match. It's the core technique for sequence breaking. Learn it in the Spirit Tree area where enemies are harmless.
- Stomp (Ground Pound) has a secret use. You get this ability from the Misty Woods. It lets you slam down to break floors and kill enemies. But if you use it while jumping off a wall, you can cancel the wall jump animation and slam down instantly. This is faster than climbing down and avoids hazards. I use this constantly in the Mount Horu area to skip half the lava pits.
- Energy is more valuable than health. In the ability tree, there's an upgrade that lets you spend energy to heal. This is your primary healing method. Do not rely on health orbs from enemies. Instead, keep your energy bar at least half full at all times so you can heal when you get hit. The "Efficiency" upgrade that reduces healing cost from 2 energy to 1 energy is the best investment you can make. Get it as soon as possible.
- Light Burst is the most underrated ability. Most players ignore it because it "just" creates a ball of light. But that ball of light acts as a bash target. You can throw a Light Burst, then bash off of it to reach heights and distances that are literally impossible with any other combination of abilities. There's a secret area in the Forlorn Ruins that requires this technique. Without it, you're locked out of an extra health cell.
- Use the map markers. The game lets you place up to three map markers (different colors). Use them. Mark areas where you see an upgrade you can't reach yet. Mark doors that require a specific ability. I use red for "need double jump," blue for "need charge flame," and green for "need stomp." This saves hours of backtracking and wondering, "Was this the wall I couldn't break?"
For context, this ability-based exploration is similar to what you'd find in a game like Hollow Knight, but Ori's movement is much more fluid and forgiving once you master it. The key difference is that Ori gives you more options for vertical movement earlier, so you can break the intended progression order harder. Use that.
Common Mistakes That Got Me Killed (and Will Get You Killed Too)
I've made every mistake in this book. Here's what to avoid so you don't repeat my stupidity.
- Thinking you can tank damage. You can't. Ori's health pool is tiny. Even with max health cells, you can only survive maybe 5-6 hits from late-game enemies. The game is built around the idea that you do not get hit. If you're trying to trade blows with enemies, you will lose. Movement is your defense. If you're struggling with a section, you're probably trying to fight through it instead of run through it.
- Ignoring the ability tree upgrades. The skill tree has three branches: Health, Energy, and Abilities. Most new players dump everything into Abilities because "more damage." Bad call. You need the health and energy upgrades first. Specifically: get the second health cell upgrade and the second energy cell upgrade before you try the Ginso Tree. You need the survivability more than you need a slightly stronger Spirit Flame. The damage upgrades only matter once you can actually stay alive long enough to use them.
- Forgetting to save before boss fights. Each major boss (Kuro, the giant spider-thing, the tree boss in the Forlorn Ruins) has a room before it where you can place a Soul Link. If you don't, you have to redo the entire zone leading up to the boss. I died to the final boss once and had to redo an entire 20-minute section of the Mount Horu lava escape. I almost uninstalled the game.
- Over-relying on the "Reckless" skill. There's a skill that increases your damage when you're at low health. It sounds good. It's a trap. You will get one-shot by basic enemies if you try to play at low health all the time. The risk is not worth the reward. Ignore that skill entirely and use the points on something that keeps you alive, like "Resilience" which reduces damage taken.
- Not using the map properly. The map is your best friend, but you have to know how to read it. Areas with a faint blue glow mean you haven't collected all the items there. Areas with a red tint mean there's an active hazard or a boss. Gray areas are unexplored. If you see a path on the map that seems to go nowhere, it's probably a secret. Hit every wall with a charged Spirit Flame. I found three hidden rooms in the Sorrow Pass that I missed on two playthroughs because I never checked the map.
FAQ — Questions I Actually See New Players Asking
- Q: I'm stuck. The map says I need to go to Mount Horu but there's a wall I can't break. What do I do?
A: You probably need the Charge Flame ability to break that cracked wall. Go back to the Forlorn Ruins and explore the top-left section. If you already have that, use it on any wall with visible cracks. If there are no cracks, you might need the Stomp ability from the Misty Woods. Check your map for unexplored areas in those zones. - Q: How do I beat the Ginso Tree escape? I keep dying on the part with the rotating blades.
A: The rotating blades are all about timing. Don't rush. Watch the pattern for one full cycle before you move. Use Bash on the floating jellyfish to skip the slow climbing sections. And for the love of god, save outside the tree before you enter. The escape takes about 4-5 minutes if you're fast, but most players take 10-15 minutes the first time. Don't risk it. - Q: Is there a "best" ability order?
A: Yes. Get Double Jump first, then Bash, then Wall Jump (I know it's basic, but you can actually miss it temporarily if you go the wrong way). After that, prioritize Charge Flame and Stomp from the ability upgrades. For the skill tree, rush the third health cell, then the third energy cell, then the "Efficiency" skill for healing. Everything else is luxury. - Q: I keep dying to the environment (spikes, lava, water). Any tips?
A: Yes. The game's hitboxes are actually very generous, but the visual feedback is delayed. You have about 0.2 seconds of "invulnerability" after taking damage. Use that window to escape. Also: water is not instant death. You can swim for about 3 seconds before drowning. If you fall into water, spam jump and bash to get out. You'll make it more often than you think. - Q: Is the game worth finishing if I'm frustrated?
A: Yes, but take a break. The game has some of the most satisfying platforming of any metroidvania ever made. The ending will make you cry. But if you're stuck on a specific section, put the controller down, watch a video guide, and come back tomorrow. I've had nights where I died 50 times on one screen, then woke up the next morning and did it first try. Your brain needs to process the muscle memory.
Sign in to post a comment.
Sign in with GitHub to join the discussion.
💬 Comments
What players are saying:
Dude, the tip about charging Spirit Flame to break cracked walls without Ground Pound? I literally just spent 45 minutes trying to get to an orb in the Hollow Grove and gave up. Went back after reading this and broke the wall in 2 seconds. You saved me from uninstalling. Also, the Ginso Tree save advice is critical. I ignored it the first time and lost 2 hours. Listen to this guide, people.
Hard disagree on the "Reckless" skill being a trap. I run a glass cannon build with full damage skills and it works great if you're good at dodging. The damage boost is noticeable, especially against the bigger enemies in Mount Horu. But yeah, if you're a new player, probably ignore it. The guide's advice on Light Burst bashes is solid though — I never thought to use that as a movement tool, game changer for that one secret room in Forlorn Ruins.
Just 100%'d the game for the first time after reading this. The map marker tip is what finally clicked for me. I used to just wander around hoping to remember where all the blocked paths were. Nope. Marked 12 locations, cleared them all in one hour once I had the right abilities. Also, the comparison to Hollow Knight in the tips section is spot on — Ori's movement is way more forgiving once you learn it, but the save system is way more punishing. This guide nails it.