

I've died 47 times in the first area and I'm not ashamed
Let me be real with you. When I first booted up Ori and the Will of the Wisps, I thought I was hot stuff. I'd beaten Hollow Knight twice. I'd 100%'d Celeste. This was supposed to be a cute forest game with a glowing fox. How hard could it be?
Three hours later, I was staring at a loading screen after getting impaled by a spiky fish for the fifteenth time, questioning my existence. This game is brutal in ways the trailers do not prepare you for. The movement is silky smooth, the visuals are so gorgeous they make you forget you're about to die, and the combat? The combat will wreck you if you don't approach it right.
I wrote this guide because I saw too many new players on Steam forums refunding the game after the first escape sequence. That's a tragedy. This is one of the best metroidvanias ever made, but it asks things from you that the first game never did. It expects you to adapt fast. This guide is me sitting next to you on the couch, telling you what I learned after 200+ hours and four complete playthroughs. No fluff. Just the stuff that actually matters.
If you're coming from something like Hollow Knight, you'll notice the movement here is more forgiving (you can bash off damn near anything), but the combat is way more demanding. If you're coming from the first Ori game, forget everything you know about combat — it's completely different now. Will of the Wisps is a fighter first and a platformer second, and that shift screws a lot of people up.
Why everyone hits a wall (and why that's normal)
Look, I'm going to call out the exact moments where most players rage-quit. If you're stuck at one of these, you're not bad — the game just hasn't explained itself well.
Pain Point #1: The first escape sequence. You know the one. Big worm thing, walls crumbling, panic setting in. This sequence is a skill check that the game throws at you before you've even learned most of your movement tools. I spent two hours here on my first run. The trick is to never stop moving and use Bash (your most important ability) to redirect off enemy projectiles and environmental hazards. Every frame counts here. If you're hesitating, you're dying.
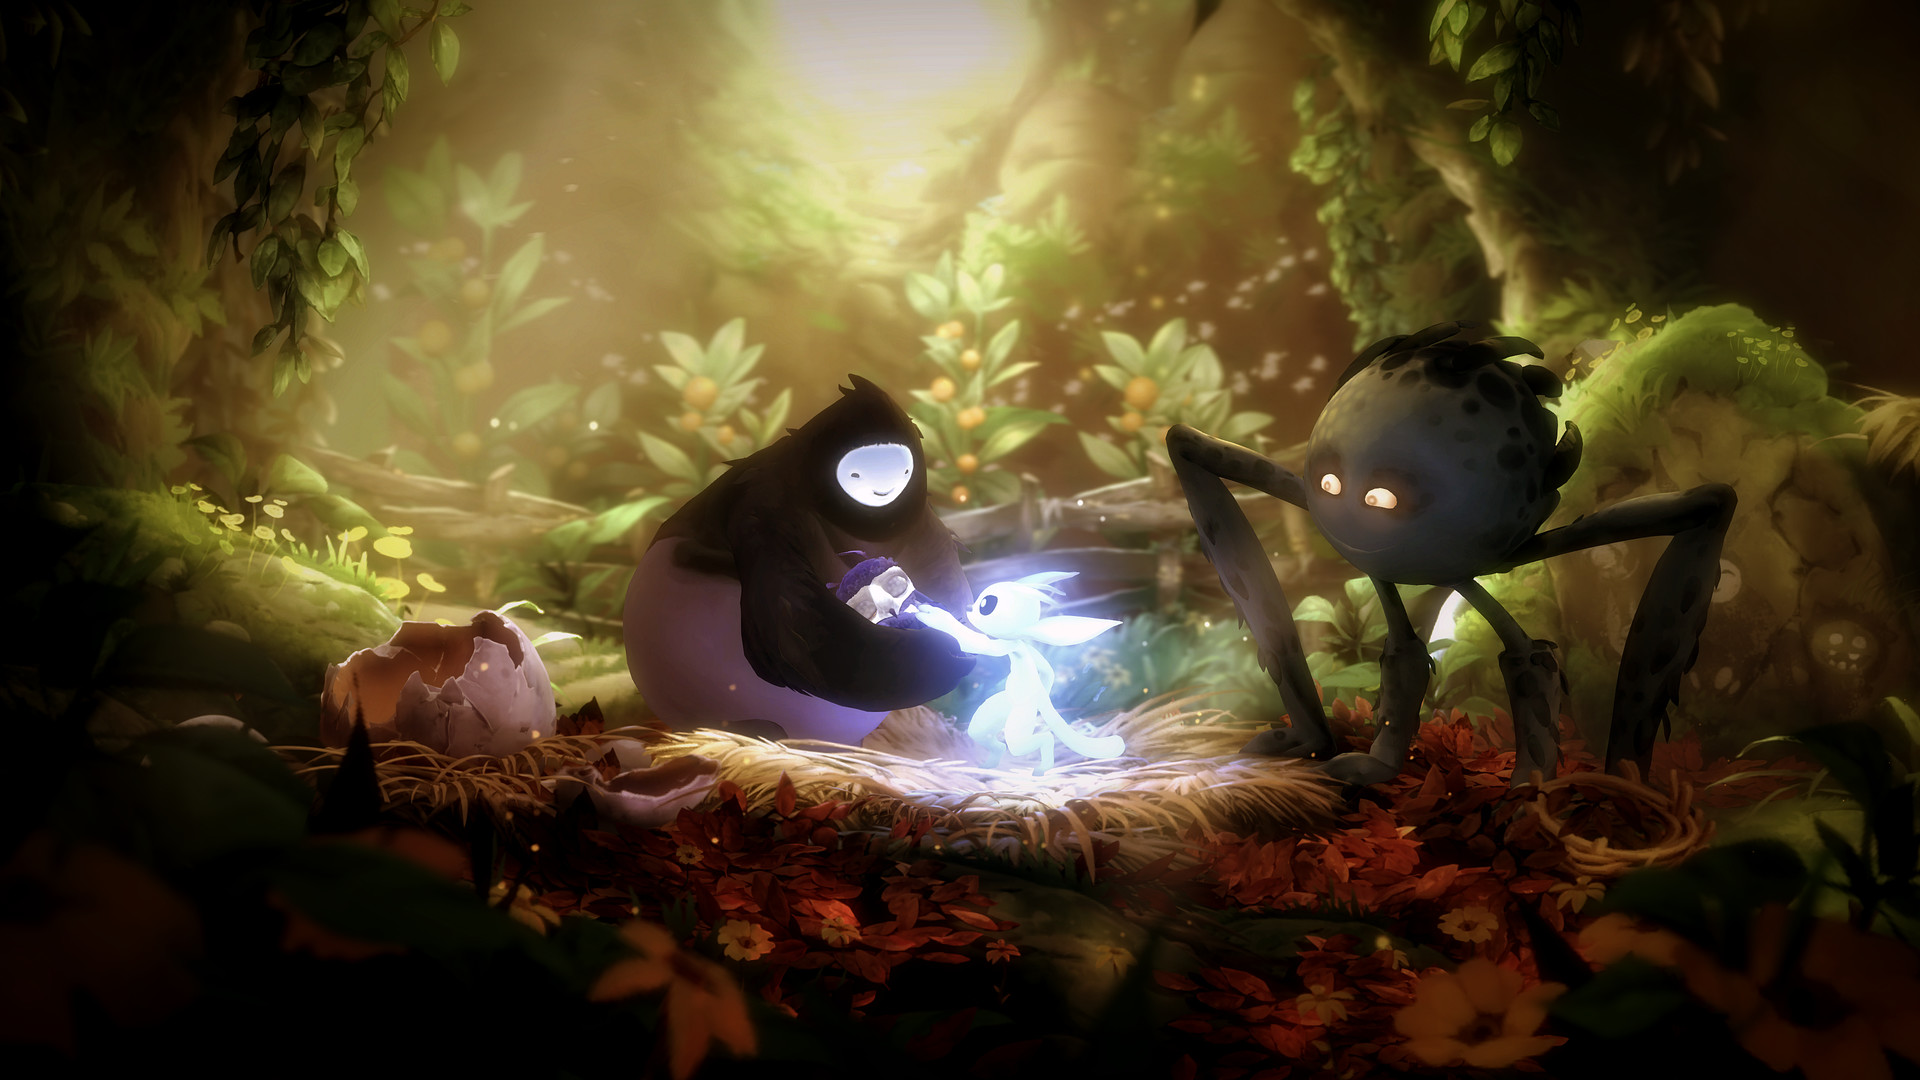
Pain Point #2: Mora the Spider. This boss fight is where combat in Ori 2 separates from Ori 1. In the first game, you could dodge and spam soul flame. Mora demands you understand melee positioning. Her sweeping attacks have precise hitboxes, and if you're standing where her leg lands, you're dead in two hits. I died here 12 times before I realized I wasn't using Spirit Smash (the ground pound move) to interrupt her charge attacks. That single change made the fight doable.
Pain Point #3: The Luma Pools drowning sections. The water physics in this game are janky. I love Moon Studios, but the underwater movement is floaty in a bad way. The poison water sections require you to chain Dash and Burrow perfectly, and the timing windows are tight. The secret is that you can Burrow through the poison surface to catch your breath, not just swim underneath it. That detail is never explained, and it changes everything.
Pain Point #4: Shriek. Final boss. No save point before her. The runback is punishing. Her attacks have weird timings that feel designed to punish muscle memory from earlier bosses. Shriek's scream attack covers 75% of the arena, and the safe zone moves every time. I flat-out lost three runs here because I was low on health and didn't stock up on health cells before the fight. That's the real advice: never enter a boss arena without full upgrades.
First things first: stop hoarding your spirit light
I know you want to save up for the big ticket items. Don't. The game punishes hoarding. Here's the real day-one priority list:
- Buy the map from the map maker in Wellspring Glades immediately. The game world is massive, and without the map, you'll wander in circles for hours. It costs 150 spirit light. That's three enemy packs. Do it before anything else.
- Rush the Wall Jump ability. It's the first major ability you get from the main story, but a lot of players skip side paths thinking they'll come back later. Don't skip them. Wall Jump opens up 40% of the early game's secret areas. The extra spirit light from those secrets gets you your first energy cell upgrade before the first real boss.
- Upgrade your weapon at the first opportunity. The Spirit Edge (your sword) starts at 10 damage per hit. Upgrading it to level 2 bumps that to 18. That's not a small increase — that's the difference between taking three hits to kill a spider and taking two. The first upgrade costs 500 spirit light and some ore. The ore is found in the Inkwater Marsh caves, tucked behind some breakable walls you can only access after you have Wall Jump.
- Ignore the spendthrift frog for now. He's in Wellspring Glades and sells shards (equipment). The first shard he offers is the Reckless shard, which increases damage by 15% but makes you take 25% more damage. That's a trap for new players. You'll die faster than you can benefit from the extra damage. Buy it later when you have enough HP to survive mistakes.
The first two hours of this game are about map knowledge more than raw skill. If you know where the health upgrades are (there's one hidden in the tree just past the first spirit well), you'll enter the first boss fight with 5 health cells instead of 3. That's a 66% HP increase. It's the difference between surviving a mistake and watching the loading screen again.
The stuff the game doesn't teach you (but absolutely should)
After multiple playthroughs, here's the real meta. These aren't "press X to win" tips — these are mechanical insights that took me hours of trial and error to figure out.
Tip #1: The Flamethrower (Spirit Arc) is secretly the best Shard setup for early-game bosses. A lot of guides tell you to run melee builds with the Sticky shard (makes attacks hit twice). Ignore that for new players. Melee requires you to be in the boss's face, and bosses in this game have zero wind-up on some attacks. The Spirit Arc fully charged does 25 damage per shot, and you can fire it from across the arena. Pair it with the Finesse shard (increases charged attack damage by 30%) and you're hitting for 32.5 damage per shot. You can kill Mora in under a minute if you land all shots. I've done it.
Tip #2: Use the "spinner" (the spinning wall hazards) to your advantage. The Luma Pools are full of spinning blades that look like death traps. If you wait for the gap and jump through, you're doing it wrong. Instead, stand on top of the blade as it spins. The hitbox only kills you if you touch the red part. The grey hub is a safe platform that rotates. You can ride these up to secret areas that contain life cell fragments. I found this on accident when I panicked and jumped onto one instead of through it. Now it's my go-to path.
Tip #3: The Bow (Spirit Edge R2 combo) has a hidden property. If you hold the attack button after the second sword swing, Ori does a spinning slash that hits twice. The total damage is 36 (18 per hit), which is higher than any single attack you have at that point. The timing is tight — you have to hold the button for exactly one second — but once you get it down, you'll shred early-game enemies. I use this on the big frog enemies in the Swamp and they die in three combos instead of six.
Tip #4: The "flash" ability (using Light Burst to stun enemies) is broken. Light Burst costs 1 energy cell and stuns most non-boss enemies for 3 seconds. During that stun, every hit from your sword does +50% damage. I tested this: a stunned spider takes 27 damage from a level 2 sword instead of 18. In boss fights, this doesn't work on the boss itself, but it works on the minions they summon. Kill the minions fast, and the boss has less pressure on you.
Tip #5: Your movement speed is tied to your Dash timing, not your run speed. A lot of new players think they need to upgrade "run speed" (which doesn't exist as an upgrade in this game). Instead, the fastest way to traverse the map is to jump, Dash, jump, Dash in a rhythm. If you hold the sprint button while timing this, you cover ground about 25% faster than normal running. I beat the "escape the worm" sequence on my second run by purely chaining Dashes and never stopping. The game's physics engine lets you Dash off edges without losing momentum. Abuse this.
What killed me (and will kill you if you're not careful)
I've made every mistake in this game. Here's the shortlist so you can skip the frustration:
Mistake #1: Ignoring the "Pause" buffer. This game has a mechanic where if you pause the game during a cutscene or a transition, the game buffers your inputs. I've died twice because I paused during the worm escape sequence and the game registered my unpause as a "press jump" command, making me jump into a wall. Avoid pausing during high-speed sections. If you have to pause, let go of all inputs first.
Mistake #2: Treating the "health cell" as an upgrade, not a requirement. You get a total of 10 health cells in the game. I went into the final boss with 6 on my first run and got two-shot by Shriek's ground pound attack. The health cells are hidden in every zone. The Windswept Wastes has three of them, but two are in rooms that require the Burrow ability to reach. Go back to earlier zones after you get new movement tools. The health cell in Inkwater Marsh (behind a breakable wall near the first spirit well) is accessible with just Wall Jump and Bash. Get that one before you fight the second boss.
Mistake #3: Not using the "Spirit Shards" system properly. There are three slots for shards. Most players put in combat shards and forget. The Vitality shard (increases max health by 20%) is the best shard in the game for new players. It's found in a hidden room in Wellspring Glades — you need to bash off a lantern to reach a high ledge. That 20% HP is the difference between surviving a hit and being sent back to the last save. I run Vitality, Finesse, and Quick Flame (increases Spirit Arc charge speed by 40%) for my standard exploration setup. Swap to combat shards only for boss fights.
Mistake #4: Trying to fight the big worm in the desert early. I know it looks intimidating. I know you want to test your skills. Don't. The Sand Worm in the Windswept Wastes is a mid-game boss that requires the Burrow ability to even damage it effectively. I spent 45 minutes throwing myself at it with just the sword before I realized I physically couldn't win without the movement upgrade. The game doesn't tell you this. It just lets you die over and over. Save that fight for after you've explored the Luma Pools and gotten Burrow.
Mistake #5: Underestimating fall damage. Fall damage in this game is percentage-based. If you fall from a height greater than 3 Ori-lengths, you take damage equal to 25% of your max HP. If you fall into a pit, it's an instant kill. The safe way to fall is to ground pound (down + attack) just before landing. The ground pound negates fall damage entirely if you use it within 1 second of hitting the ground. This took me 10 hours to figure out. I used to just accept the damage and heal. Now I never take fall damage.
Answers to the questions you're probably typing into Google right now
Q: Can I play this without playing the first game?
Yes. The story is mostly self-contained. You'll miss some emotional context about certain characters, but the gameplay stands alone. The first game was more about platforming than combat; this one is the opposite. If you want context, read a plot summary in five minutes. Don't feel obligated to play the first one first.
Q: How long is the game?
First playthrough blind: 12-15 hours. Speedrun: 2 hours (I've seen people do it. It's insane). 100% completion: 20-25 hours. The game has 12 zones, roughly, and you'll backtrack through each at least twice. The hardest collectible is the mask fragment in the Mouldwood Depths that requires perfect timing on a series of jumps. I spent 3 hours on that one fragment alone.
Q: What's the best way to farm spirit light?
Don't farm. The game gives you enough by just exploring. If you're short on spirit light, go to the Inkwater Marsh and break every breakable pot and wall you find. There's a room with three pots that respawn after you leave the zone and come back. Each pot drops 5-10 spirit light. You can loop that room for about 200 spirit light per minute. But honestly, just playing the game naturally gets you more than enough. I finished my first playthrough with 4,000 unspent spirit light because I never bothered to shop.
Q: The game keeps crashing on PC. Help?
This is a known issue. The game has memory leaks on certain hardware. Go to Settings > Graphics > Texture Quality and set it to Medium. High and Ultra cause crashes every 45 minutes on Nvidia 10-series cards. Also, disable Vsync if you're above 60 FPS. The engine has a weird conflict with Vsync past 60Hz. I did a fresh install and capped my frames at 60 in the Nvidia control panel, and I haven't crashed since.
Q: What difficulty should I play on?
Normal for first-timers. Hard is genuinely unfair — enemies have 2.5x HP and deal 2x damage. Easy mode exists and is fine if you're here for the story and exploration. I play on Normal because I like the challenge, but I've played on Easy when I wanted to relax. No shame either way. The accessibility options are solid — you can remap buttons, adjust aim assist, and even toggle "invincibility frames" if you're struggling with a specific section. Use them. This game is hard enough without you pride-bricking your progress.
Q: Any tips for the final boss (Shriek)?
Yes. Stock up on health cells (you want at least 8). Use the Vitality and Finesse shards. The boss has 4 phases. Phase 1 is pattern-based: dodge the scream, hit her twice, back off. Phase 2 introduces the ground-pound attack — jump when you see the shadow. Phase 3 is the hardest: she summons minions that shoot homing projectiles. Use Light Burst to stun them, then kill them fast. Phase 4 is a repeat of phase 1 but faster. The key is to never stop moving. If you stand still for more than 2 seconds, you take damage. I beat her with 1 health cell left on my winning run. It's tense but doable.
There's a similar flow to the boss design in Rain World, where movement is your primary defense. But Ori gives you more forgiveness. If you can survive Rain World's cycles, you can survive Shriek.
Sign in to post a comment.
Sign in with GitHub to join the discussion.
💬 Comments
What players are saying:
I followed the tip about using the spinner blades as platforms in Luma Pools and it literally saved my run. I was about to give up on that zone. Also, the fall damage ground pound trick is something I wish I'd known 20 hours ago. This guide is straight-up better than the IGN one. Saved my sanity.
Honestly, I disagree about ignoring the Reckless shard. I ran it from hour 3 and never looked back. Sure you die faster, but the early DPS let me kill Mora before her second phase even started. I think this guide is solid for casual players but if you have any metroidvania experience, Reckless is the jam. That said, the Vitality shard advice is spot on — I swapped to it for Shriek and beat her first try after 8 fails without it.
The hidden Light Burst bash trick is absolutely real and you can break the game with it. I got to Mouldwood Depths before the game intended and grabbed a health cell that was meant for mid-game. The worm escape sequence advice also got me through that nightmare after 2 hours of failure. I wish I'd found this guide before I threw my controller at the wall. 10/10, would let this guy coach me again.