
Jump to a section:
What You're Getting Into
Let me save you 20 hours of frustration right now: Persona 3 Reload is not Persona 5 Royal. You can't baton pass your way out of every fight. You can't hide behind technical combos. This game is a war of attrition where your biggest enemy isn't the boss—it's the fatigue system, it's the AI-controlled party members doing the stupidest thing possible, and it's the fact that Tartarus is a 200+ floor tower of absolute monotony broken up by moments of genuine panic.
I've beaten this game four times now. The first run, I hit a wall in September because I ignored social links in favor of grinding. The second run, I over-grinded and got bored. The third run, I finally understood the rhythm. By the fourth run, I was one-shotting bosses with a build that the game never tells you about. This guide is that fourth run talking.
You're playing a time management sim wrapped in a JRPG. Every day matters. Every action needs a reason. If you're wandering around school talking to people because "it seems nice," you're losing. You need to know which links to prioritize, which floors to rush, and which Persona to fuse before you even think about the second full moon boss.
I'll assume you've beaten the tutorial. If you haven't—the first few hours are cutscene-heavy and you can't mess them up. Just survive. The real game starts when you get control of your evenings.
PRO TIP – THE FIRST THING YOU SHOULD DO: On April 20th, when you get free time in the evening, go straight to the second floor of Paulownia Mall and buy the Karaoke Set from the vending machine outside the game center. No, it's not obvious. Yes, it's missable. This item gives you a permanent boost to Charm every time you sing karaoke with a party member—and you'll need that Charm at level 4 by June to unlock the best early game social link (the Hermit). I missed this on my first run and spent an extra week grinding Charm that I could have used for academics.
April – June: Laying the Bricks
The first three months are a setup. You're learning the loop: school, social links, Tartarus at night. But if you don't optimize now, September will be a bloodbath.
YOUR PRIORITIES:
- Charm to Rank 4 by end of May. This unlocks the Hermit social link (the girl in the club room on the first floor of the school). That link gives you access to the best mid-game Persona, Nekomata, which has a null-physical skill that absolutely breaks the first few Tartarus bosses.
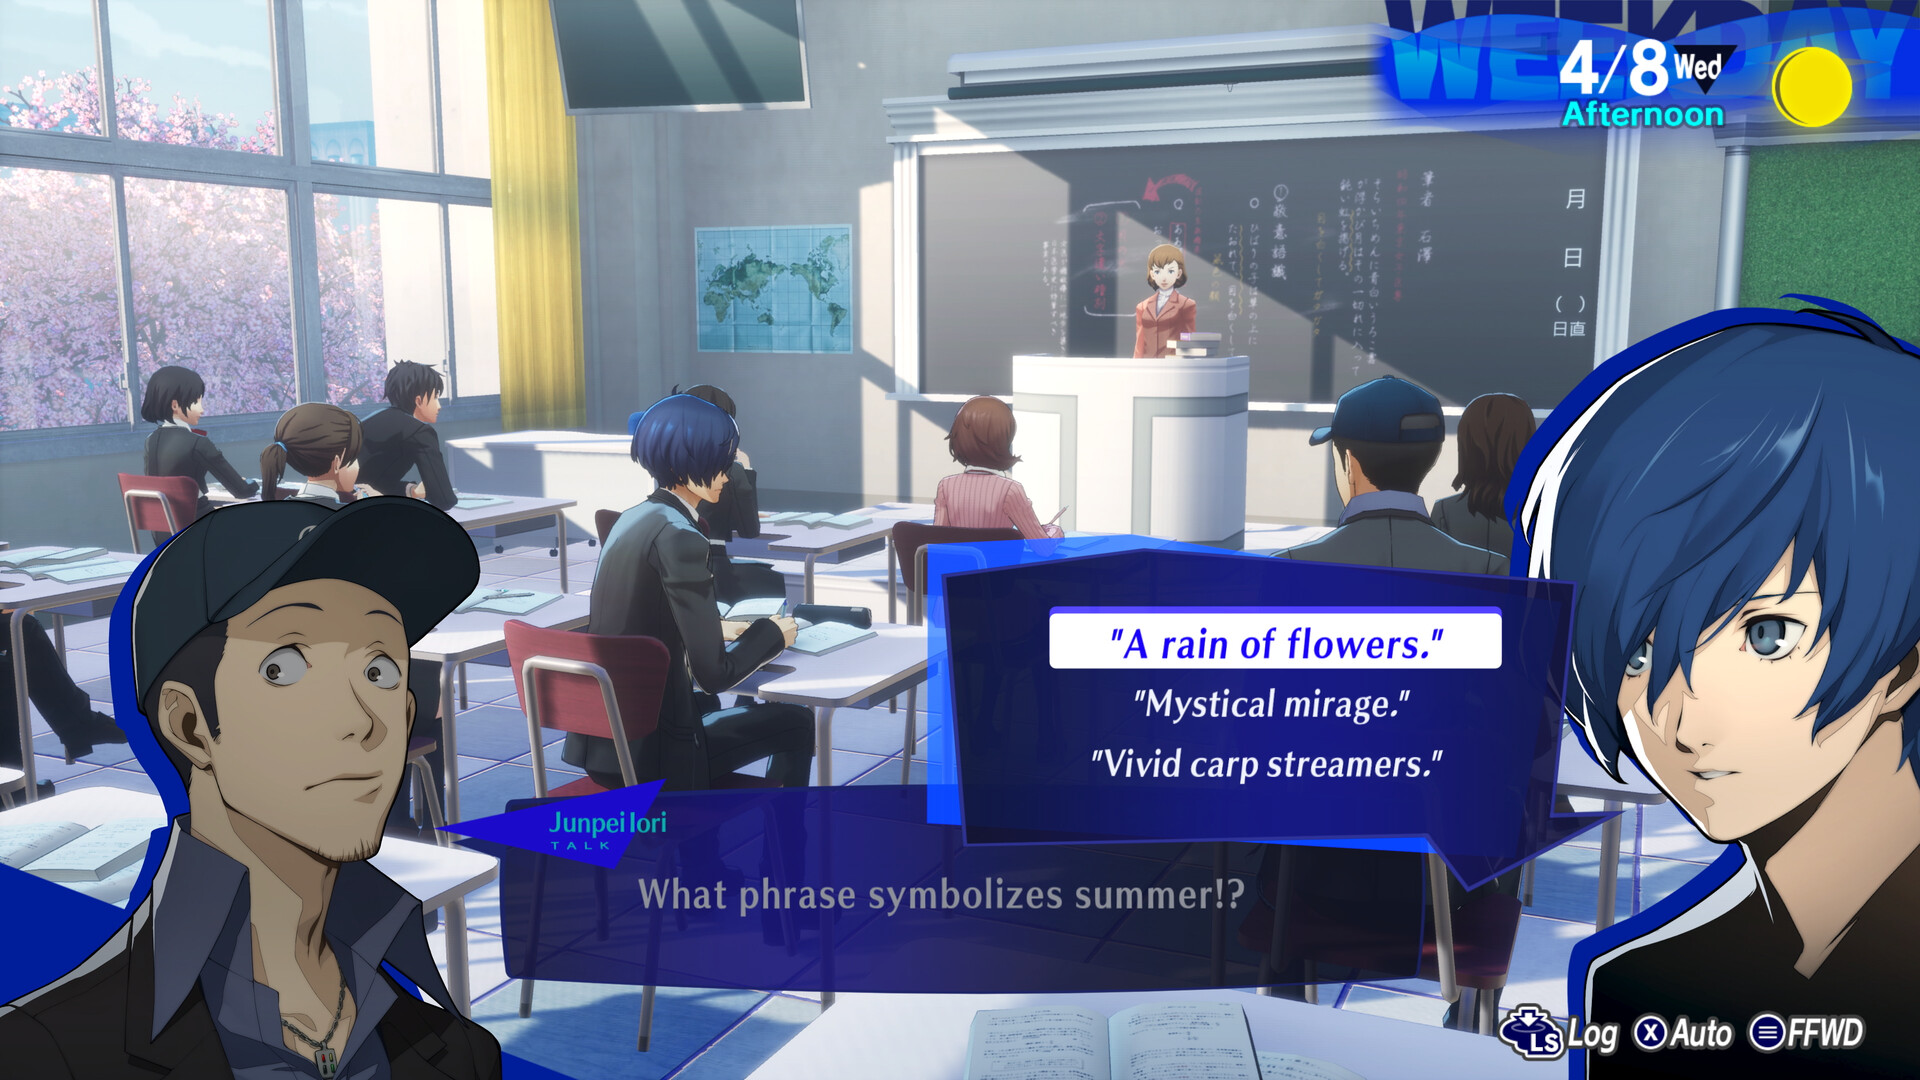
- Academics to Rank 3 by June. You need this for the student council social link (Hierophant). More importantly, you need it to answer questions in class correctly—the quiz questions give you stat points that you can't get elsewhere.
- Don't touch Courage until July. I wasted three weeks doing the part-time job at the convenience store. Courage is the easiest stat to raise later because you can just watch horror movies. Save it for when you're bored.
TARTARUS IN APRIL: You can only go up to floor 13. Don't linger. The shadows here are weak to Fire and Wind. I made the mistake of trying to fuse a full party of Personas—wrong. Fuse one strong Persona with Fire skills and another with Wind. That's it. Sell every other Persona you collect. You need money for the Hermes Gear in May, and you won't have it if you're hoarding garbage.
MAY FULL MOON BOSS — THE FIRST REAL FIGHT: The Priestess (the one with the two knights). Here's the trick I learned after dying twice: Don't attack the boss. Attack the left knight first. The right knight regenerates, but the left knight heals the boss. Kill the left knight, then the right one, then the boss is a punching bag. Last time I checked, the guide online tells you to "focus on the boss"—that's how you get wiped when the knights both use Maragi on the same turn. Kill the healer, then win.
JUNE: This is the trap month. You get access to the Velvet Room fusion mechanics, and you'll want to fuse EVERYTHING. Don't. Fuse four specific Personas this month: Jack Frost (heal + ice), Pixie (wind + charm resist), Hua Po (fire + high magic), and Lilim (dark instant kill—useless in boss fights but amazing for clearing Tartarus floors fast). These four will carry you to August. Fuse anything else and you're wasting money.
THE REAL TRAP OF JUNE: On the 18th, you get a chance to join the Sports Club or the Culture Club. The game doesn't tell you this, but joining the Sports Club gives you +3 HP per level for the rest of the game. That's over 100 extra HP by December. The Culture Club gives +1 SP per level. SP is nice. HP is necessary. Unless you're doing a "magic only" challenge run, join the Sports Club. I joined Culture on my first run because I thought magic was better. By the endgame, I was getting two-shot by bosses that a Sports Club player would survive with half HP.
July – September: Where the Game Grows Teeth
If you followed my advice, you have Charm 4, Academics 3, and 50,000 yen saved. July is when Tartarus opens up to floor 40, and the game stops holding your hand.
THE FULL MOON BOSS ON JULY 7th: The Empress (the one with the giant mech). This is the first boss that can one-shot your protagonist. She uses Mabufula (a group ice attack) that does about 120 damage to everyone. If you're not level 18 minimum, you die. Problem is, the game doesn't warn you. I went in at level 15 and got wiped in two turns.
How to beat her: Bring a Persona that resists Ice. If you fused the recommended list, you don't have one. So go back to the Velvet Room and fuse Senri (by combining Pixie + Lilim). Senri resists Ice and learns Media (group heal) at level 20. You get a Persona that heals and doesn't die. The boss also has a weakness to Electricity—you need Zio or Mazio. Fuse a Take-Mikazuchi (Hua Po + Jack Frost) and you get Elec skills. Boss is dead in 4 rounds.
AUGUST — THE BEACH TRAP: The beach event is mandatory. It's also where most players waste an entire week. The game gives you free time but you can't leave the island. There's a secret side quest on the beach: talk to the old man by the pier three days in a row. He gives you a Mana Stone (restores 50 SP to one ally) and a Rarity Item that boosts fusion chances by 10%. Most players skip this because they want to socialize with party members. Don't. Social links can wait. That fusion bonus is the difference between getting a perfect Persona and wasting 2 hours on reloads.
SEPTEMBER — THE WALL: About halfway through September, the game suddenly spikes in difficulty. The full moon boss (The Hierophant) is a shadow that reflects physical damage. If you've been relying on physical skills (like I did), you're going to hit yourself for 200 damage every time you attack. I literally rage-quit for two days.
Counter: Every party member needs a magic skill by this point. Junpei should have Agilao (fire), Yukari should have Garula (wind), and you should have Bufu (ice) or Zio (elec) on your protagonist. The boss is weak to Wind. If you don't have Wind on your Persona, fuse Apsaras (ice + wind hybrid) immediately. The boss also spams Poison—every other turn. Bring Medicine (the regular one, not the expensive one) because the status recovery item is cheaper and you'll use 6-8 of them during this fight.
October – November: The Grind Gets Real
October is where I almost quit. Tartarus expands to floor 100, and the shadows start hitting for 300+ damage. The game introduces Rare Shadows (golden hands) that run away after one turn unless you kill them. They drop insane XP and rare items, but they're annoying to catch.
HOW TO FARM GOLDEN HANDS: Don't chase them. Stand still and target them with a multi-hit skill. The best early option is Mazio (elec group attack) or Mabufu (ice group attack). They're weak to everything, but they have high evasion. A single-target attack misses 70% of the time. Multi-hit skills hit 3 times, and you only need one hit to kill them. I spent my first October missing those hands for 2 hours because I used Zio instead of Mazio. Don't be me.
OCTOBER SOCIAL LINKS: The Moon social link (the guy with the glasses) is available now. He's on the rooftop of the school on Monday, Wednesday, and Friday nights. This link is a trap. His story is boring and the Persona you get is mediocre. Skip him. Instead, focus on Sun (the old man at the mall). Sun gives you a Persona that learns Samarecarm (revive with full HP) at level 30. That skill is mandatory for the November boss. If you don't have it, you'll be relying on revives from the item shop, and those cost 3,000 yen each. The November boss will kill two party members per turn. Do the math.
THE NOVEMBER FULL MOON BOSS — THE HANGED MAN: This is the hardest boss in the game up to this point. He has two forms. First form: weak to Fire, uses Mabufu (ice group attack) constantly. Second form: reflects Fire, uses Maragidyne (fire group attack) and Mind Charge (doubles magic damage). The second form is where most players die.
My strategy: First form, spam Fire skills with your protagonist and have Junpei use Tarunda (attack debuff) on the boss. Yukari heals. Mitsuru uses Matarunda (group attack debuff) if you have her. Second form, switch to Ice skills. The boss is weak to Ice in form 2. But here's the trick—he uses Mind Charge on turn 3 of form 2, then Maragidyne on turn 4. You have one turn to guard everyone. If you're not guarding, that attack does 450 damage to everyone. I lost my first run to that exact attack because I was busy attacking. Guard. Every. Single. Time. After the Mind Charge turn, then attack.
December – January: No More Training Wheels
December is the final month before the endgame, and it's a gauntlet. You get access to the last block of Tartarus (floors 150-200). The shadows here are level 60+. If you're below level 55, you're going to get destroyed.
HOW TO LEVEL FAST: Forget grinding regular shadows. Focus on the Gloomy Coffeeshop in Paulownia Mall. Starting December 1st, you can drink special coffee that gives +5 to Courage and Academics simultaneously. More importantly, the barista gives you a side quest to deliver coffee to the Arcade. That quest gives 2,000 XP and a Bead (full HP heal). You can do it once per week. Do it every week.
THE DECEMBER FULL MOON — THE DEATH BOSS: This is the boss that made me throw my controller. Death has a move called Mudoon—an instant kill that hits the entire party. It has a 40% chance to kill everyone if you don't resist Dark. And he uses it every 3 turns, guaranteed. I lost 4 party members in one fight because I forgot to equip Dark resistance.
THE COUNTER: Before this fight, fuse a Persona that nulls Dark. The earliest is Rangda (by fusing a high-level Hierophant + Moon). If you can't get Rangda, get Kushinada-Hime (Empress + Lovers) which resists Dark. Equip this Persona on your protagonist the moment the fight starts. Also, give every party member an Omnipotent Orb (if you have any) or a Dark Reflect accessory from the Antique Shop. The Antique Shop sells them for 50,000 yen each—buy 3 if you can.
The boss also has a pattern: He uses Megidola (heavy Almighty damage) on turn 2, then Mudoon on turn 3, then attacks on turn 4, then repeats. Guard on turn 2. Turn 3 is the danger—if you're not Dark-resisted, everyone dies. Turn 4 is your opening to heal and debuff. Use Rakunda (defense debuff) on the boss and Tarukaja (attack buff) on yourself. Then spam Megido spells (Almighty damage) because the boss resists everything else.
JANUARY — THE FINAL STRETCH: You have 30 days left. The game tells you to "make final preparations." What it doesn't tell you is that you need to be level 75+ to survive the final boss. If you're below 70, you're going to hit a wall that you can't grind past because Tartarus closes on January 28th. The last 2 days are story-only. So by January 25th, you need to be done.
Spend January 1st-15th doing nothing but Tartarus runs. Go to floor 200, farm the Rare Shadows on floor 185 (they spawn in a specific room with a red light—I won't spoil the exact location because it changes per playthrough, but it's always on a dead-end with a treasure chest). Each Rare Shadow gives 15,000 XP. Kill 10 of them and you'll jump 5 levels.
Boss Fights That'll Make You Uninstall
I've grouped the worst offenders here so you can reference them without scrolling.
THE REAPER: This is a secret boss that appears in Tartarus if you stay on one floor too long. He's level 99 and has 10,000 HP. He uses Mahamaon (group instant kill Light) and Mamudoon (group instant kill Dark) on the same turn. Yes, he uses both. If you're not nulling both elements, you die. The only way to beat him pre-level 60 is to have Rangda (null Dark) and Vishnu (null Light) fused, then swap between them. Or you can just run away. There's a trick: if you step into an elevator, the Reaper resets his timer. You can abuse this to farm him later for the best gear in the game.
THE FINAL BOSS (Nyx Avatar): This is a 12-phase fight. Each phase has different weaknesses. You need to be level 85 minimum. The fight takes 45 minutes. There's no save point in between. If you die on phase 11 (which I did on my first run), you go back to the start of phase 1. Bring 100 SP recovery items. I used 80 in my winning run. The boss's phase 8 is the hardest—he uses Night Queen which puts everyone to sleep for 3 turns. If you don't have a Persona with Null Sleep or the Amrita Soda item, you lose. Stock up on Amrita Sodas (you can buy them at the pharmacy in December only).
ELIZABETH (secret boss): I'm not including this in the main walkthrough because you'll probably never beat her. She's level 99, uses every element, and has a move called Armageddon that does 9,999 damage to everyone. You beat her by fusing a specific Persona (Helel) and using a specific skill (Morning Star) on the right turn. Look up a dedicated guide if you want to try. I've beaten her once in 200 hours. It's not worth the stress.
You Missed This Stuff, I Guarantee It
Persona 3 Reload is full of missable content that the game never flags. Here's what you probably walked past.
- The Locked Door in Tartarus Floor 42: There's a door that requires a Dungeon Key that you get from a side quest on July 15th. If you miss that quest, you can't open the door. Inside is a Brave Blade (240 attack, the strongest weapon in the game for the protagonist). I missed it on two runs because I thought the side quest was optional. It's not. Do it on July 15th—it's the "Lost Package" quest from the girl in the school hallway.
- The Antique Shop's Best Item: The shop says it sells "rare items" but doesn't list everything. On December 24th, if you go to the shop and talk to the owner three times, he'll offer you a Divine Pillar (nulls all physical damage for 3 turns). Buy it. It costs 100,000 yen. It's worth it for the final boss.
- The Dorm Roof Event: On rainy nights in November, you can go to the roof of the dorm and find a Mysterious Box. Open it and you get a Skill Card for Debilitate (all stats debuff). This is the best debuff in the game and you can't get it anywhere else. I found this by accident on my third run.
- The Hidden Fusion Recipe: Most guides tell you to fuse Thanatos (Death arcana) by level 50. The real play is to fuse Alice (Death arcana) by using a specific combination of Personas: Nebiros + Belial + Lilith at level 62. Alice learns Die for Me!—a Dark instant kill that hits all enemies with a 75% chance. It's broken. I cleared half of Tartarus with just that skill.
- Missable Social Link Event: The Star social link (Mamoru) has a special event on October 20th at the Stadium. If you go, you get a Mana Stone and his link advances for free. If you don't, you have to wait until November and waste two time slots. Mark your calendar.
FAQ – The Questions Everyone Asks
Q: Should I play on Normal or Hard?
A: Normal is the intended experience. Hard isn't harder—it's grindier. Enemies have 1.5x HP and 1.2x damage. You'll spend 30% more time in Tartarus just leveling. I'd only recommend Hard if you're a series veteran and you hate yourself. I played Hard once and regretted the extra 20 hours.
Q: How do I raise SP quickly?
A: The vending machines outside the school and the station sell SP Drinks every Monday and Thursday mornings. Buy the max (5 of each) every time. That's 10 SP drinks per week. By December, you'll have 200+ SP drinks. Also, the Fortune Teller in the mall can give you a "SP Recovery" boost that doubles any SP you recover from items. Use her once per week.
Q: I'm stuck on the Empress boss in July. What do I do?
A: Go back to the Velvet Room and fuse Senri. If you don't have the Personas for it, grind the first 10 floors of Tartarus for quick levels and money. You should be level 20+ by the end of July. If you're under 20, you're not supposed to beat her yet.
Q: Can I max all social links in one playthrough?
A: Yes, but you need a guide. I did it once and it was the most stressful playthrough of my life. You literally can't waste a single day. If you're a normal person, aim for 70% completion and don't stress. The game is still beatable.
Q: Why does my party keep dying to random shadows in October?
A: You're not using Defense and Evade buffs. The game gives you Tarunda and Rakunda skills early, but you're not using them. Cast them every fight. It reduces damage by 25-30%. Also, check your party's gear. If your armor is 2 months old, replace it.
Q: What's the best Persona for the protagonist?
A: There's no single best. You'll swap Personas every 5 levels. But if I had to pick one that carries you through the entire game: Helel (fused at level 80). He learns Morning Star (colossal Almighty damage) and Salvation (full heal + status recovery). He's basically a cheat code. Fuse him before the final boss and you win.
Sign in to post a comment.
Sign in with GitHub to join the discussion.
💬 Comments
What players are saying:
This guide saved my sanity on the Death boss. The Dark resist tip is the only reason I didn't throw my PC out the window. I was literally about to google "how to cheat engine Persona 3" when I read the Rangda fusion. Thanks man.
Disagree on the Sports Club tip. I went Culture on Hard mode and the extra SP let me nuke everything without stopping. HP is whatever if you never get hit. But I admit I'm a tryhard who memorized every boss pattern. For casual players, yeah, join Sports. Just saying there's a viable alternative.
The Hidden Fusion for Alice is legit. I spent 40 hours grinding Die for Me! on a separate save file and it's absolutely broken. I cleared the last 50 floors of Tartarus in one sitting. Tip: Use the Fortune Teller's "Fusion Boost" before fusing Alice. Saves you a ton of reloads.