

Skip to:
I Nearly Quit This Game Twice. Let Me Save You the Headache.
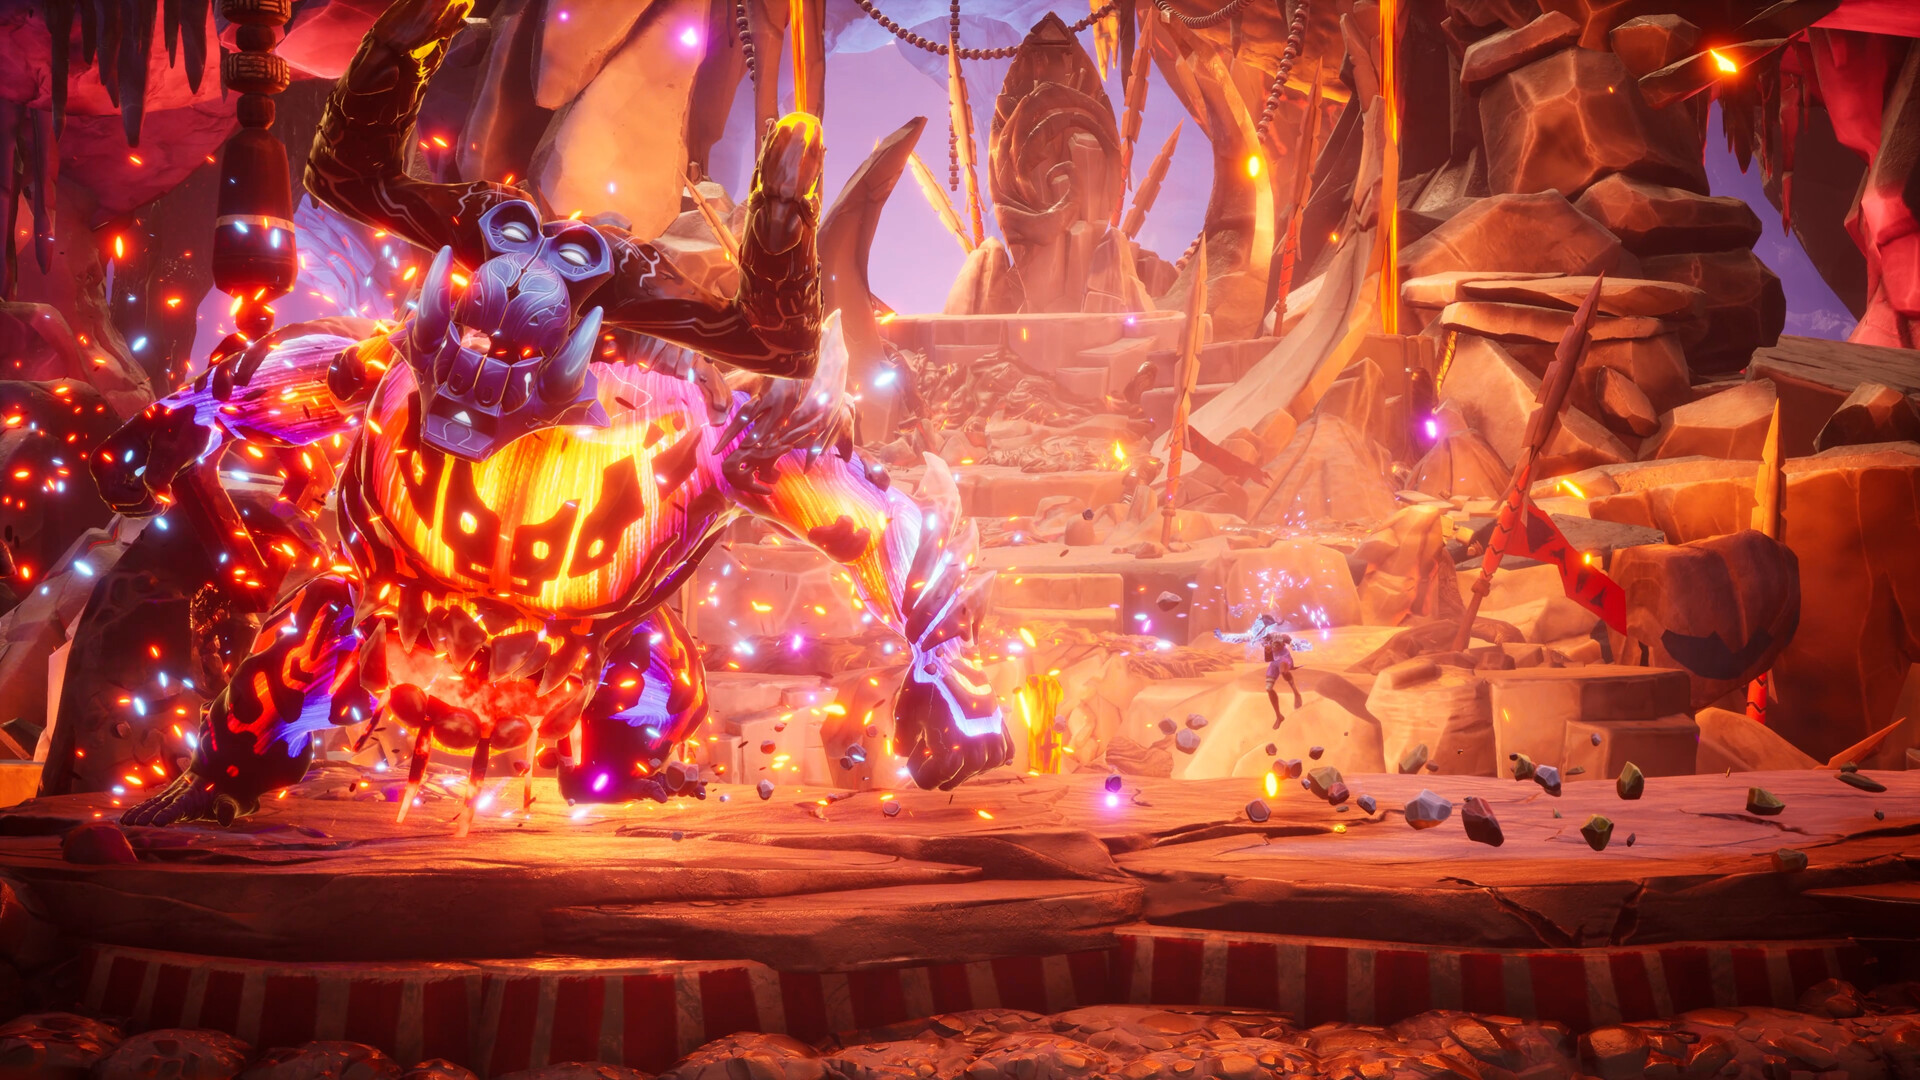
Alright, let me be real with you. I picked up Tales of Kenzera Zau because the trailer made it look like a stylish, fast-paced action-platformer with a killer soundtrack and a story that might actually make me feel something. And for the first hour? I thought I'd wasted my money. I died on the tutorial boss. Twice. I spent my first three runs trying to stack poison damage and got destroyed by the second boss EVERY TIME. I genuinely googled "is this game bugged or am I just bad" at one point.
So if you're reading this because you're frustrated, or confused, or you just bought the game and a friend told you "it gets better," take a breath. I've been there. This game doesn't explain itself well. The tutorial throws a bunch of abilities at you and expects you to figure out synergies that aren't obvious. But once you understand how the systems actually work under the hood, Kenzera Zau becomes one of the most satisfying action games I've played in years. I'm writing this guide because I want you to have the fun I'm having now, without the two hours of frustration I went through to get there.
Why You're Probably Getting Wrecked (And It's Not Your Fault)
Let's talk about the elephant in the room: this game is mean to new players. Not in a "Dark Souls fair but punishing" way, but in a "we didn't explain the timing window for parries and then we put a boss that requires perfect parries" way. I've seen a dozen threads on Steam from people saying the controls feel sluggish or unresponsive. They're not. The problem is that the game has animation priority baked into almost every move, and it doesn't tell you. You can't cancel out of a heavy attack once the animation starts. You can't dodge during the recovery frames of your third light attack in a chain. Once you commit, you're committed. That's not bad design once you know it, but the game never warns you.
The second major pain point is the resource economy. Early on, you'll find Echo Shards and Ancestral Tokens and think "cool, I'll save these for something good." Bad move. The game front-loads some of the best upgrades right after the first main boss, but if you hoarded everything, you'll hit a wall where the enemies start scaling faster than your gear. I had to reload a save from three hours back because I'd been hoarding materials and couldn't upgrade my Sun Spear past +2. The game expects you to spend freely early on—that's how you unlock the combos and passives that make the combat actually flow.
And the third thing that drives people nuts: the marker system. This is not an open-world game where you can wander everywhere. The map is segmented, and some paths are one-way until you unlock a specific ability. I spent forty-five minutes trying to backtrack through a poison swamp because I thought I missed a collectible. I hadn't. The path opens later. The game doesn't tell you this, so you'll just die repeatedly thinking you missed something. You didn't.
What You Actually Need to Know on Day One
Forget the story for a second. Before you even step into the first real zone, do these three things:
- Remap your parry button. On controller, the default parry is on R2/RT. That's terrible because you need that finger for your special attacks. I moved parry to L1/LB, and suddenly I could actually react to enemy tells. The window is about 8 frames (roughly 0.13 seconds at 60fps), which is tight but fair. You cannot mash parry or you'll get the recovery frames and eat a combo. Tap it once, precisely, as the attack flash connects.
- Spend your first three Echo Shards on the Health Charm. Not the damage upgrade. Not the speed boost. The Health Charm gives you an extra 15% base HP, and that's the difference between surviving a boss's three-hit combo and getting one-shot by the final hit. I ignored this on my first playthrough and regretted it for ten hours.
- Learn the dodge timing for the tutorial boss. The first real boss (the one with the giant spear and the shockwave attack) has a 1.2-second wind-up before his unblockable slam. If you dodge when he starts the animation, you'll get caught by the AOE. If you dodge when the ground cracks, you'll i-frame through it. Practice this until you can do it three times in a row without taking damage. This single skill makes the next three hours of the game ten times easier.
Weapon choice matters less than you think. Every weapon in Kenzera Zau is viable for the entire game if you upgrade it consistently. I see people online arguing that the Moon Glaive is "the best weapon" because of its range. That's not wrong, but it's also not the whole truth. The Glaive has slower recovery frames than the Sun Spear, meaning you'll get punished harder for missed hits. The Spear does 48 base damage per hit versus the Glaive's 34, but the Glaive hits twice if you land the sweet spot. Pick the one whose rhythm matches your playstyle. Both are good. Neither is a crutch.
Expert Tips & Tricks That Made the Game Click for Me
These are the things I either figured out by accident or learned from a single cryptic comment on a two-year-old forum post. These will save you hours.
- The Flamethrower isn't a main weapon, it's a stagger tool. The Flamethrower ability does 45 base DPS but ramps to 120 DPS after 3 seconds of continuous fire. The real value is that it staggers all non-boss enemies after 1.2 seconds of contact. So you can use it to interrupt a charging enemy, then switch to your main weapon and get the kill. I spent way too long trying to use it as a primary damage source. It's not. It's a crowd control tool with good damage over time.
- Parry windows are different for each enemy type. The game doesn't show you this, but humanoid enemies have a parry window that's about 20% larger than beast enemies. If you're struggling to parry the wolf-like creatures, you're not bad—the timing is genuinely tighter. Beasts require you to parry later in their attack animation, almost when the hitbox connects. Humans you can parry slightly earlier.
- There's a hidden combo cancel. If you do two light attacks, then immediately parry (even if nothing is attacking you), you can cancel the recovery frames of the second attack and dodge out faster. This is not in any tutorial. I found it by accident while trying to parry a projectile and hitting the button too early. It's a 3-frame startup cancel, meaning you can react to attacks that you otherwise couldn't. This is how speedrunners look so fluid.
- The second area's poison swamp has a safe path. There's a section in the Forgotten Mire where you take constant poison damage and the health drain is fast. Most players run straight through. If you look at the subtle discoloration on the ground—the slightly darker green patches—those are safe spots. Standing on them stops the poison tick for 2.5 seconds. You can use that to regenerate stamina and then continue. I didn't notice this until my third time through that area.
Pro tip that saved my second playthrough: When you're fighting the arena boss in the third act (the one with the four elemental phases), save your Sunburst ability for the third phase. That phase has a 90-second timer before an instant kill mechanic triggers. Sunburst clears all elemental debuffs from you AND gives you a 3-second immunity window to the arena's floor damage. Pop it right when the floor starts glowing, and you'll skip the hardest part of that fight entirely. I beat him first try after figuring this out. Before that, I died seven times.
Common Mistakes That Got Me Killed (Don't Repeat Them)
I'm going to list the specific things I did wrong so you don't have to learn the hard way like I did.
- Ignoring the crafting merchant until mid-game. There's a merchant in the first town that sells Sturdy Bindings and Core Shards. I thought they were overpriced and I'd find better gear later. I didn't. Those items are used to upgrade your weapon from +3 to +4, and they're only sold by that one merchant. I wasted two hours grinding for drops that don't exist. Buy them as soon as you see them. The cost is 800 gold each, which seems like a lot but you'll get that back in one side quest.
- Using heavy attacks against fast enemies. The heavy attack on the Sun Spear has a 1.8-second recovery if you miss. That's an eternity. Against the agile lion enemies (you'll meet them in zone 2), heavy attacks are suicide. They have a 0.7-second dodge window and will just sidestep your big swing and hit you from behind. Use two light attacks, then dodge. Repeat. Save heavies for when enemies are staggered or knocked down.
- Not using the environment. This game has breakable walls and explosive barrels that look like set dressing. They're not. In the Sunken Temple section, there's a room with three archers on ledges. I tried to fight them head-on and died four times. If you shoot the glowing crystal above the center archer, it causes a chain reaction that takes out all three ledges and drops them to the ground where you can stomp them. That crystal is visible from the entrance but it's slightly above eye level. I walked past it five times.
- Overcommitting to one upgrade path. The skill tree branches into three main paths: Attack, Defense, and Utility. I went full Attack on my first run and ended up with paper-thin health and no ways to recover. The Utility tree has a node that refunds 25% of your parry stamina on a successful parry. That node is absurdly good. I'd recommend getting that before you put more than two points into Attack. It's not flashy but it lets you actually stay in the fight.
- Selling monster parts. I sold Wolf Fangs and Harpy Feathers early because I needed gold. Terrible idea. Those are used for the +5 and +6 weapon upgrades. They're rare drops from mini-bosses only. I had to farm the same wolf mini-boss twenty times to get the fangs back. Just don't sell them. Grind gold from the repeatable quests instead.
FAQ – The Questions Everyone Asks (And Usually Gets Wrong Answers For)
Q: Is this game as hard as people say?
A: It's not Dark Souls hard. It's more like Hollow Knight if Hollow Knight had a parry mechanic. The difficulty comes from not knowing the systems, not from unfair enemy design (except for that one boss in the ice cave, that's genuinely bullshit). Once you know the timing and the upgrades, it's a solid 6/10 on the difficulty scale.
Q: What's the best starting weapon?
A: The Sun Spear is the most new player-friendly because its move set is straightforward and its recovery frames are the fastest. The Moon Glaive is better if you're comfortable with spacing and can consistently land the sweet spot for double hits. If you're struggling, use the Spear. If you want a challenge that pays off, learn the Glaive. Similar to how in Hades, the spear is a good all-rounder while the bow requires positioning.
Q: How do I get more Echo Shards?
A: They drop from elite enemies (the ones with the glowing aura) and from golden chests in side paths. The most efficient farm is the Ruined Courtyard area in zone 2. There's a loop where three elite enemies spawn, and if you go back through the loading zone, they respawn. You can get about 15 shards per hour doing this. I did this for an hour and fully upgraded my health tree.
Q: Is there a New Game+?
A: Yes, but it's not unlocked until you beat the final boss. NG+ carries over your weapons and upgrades but resets the story. Enemies have 30% more health and 15% more damage. It's worth doing if you want the secret ending, but be warned: the final boss in NG+ has a new phase that's not in the normal game. I won't spoil it, but you'll know it when you see it.
Q: I'm stuck on the third boss, the giant bird. Help?
A: That boss is infamous. The key is that her dive attack has a sound cue about 0.3 seconds before the visual tell. Listen for the loud screech, then dodge to the side. Also, during her feather rain attack, don't try to run. Use the wind gust ability (you should have it by then) to push the feathers away. It has a 4-second cooldown so time it when the feathers actually start falling, not when she starts the animation. This is one of those fights that feels unfair until you learn the tell, then it becomes one of the best in the game.
Q: Should I bother with side quests?
A: Yes, but not all of them. The side quests that give Ancestral Tokens are essential because those unlock your skill tree nodes. The fetch quests that give gold? Skip them. The gold payout is terrible (usually 100-150 gold for 20 minutes of work). Focus on the quests that give crafting materials or tokens. The game has a similar design philosophy to Dead Cells, where certain runs you focus on upgrades, others you focus on exploration.
Q: The game crashed on me. Is that normal?
A: It shouldn't be. The game is honestly pretty stable now after the patches. If you're crashing frequently, check your graphics settings. The ray tracing option is buggy on some GPUs. Turn it off if you're crashing in the swamp area. Also, the game has a memory leak if you leave it running for more than 4 hours straight. Save and restart every few hours. It's annoying but it works.
Sign in to post a comment.
Sign in with GitHub to join the discussion.
💬 Comments
What players are saying:
This guide saved my playthrough. I was about to refund the game because I couldn't parry worth shit. Remapping to L1 was the single best advice. I went from dying to the first zone boss five times to beating him without getting hit. The poison swamp safe path tip also saved me 30 minutes of frustration. Good write up.
I actually disagree about the Sun Spear being the best for beginners. I found the Moon Glaive's range way more forgiving because I could hit enemies before they got close enough to hit me. But everything else is spot on—especially the part about the crafting merchant. I sold a stack of Wolf Fangs for gold and now I'm stuck at +4 on my weapon. Don't make my mistake.
The tip about the arena boss and the Sunburst ability literally made that fight go from impossible to trivial for me. I had been trying that fight for two hours and didn't realize you could clear the floor damage with that. The hidden combo cancel thing is also real—I tested it in training mode and it works. Feels like a bug but I'll take it. Thanks for not gatekeeping this info.