

Skip to:
Honest Thoughts on Planet Crafter
Look, I'm gonna level with you. Planet Crafter is one of those games that looks simple on the surface — you land on a dead rock, you craft some machines, you turn it green. Easy, right? No. God no. I've got about 400 hours across multiple saves, and I still remember my first run where I spent six real-time hours running in circles because I didn't understand how oxygen production worked. The game does NOT tell you half the stuff you actually need to know. You're supposed to just figure it out. And that's fine if you've got the patience of a zen master, but if you're like me — someone who wants to actually play instead of reading tooltips for an hour — you need a real human to explain the bullshit.
So here's my guide. It's not a slick, corporate tutorial. It's me, a sweaty nerd who's rage-quit this game three times, telling you exactly what I wish someone had told me. I'm not gonna sugarcoat the grindy parts. I'm not gonna pretend this game is perfectly balanced. It's not. But once you get past the initial wall of confusion, it's genuinely one of the most satisfying survival-crafting games I've ever played. The feeling when you see that first patch of blue sky? Worth every second of frustration.
Why Most Players Quit (and How You Won't)
Let's talk about the pain points that made me almost refund this game. Because I know you're feeling them too.
- The first hour is the worst hour. You land with nothing. No hand-holding. You die from lack of oxygen while you're still reading the controls. I died four times before I even built my first Crafting Station. The game expects you to just know that you need to rush Vegetube T2 before you even think about exploring. It does not tell you this.
- Resource spawns are not intuitive. I spent my first three runs looking for Iridium in the wrong biome. The game doesn't give you a map or markers. I literally walked past a massive Iridium deposit because it was behind a rock and I didn't have a Pickaxe T2 to break it. That's not skill — that's bad communication.
- The power system will make you want to punch a wall. You think you can just plop down a Solar Panel and be fine? Wrong. Solar panels have a tiny 60-degree angle. If you place them slightly wrong, they generate 0 power. I had a whole base running on 2 power because my panels were facing the wrong way. The game doesn't give you a directional indicator. You just have to guess.
- Inventory management is a nightmare. Your starting backpack holds something like 12 items. That's nothing. You'll be walking back and forth between your base and a resource node so many times that your character's legs should be made of titanium. There's no Auto-Stack feature early on. You have to manually sort everything.
I've seen friends quit at the 2-hour mark because they felt like they were "doing it wrong." You're not doing it wrong. The game is doing it wrong by not explaining itself. That's why I'm writing this. Stick with it through the first few hours, and you'll hit a point where everything clicks and suddenly you can't put it down.
First Steps — What Actually Matters Day One
Forget the fancy bases. Forget exploring caves. Here's your real priority list for the first hour:
- Build the Crafting Station immediately. Before you do ANYTHING else, collect 10 Iron and 5 Cobalt (they're those blueish rocks near your landing pod). Craft the station. Then craft a Vegetube T1. Place it near your pod. It produces oxygen. Stand near it to breathe. This single item stops you from dying. Why the tutorial doesn't shove this in your face is beyond me.
- Rush the Habitat T1. Your starting pod is cramped. Build a Habitat T1 (costs 10 Iron and some Silicon). This gives you a protected area where you can place lockers and workbenches. More importantly, it stops the sandstorms from draining your oxygen when you're crafting. I spent my first two hours getting killed by a sandstorm while trying to build a furnace indoors. Don't be me.
- Find water, but don't overthink it. You need Water for the Food Grower. The easiest way is to build a Water Collector (costs 3 Iron) and put it in a spot that gets light. It produces 1 water per cycle. You can also drink from the little ponds in the crater, but that's risky because they can have radiation. Stick to the collector until you have a Water Purifier.
- Don't explore more than 200 meters from your pod day one. Seriously. You don't have enough oxygen or inventory space. You'll get lost, run out of air, and die. I did this three times. The first real biome you want to reach is the Mushroom Forest — it has Aluminum and Sulfur — but wait until you have at least a Backpack T2 (crafted with 10 Leather from hunting those little rat things).
One more thing: save often. There's no autosave. I lost 2 hours of progress on my first real save because I died and my last manual save was before I built my Ore Extractor. The game doesn't warn you. Hit that save button every 15 minutes. It's muscle memory now for me.
PRO TIP I WISH I'D KNOWN: You can build multiple Vegetube T2 units near each other and they stack their oxygen production. Put three of them in a triangle around your base. You'll have breathable air in a 15-meter radius. This is how you avoid carrying oxygen tanks everywhere. I didn't figure this out until hour 20. You're welcome.
Expert Tips That Save Hours
Okay, you've survived the first few hours. You're not dying constantly. Now let's get into the stuff that separates "existing" from "thriving." These are tricks I picked up from trial, error, and a lot of reloading.
- Build your base near the Iridium deposit. There's a specific spot at coordinates 38.5, 72.1 (look at your HUD for coords) that has Iridium, Aluminum, and Silicon within a 50-meter radius. This is the single best base location in the game. You don't need to be near the starting pod. Move. Trust me, you'll save hours of walking.
- The Tree Spreader T1 is a noob trap. It sounds great — "produces oxygen!" — but it's super slow. It takes something like 20 in-game cycles to produce meaningful oxygen. Instead, rush the Tree Spreader T2 (requires Uranium from the caves). It's 3x faster and unlocks Biogecko spawns, which give you Spore Seeds for advanced crafting. I built the T1 once and regretted it. Skip it.
- Use the Drone system as soon as you can. The Drone Hub costs 15 Iridium and 10 Silicon. It feels expensive early on, but it automates resource collection. Set a drone to fetch Iron from a node near your base and you'll never manually mine that stuff again. I wish I'd built this before my third base expansion. I spent hours manually hauling ore when my drone could have done it.
- Flatten your base area with the Terrain Tool. You get this after building the Bioreactor T1. Use the Flatten mode to create a perfectly level foundation for your buildings. If you don't, your Habitat T2 will have weird gaps where wind seeps in and drains your oxygen. I had a base that looked like a funhouse. Flatten first, build second.
- Stack power sources. One Solar Panel isn't enough. You need at least 4 to run a basic base with a Furnace and Crafting Station. Place them in a row facing the same direction (I point them toward the big mountain in the distance — call it 270 degrees on your compass). If you have wind, add one Wind Turbine as backup. Power outages during a sandstorm will kill you. I lost a whole save because my Oxygenator shut off while I was inside my base and I didn't notice.
Also, a quick note on vehicles: build the Buggy (costs 20 Aluminum and 15 Iridium) as soon as you unlock it. It's not a luxury. It's a necessity. The map is huge and walking takes forever. The Buggy's top speed is around 45 km/h, which might not sound fast, but it cuts travel time between biomes by at least 70%. Don't wait. If you're stuck on the Aluminum, check the Meteor Field biome — it's littered with it. This mechanic is similar to how vehicles work in Subnautica guide, where the Seamoth changes everything about exploration.
Mistakes That Got Me Killed (Don't Repeat Them)
I've died in this game more times than I'd like to admit. Not from combat — there's basically no combat — but from stupidly avoidable environmental bullshit. Here's what got me:
- Building in the open. My first base was smack in the middle of a flat plain. Looked great. Then a Radiation Storm hit and I had no shielding. My Base Shield Generator wasn't built yet (costs 15 Uranium). I barely survived by hiding in a cave. Build your base near a cliff face or in a crater. Natural cover matters. The game has storms that last 5-10 minutes. Being caught outside them without a shield is a death sentence.
- Ignoring the Terraformation Index. You'll see a number on your HUD that goes up as you add Oxygen, Heat, and Pressure. I ignored it because I assumed it was automatic. It's not. You need to actively balance all three. When oxygen gets too high without heat, you get Freeze Storms. When pressure gets too high without oxygen, you get Toxic Air. I had a run where the pressure hit 150% and my character started taking damage every 10 seconds. I had to rapidly build Gas Extractors to vent it. Don't let it get out of control. Aim for balanced growth — I check my index every time I return to base.
- Not upgrading your Backpack fast enough. I mentioned this earlier, but I cannot stress it enough. The Backpack T2 requires Leather from hunting those little hopping creatures (the Puffers). I avoided hunting because I felt bad. Then spent 30 minutes on a single resource run. Just kill the Puffers. They respawn. Your sanity is worth it. The Backpack T3 holds 24 slots and is a game-changer — rush it when you unlock Fabricator T2.
- Not building a Second Base near the Glacier. The Glacier biome has Super Alloy and Zeolite, both needed for endgame crafting. It's a 15-minute walk from the starting area. I made the trek three times before I realized I could just drop a small base there with a bed and a locker. Now I have a network of outposts. Saves literal hours.
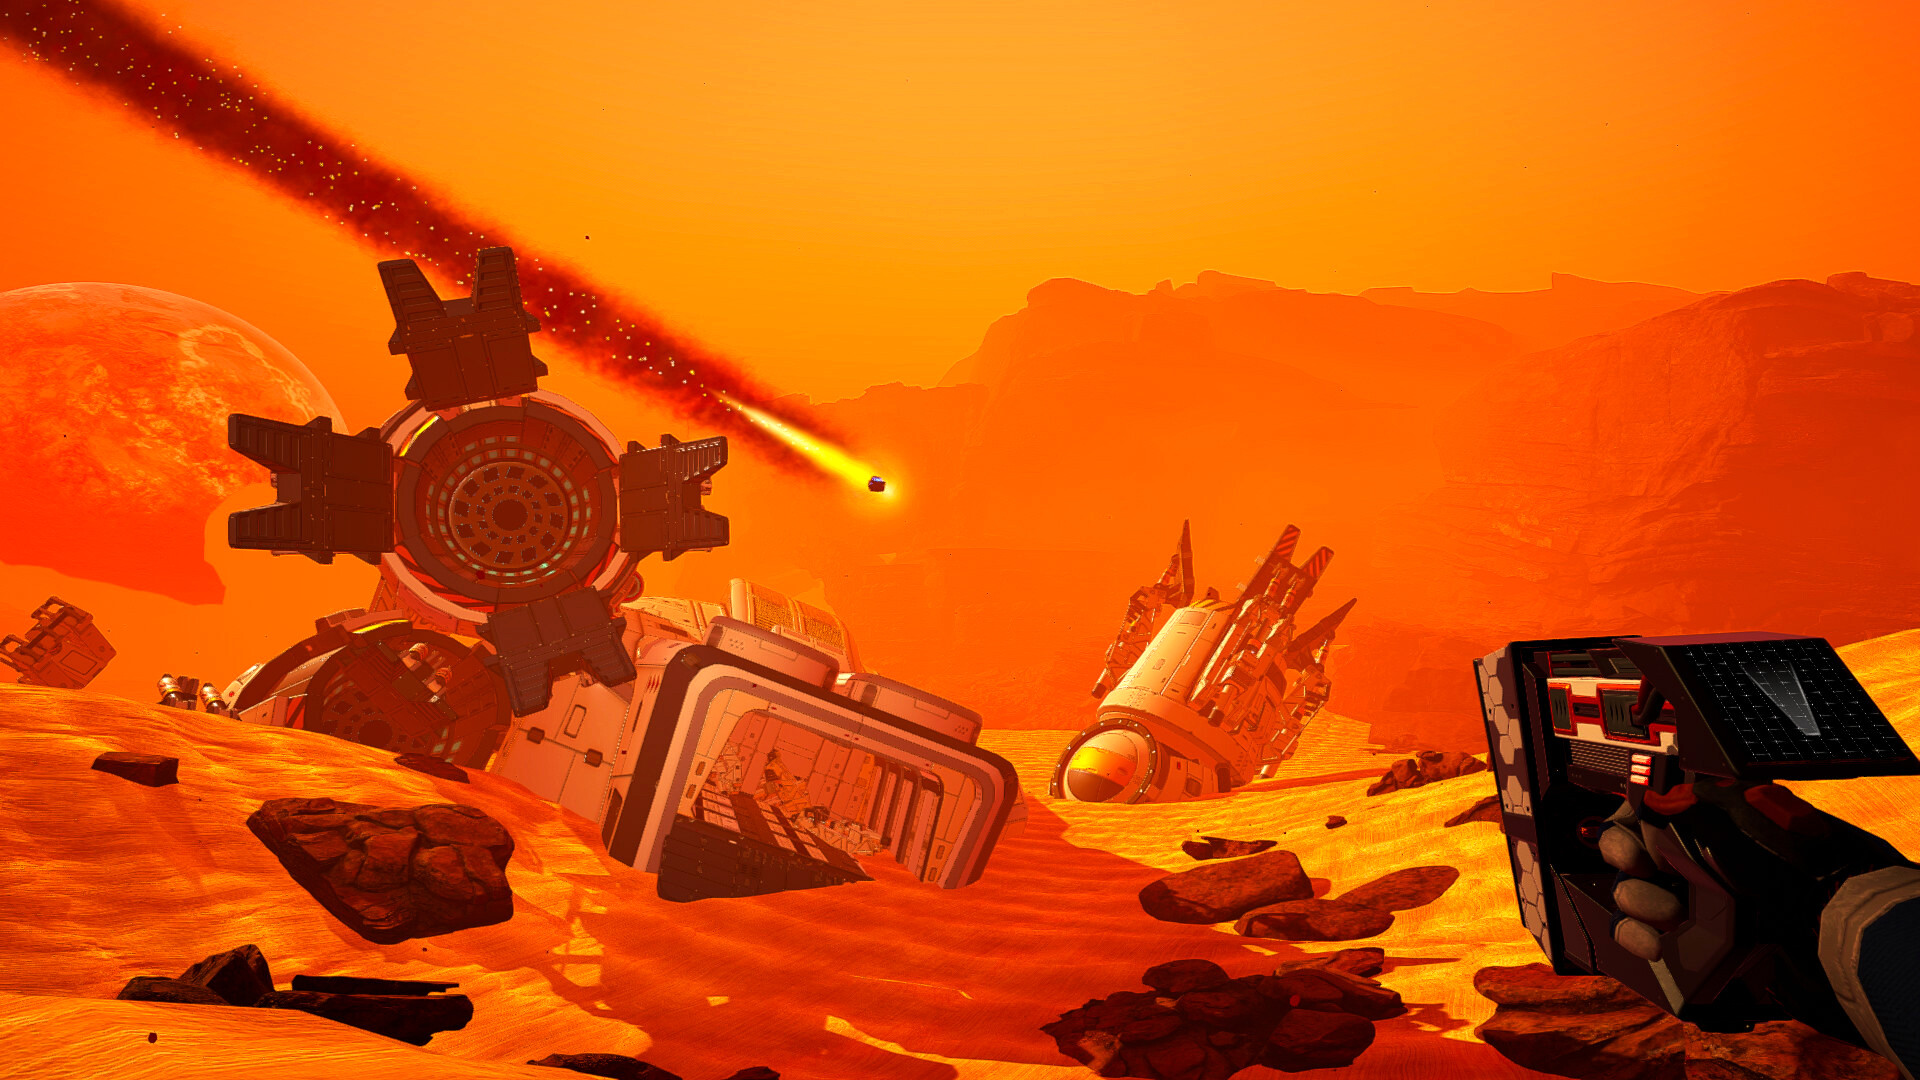
Oh, and one more thing: watch out for the Meteor Shower event. It triggers when your Heat index crosses a certain threshold (around 75%). Meteors will smash into your base if you're unlucky. I lost my entire Ore Extractor setup to a direct hit. Build your important stuff under cover — a Habitat T2 roof or a natural overhang. The meteors don't target you, but they can destroy anything in their path.
FAQ — The Stuff the Wiki Won't Tell You
- Q: How do I get Uranium early? A: Go to the Mushroom Forest caves. Look for glowing green rocks. You'll need a Pickaxe T2 to break them. The caves are dangerous — rads can spike to 30+ — so bring Anti-Rad Pills (crafted with Algae and Iodine from the ponds). I usually grab 3-4 pieces per trip, then gtfo.
- Q: Can I move my base later? A: Yes, but it's a pain. You can deconstruct buildings with the Terrain Tool and get 50% of materials back. I moved my base after 15 hours. It took me 2 hours of hauling. Save yourself the headache — pick a good spot early. Use the coordinates I gave you above.
- Q: How do I stop the Toxic Air effect? A: Check your terraformation balance. If Pressure is too high relative to Oxygen, you get toxic air. Build Gas Extractors (3 Aluminum, 2 Silicon) and set them to extract CO2 or Methane. I had to build three of them to fix a 200% pressure spike. It's all about balance.
- Q: What's the point of Biogeckos? A: They're not just cosmetic. They produce Spore Seeds and Fungal Spores that you use in the BioLab for advanced Tree Spreader upgrades. Tame them by building a Gecko Cage (unlocked after Tree Spreader T2). I ignored them for 30 hours and regretted it.
- Q: Is there a Map? A: No built-in map. You have to use landmarks. The big mountain in the distance is north. The Meteor Field is east. The Glacier is south-west. I memorized these by making a mental note of the sky color above each biome — the Mushroom Forest has a greenish tint, the Rocky Desert is red. Use your Beacon item (costs 1 Silicon) to mark important locations. I place a red beacon at my base, yellow at resource nodes.
If you're coming from other survival games, you'll find some similar mechanics — especially in resource management and base building. I actually got into Planet Crafter after a friend recommended it because I loved Astroneer guide. The automation and exploration loops share a lot of DNA. But the terraformation system is unique. Don't treat it like a standard survival game. You're not just surviving — you're actively changing the planet. That's the hook, and it's deeper than it looks.
Sign in to post a comment.
Sign in with GitHub to join the discussion.
💬 Comments
What players are saying:
Man, the tip about the Vegetube T2 stacking oxygen production saved my ass. I was about to quit because I kept dying from hypoxia even after building three of them. Turns out I had them placed too far apart. Reddit guides never mentioned this. Actual game-changing advice.
Kinda disagree on the Tree Spreader T1 being a noob trap. I used it as a stepping stone to get the Biogecko unlocked earlier. But yeah, the T2 is way better. Also, the base coords you gave? Legit. I moved my whole operation there and my resource runs went from 10 minutes to 2. Solid guide overall.
Wish I read this before I built my base in the middle of a flat field. Lost my Ore Extractor to a meteor shower and rage-quit for two weeks. Came back, followed the base location tip, and now I'm 40 hours deep with no issues. The part about balancing the terra index fixed my toxic air problem too. Thanks for writing this.