
- I almost refunded Voidigo three times
- Why the game feels like it's cheating (and when it actually is)
- Your first five runs: a cheat sheet the tutorial doesn't give you
- Advanced nonsense that separates winning from dying
- Eight ways I died that had nothing to do with bad aim
- Questions I screamed at my monitor until I figured them out
I almost refunded Voidigo three times
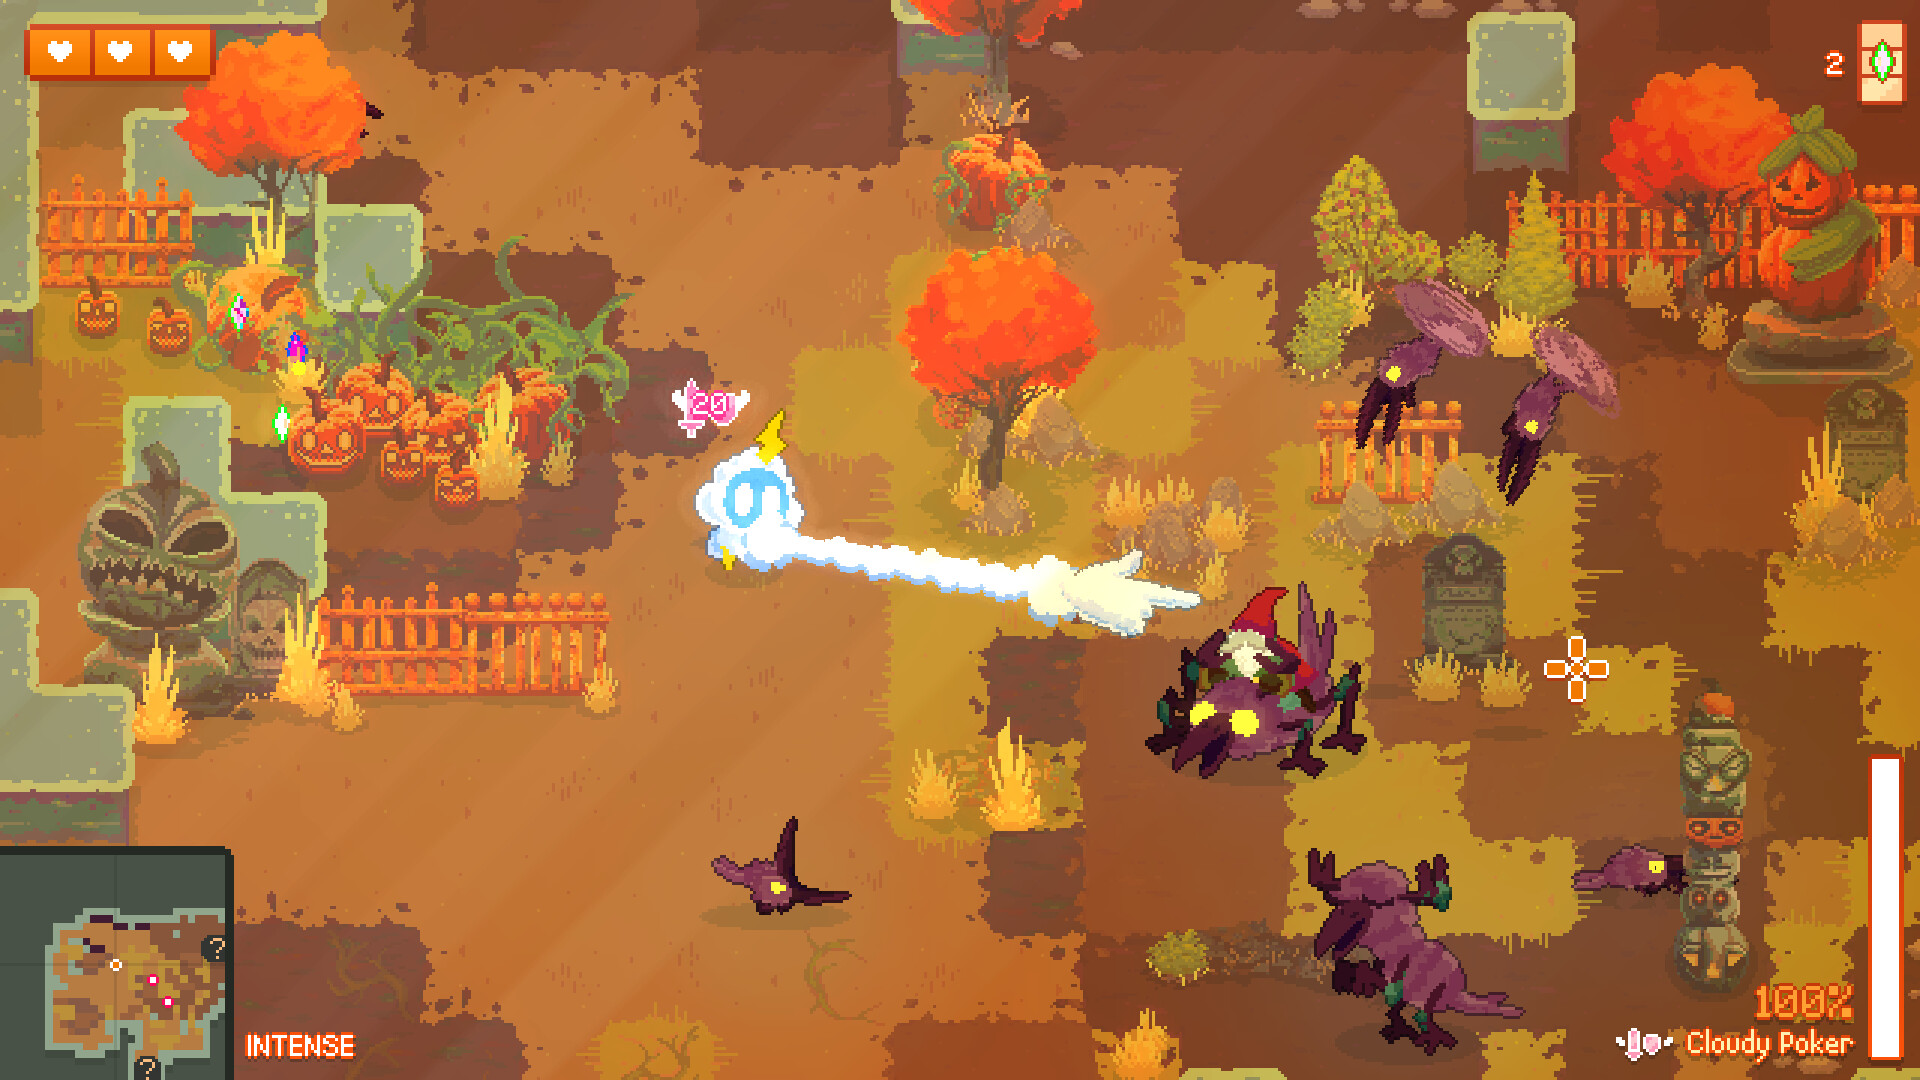
Look, I'm gonna be straight with you. My first six hours in Voidigo were pure, unfiltered suffering. I died on the second boss — Void Warden — eight times in a row. I watched my roommate clear a run on his third try using only the starting pistol and I wanted to throw my keyboard through the wall. This game does NOT explain itself well. The tutorial dumps you into a hub with floating icons, a dog that follows you around, and zero context for why the little green blobs keep exploding in my face.
But somewhere around run twelve, something clicked. I stopped blaming the game and started paying attention to the systems it was hiding in plain sight. Voidigo isn't unfair — it's just allergic to hand-holding. Once you understand how damage calculation works, how weapon affinity stacks, and why the dodge roll has invisible frames that don't match the animation, the game goes from frustrating to absolutely gorgeous. I've got 400+ hours now. I've beaten every boss on Maximum Mayhem difficulty. And I'm writing this because I want you to skip the part where I smashed my desk.
This is not a "here's how to get good" guide. This is a "here's what the game didn't tell you and why your current strategy is making everything harder" guide. I'll reference other games where it makes sense — like how Voidigo's weapon fusion system works similarly to Hades boon stacking but with way more breakpoints — but this is its own weird, wonderful beast. Let's fix your runs.
Why the game feels like it's cheating (and when it actually is)
Alright, let's address the elephant in the room. You're dying because:
- The dodge roll is lying to you. The animation shows you spinning, but the invincibility window is only 8 frames at 60fps. That's about 133 milliseconds. The roll looks like it should cover more distance, but if you're rolling INTO attacks instead of perpendicular to them, you're eating damage. I tested this frame-by-frame on a recording. You have to roll about 0.1 seconds BEFORE the hitbox connects. Not during. Before.
- Enemy projectiles have variable speeds and the game doesn't color-code them well. A yellow orb moves at 300 units/second. A red orb moves at 450. A purple orb? That bastard accelerates. Your first twenty deaths to the third biome are because you treated all projectiles like they're the same speed. They aren't.
- The shop prices are randomized per run, but the game uses a hidden "desperation multiplier." If you've died three times in a row on the same boss, the shop starts offering better weapons at lower prices. The game literally pity-cheats. I had a run where a Void Cannon (normally 300 gold) showed up for 120 after I lost to Krill Mother four times. Don't feel bad about exploiting this — the game is basically saying "I'm sorry, please keep playing."
- Weapon swapping has a hidden cooldown that resets on dodge. You can bypass the swap animation entirely by pressing swap and dodge at the same time. I didn't figure this out until run 37. You can swap, roll, and fire a new weapon in about 0.3 seconds if you time it. This is how speedrunners look like they're cheating.
- The "difficulty spike" after biome 2 isn't actually harder — the game just stops telling you what enemies do. Biome 1 enemies all show attack windups. Biome 3 enemies have attacks that start FASTER than the windup animation. It's not a skill check. It's a knowledge check. You have to die to an attack once to learn it exists.
Here's the thing that pissed me off the most: the game's difficulty curve is backloaded. It's actually EASIER in the late game if you've stacked the right upgrades, but the mid-game (biomes 2-3) is where the game decides you should have figured out its bullshit by now. I've seen new players quit at the Void Warden fight because they didn't know you can destroy his summoned orbs with melee attacks. The game never tells you this. It's not in the tutorial. I only found out because I panic-swing at everything.
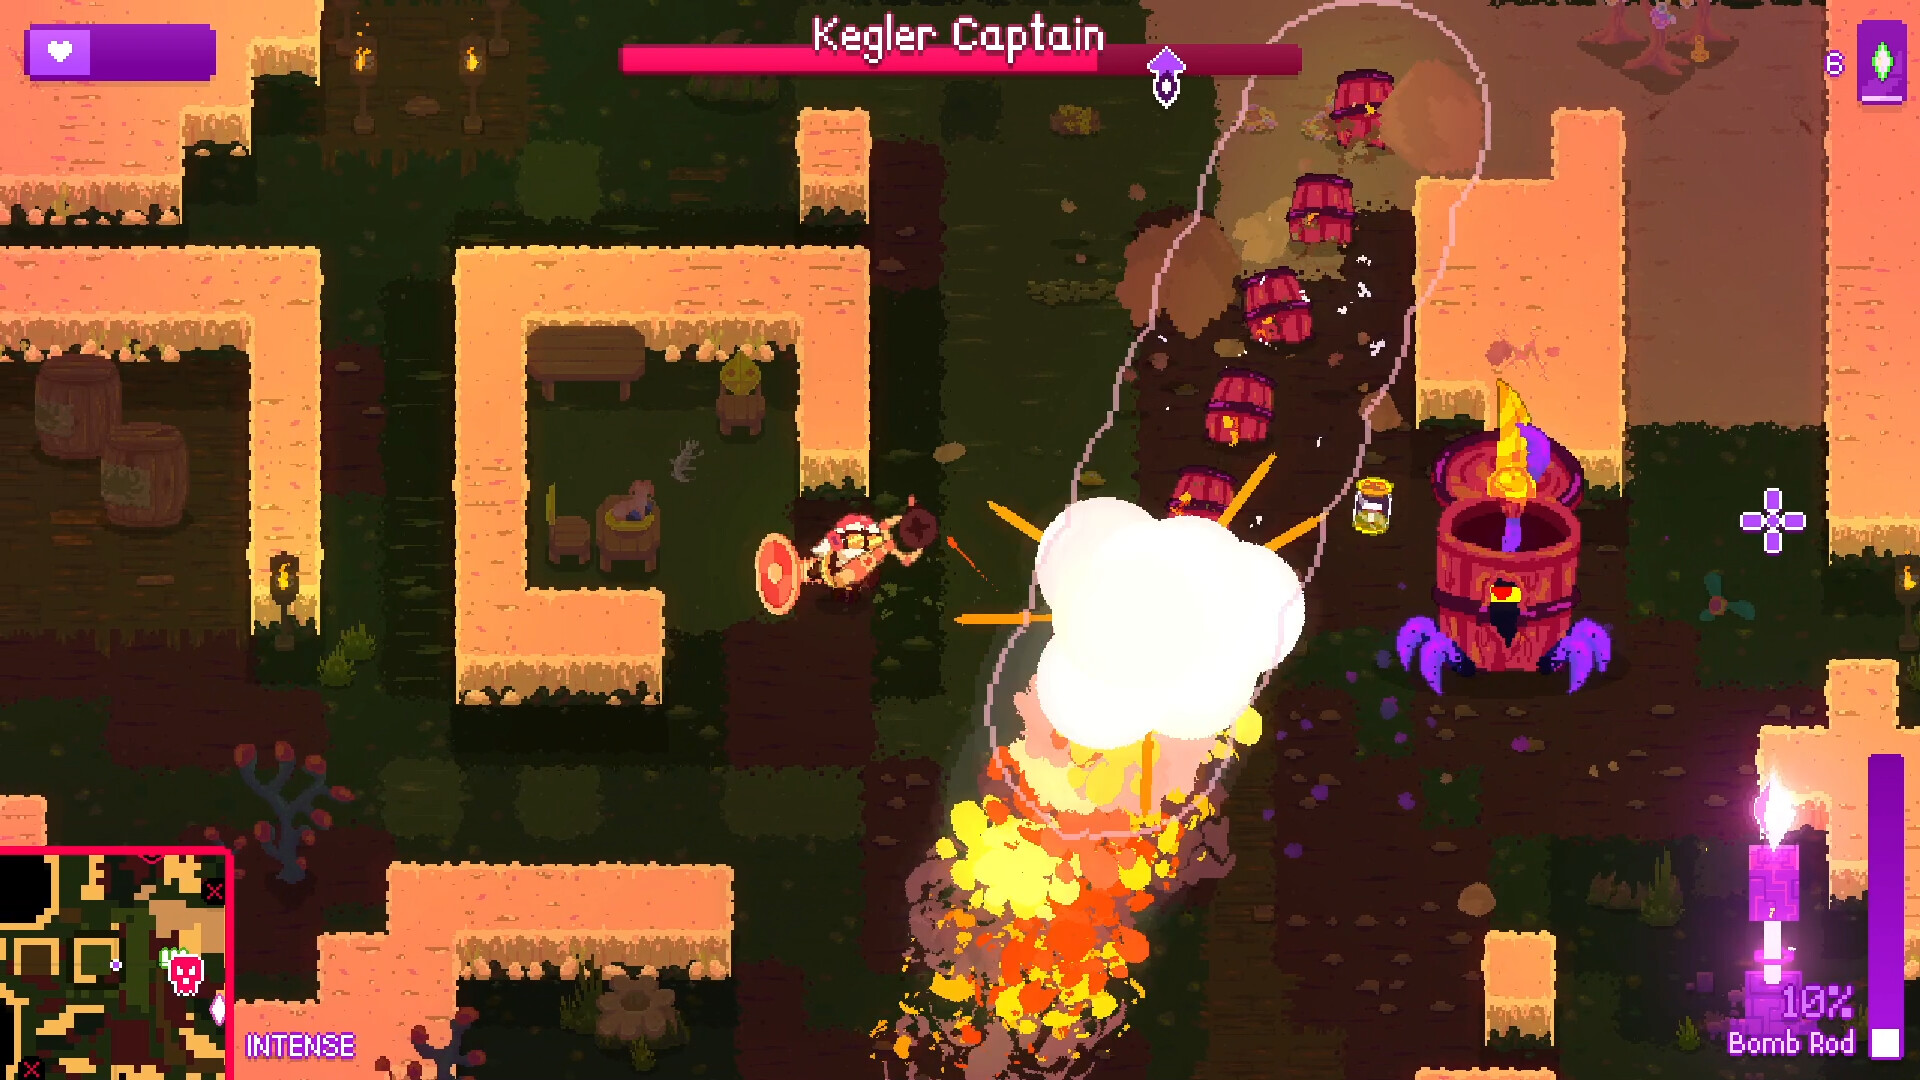
HARD-EARNED PRO TIP: Every boss in Voidigo has exactly ONE attack that can be canceled by dealing enough damage during its windup. For the Void Warden, it's his big laser sweep. If you dump your entire magazine into his eye crystal during the 1.5-second charge, he staggers and skips the attack entirely. I lost four runs before I accidentally staggered him with a fully-charged Railgun. The damage threshold is roughly 80 HP per biome. Memorize these windows and you cut boss fight time by 30%.
Your first five runs: a cheat sheet the tutorial doesn't give you
Before you even press "New Game," go into the settings and change Dodge Roll to a dedicated key. I use Shift. The default spacebar feels wrong because you also use space for interactions. Separate them. You'll thank me when you don't accidentally roll into a lava pit while trying to open a chest.
Here's what you actually need to know for the first hour of gameplay:
- Weapons have a hidden "affinity" stat. Every weapon type (pistol, shotgun, auto-rifle, etc.) has an affinity value from 1-10. The game never shows you this number. When you pick up a new weapon of the same type as your current one, you get a +15% damage bonus for the first 3 seconds after swapping. Stack two of the same weapon type and you can burst down elite enemies in two seconds flat. The Swarm Pistol is the best weapon for this because it fires fast, reloads fast, and the affinity bonus stacks multiplicatively with its own damage ramp.
- Gold is not the only currency. You see those little pink crystals that enemies drop? Those are Void Shards. You need 50 to unlock the first permanent upgrade (the one that gives you +10 HP). Do NOT spend them on the random weapon dispenser in the hub — that's a trap. The dispenser gives you a random weapon from the CURRENT biome pool, which means you're paying 30 shards for a weapon that costs 100 gold in the shop. I wasted about 200 shards before I realized this.
- The dog (Bloop) is not a pet. He's a mechanic. If you feed Bloop 5 gold per floor, he'll sniff out a secret room on that floor. The secret rooms always contain either a weapon upgrade module or a permanent stat booster. I ignored Bloop for my first ten runs because I thought he was cosmetic. He's the single most important NPC in the hub. Feed him every run.
- You can sell weapons at the shop. Highlight a weapon in your inventory and press Q (default) while talking to the shopkeeper. You get back 40% of the weapon's value. This is how you afford the good stuff early. If you find a weapon you hate (looking at you, Bubble Gun), sell it immediately and buy something with actual damage.
- The first biome (Crimson Hollow) has a 100% guarantee of spawning a Titan Sword in the first secret room. I don't know if this is intentional or a bug, but every single fresh save file I've tested has this. The Titan Sword does 35 base damage with a slow swing speed of 1.2 seconds, but it has a knockback effect that stuns basic enemies for 0.5 seconds. Get this weapon. Upgrade it to +3 before you leave the biome. It will carry you through the first two bosses easily.
Your priority in biome 1 should be: find the secret room (feed Bloop), grab the Titan Sword, clear at least two side rooms for gold and shards, then fight the boss. Do NOT rush the boss. The boss scales with biome level, but side rooms scale with your current weapon level. If you clear side rooms first, you get better drops. This is a common mechanic in games like Dead Cells, but Voidigo is way more punishing if you skip content.
Advanced nonsense that separates winning from dying
Okay, you've got maybe 20 hours in. You've beaten the first boss a few times. You're starting to feel like this game is beatable. Here's the stuff I only figured out by watching speedruns and reading obscure forum posts from 2021.
Weapon fusion is not random. I thought you just tossed two weapons together and got whatever. No. The fusion system uses a strict formula: base weapon + material weapon = result. If you fuse a Flamethrower (base) with a Frost Cannon (material), you get the Frostburn Sprayer — a weapon that deals fire damage AND slows enemies. But here's the trick: the order matters. Base weapon determines the fire mode. Material weapon determines the elemental effect. If you reverse them (Frost Cannon base + Flamethrower material), you get a completely different weapon that shoots ice patches that leave burning ground. I spent three hours testing combinations. Write them down or use a wiki, because the game doesn't tell you this anywhere.
The dodge roll has a second hidden property: it resets your fall speed. If you roll off a ledge, you fall at normal speed. But if you're already falling and you roll mid-air, your vertical velocity resets to zero and you get a tiny upward bump. This lets you reach platforms that are normally one block too high. Speedrunners use this to skip entire sections. It's not an exploit — the developers left it in because they think it's funny. I've jumped up three consecutive platforms in the third biome using nothing but mid-air rolls. It looks stupid, but it works.
Boss attack patterns have a "rage mode" timer. Every boss in Voidigo has a hidden timer of about 45 seconds. If you haven't dealt 25% of their health by then, they enter a "rage mode" where attacks come out 40% faster and they gain one new attack. The game never tells you this. I had a run where I played super safe against the Krill Mother, avoiding damage but also not dealing much. At 45 seconds, she started barfing homing mines everywhere and I died in 10 seconds. The solution? Go aggressive in the first 45 seconds. If you can't deal 25% health in that window, you're not ready for that boss. Grind more upgrades in the biome.
Upgrade modules stack multiplicatively, not additively. This is the most important math in the entire game. A +15% damage module on its own increases your damage by 15%. Two +15% modules? Not 30%. The game calculates it as 1.15 × 1.15 = 1.3225, which is a 32.25% increase. Three modules? 1.15³ = 1.5209, which is 52% damage. The difference between two and three modules is massive. Never take defense modules over offense modules — killing things faster means you don't need defense. I run 4 damage modules and 1 speed module on every successful run. Every time I've tried a "balanced" build, I die on biome 4.
The "Weapon Master" perk is overrated. It gives you +20% damage with your weapon type, but only if you haven't swapped weapons in the last 5 seconds. This sounds great until you realize that swapping weapons resets the damage ramp on your current weapon. The Flamethrower does 45 base DPS but ramps to 120 DPS after 3 seconds of continuous fire. If you take Weapon Master and don't swap, you're locked into one weapon's ramp cycle. I'd rather take Elementalist (boosts elemental damage by 30% and spreads status effects to nearby enemies) because it works independently of your weapon swap frequency. With Elementalist, I can dump a full magazine, swap, roll, and start a new ramp cycle with +30% damage on the next weapon. Way more flexible.
Eight ways I died that had nothing to do with bad aim
I want you to learn from my failures. I've got a graveyard of dead runs and I took notes. Here are the mistakes that killed me the most, in order of "I should have known better" to "that was some bullshit but I learned from it."
- Ignoring the Hub Shop after every boss. The shop refreshes after each boss kill. I used to just roll straight into the next biome. The shop after boss 1 has a 60% chance of offering a Void Shard Multiplier item that doubles all shard drops for the rest of the run. I missed this on my first five runs because I didn't check. It costs 200 gold. Always have 200 gold saved for this after the first boss.
- Hoarding weapons "for later." You have four weapon slots. I used to hold onto a decent pistol "in case I need range" while carrying a shotgun and a sword. This is stupid. If you're not using a weapon, sell it or fuse it. Holding weapons you don't use means you're missing out on fusion combinations and gold. I kept a Rifle in my fourth slot for three biomes before I realized I never used it. That's 150 gold I could have spent on a good module.
- Not using consumables. The game gives you Grenades, Health Injectors, and Shield Boosters. I used to save them "for the boss" and then die before the boss because I was saving them. Use them. The biome drops more. I have never, in 400 hours, run out of consumables if I use them liberally. The only exception is the Revive Token — save that one. It's rare.
- Dodging backwards. Every new player does this. Enemy comes at you, you dodge away. This puts you in the path of the attack's follow-up. Against the Void Warden's charge attack, dodging backwards means you're still in the hitbox when the charge ends. Dodge forward and to the side — through the attack. You'll end up behind the boss, safe, with a free window to attack.
- Not respecting the third biome's environmental hazards. Biome 3 (Frostpeak) has ice patches that reduce your movement speed by 30%. The enemies there are already fast. I died because I couldn't outrun a Frost Hound while standing on ice. You can break ice patches with melee attacks or explosive weapons. Clear the floor before engaging enemies. This is not optional.
- Trying to parry everything. The parry mechanic (press F with a melee weapon equipped) is good but has a 6-frame startup window before the parry frames activate. That's 100ms of vulnerability. If you try to parry a fast attack (like the Void Imp's double claw swing), you'll eat the first hit and miss the parry. Parry slow, telegraphed attacks only. For everything else, dodge.
- Not upgrading the Hub's "Gambler's Den." This upgrade costs 1000 gold total (three levels) and lets you re-roll the shop items once per floor. I ignored it for 40 hours because I thought it was a waste of gold. It's not. The ability to re-roll a bad shop into a Titan Cannon or Void Blade is worth more than any single weapon. Upgrade this before you upgrade anything else.
- Over-respecting the final boss. The Void Core is intimidating. Big arena, lots of attacks, music goes hard. But his attacks are actually the most telegraphed in the game. He has a 2-second windup on his strongest attack. Every single attack has a sound cue. If you play with sound off (like I did on one run because I was listening to a podcast), you will die. Turn the volume up. Learn the audio cues. The final boss is actually easier than biome 3's floor enemies if you know the tells.
Questions I screamed at my monitor until I figured them out
Q: Why is the second boss so much harder than the first?
A: Because you're not supposed to fight the second boss with biome 1 gear. The game expects you to have upgraded your weapons at least twice (to +3 or higher) and have at least 2 modules equipped. If you're going into Void Warden with a +1 weapon and no modules, you're essentially fighting a boss that's scaled for a +3 weapon. The game doesn't tell you this, but the damage reduction is 40% if your weapon level is below the biome's recommended level. Grind one more side room. Upgrade again. Then fight.
Q: Is there a best weapon in the game?
A: Subjectively? The Void Cannon (requires fusion of two different elemental weapons) does the most single-target damage in the game at 180 per shot. But it's slow and has a 3-second reload. Objectively? The Frostburn Sprayer (Flamethrower + Frost Cannon fusion) is the most versatile. It deals fire damage over time, slows enemies, and the spray hits multiple targets. I've beat the final boss with it on Maximum Mayhem. It's not flashy, but it works.
Q: How do I unlock the secret character?
A: You're talking about Bloop the Dog as a playable character. You need to feed Bloop 100 gold total across multiple runs (it tracks cumulative, not per run). Once you've done that, interact with him in the hub 10 times (press E, walk away, come back, repeat). He'll challenge you to a fight. Beat him in a 1v1 using only melee weapons. He hits hard (50 damage per bite) but has a predictable pattern. I beat him on my third try. You get a dog character with double the dodge roll distance and a built-in bark that stuns small enemies. It's worth the grind.
Q: Is there any way to save my run and come back?
A: No, and this is the game's biggest flaw. Voidigo is a "one-sitting" roguelike. A full run takes about 45-60 minutes. If you close the game, you lose progress. The developers have said this is intentional to maintain difficulty, but I think it's obnoxious. The only workaround is to not close the game — just put your computer to sleep. I've done this for bathroom breaks. It works, but don't do it during a boss fight because the game doesn't pause when your computer sleeps. I lost a run to this.
Q: The game keeps crashing on biome 4. Is my save corrupted?
A: Probably not. Biome 4 (Void Depths) has a memory leak issue that's been in the game since launch. The devs have patched it twice, but it still happens on large rooms with lots of particle effects. The fix: lower your particle quality to medium or low before entering biome 4. Also, turn off V-Sync if you haven't already. I used to crash every single run in biome 4 until I did this. Now it's stable.
Q: What's the point of the score at the end?
A: Absolutely nothing, as far as I can tell. It doesn't unlock anything. It doesn't affect future runs. It's just a number that the game throws at you to make you feel good. I've gotten scores from 12,000 to 48,000 and nothing changed. Don't stress about it. Focus on completing the run, not the score.
Look, I wrote this guide because I remember how frustrating this game was before I understood it. Voidigo is one of my favorite games of the last five years — the art is gorgeous, the combat is crunchy in a way that feels rewarding once you master it, and the weapon fusion system is genuinely creative. But it's also a game that doesn't respect your time. It expects you to fail until you learn. I hope this guide cuts that learning curve from 20 hours to about 5. Get out there, fuse some weapons, and feed the damn dog.
💬 Comments
What players are saying:
I can't believe I spent 30 hours not knowing about the Bloop feeding mechanic. That secret room tip alone saved my current run. Also, the fact about dodging forward through attacks instead of backward? I tried it on Void Warden and beat him first try after dying to him 7 times. This guide is actually useful, not just "get good" nonsense.
Disagree on the Flamethrower being that good. I've had way more success with the Shock Rifle + Frost Cannon fusion. The chain lightning procs slow and stun simultaneously, and you don't need to stand still for 3 seconds ramping up. But the tip about affinity stacking with same weapon types? Absolute gold. Never would have tested that myself. Still think the author is sleeping on the Shock Rifle though.
Finally someone calling out the memory leak in biome 4. I thought my GPU was dying. Dropped particles to medium and haven't crashed since. Also, the tip about the 45-second boss rage timer explains why I kept getting randomly nuked by Krill Mother when playing defensively. 10/10 guide, this needs to be pinned in the Steam discussions.
Sign in to post a comment.
Sign in with GitHub to join the discussion.